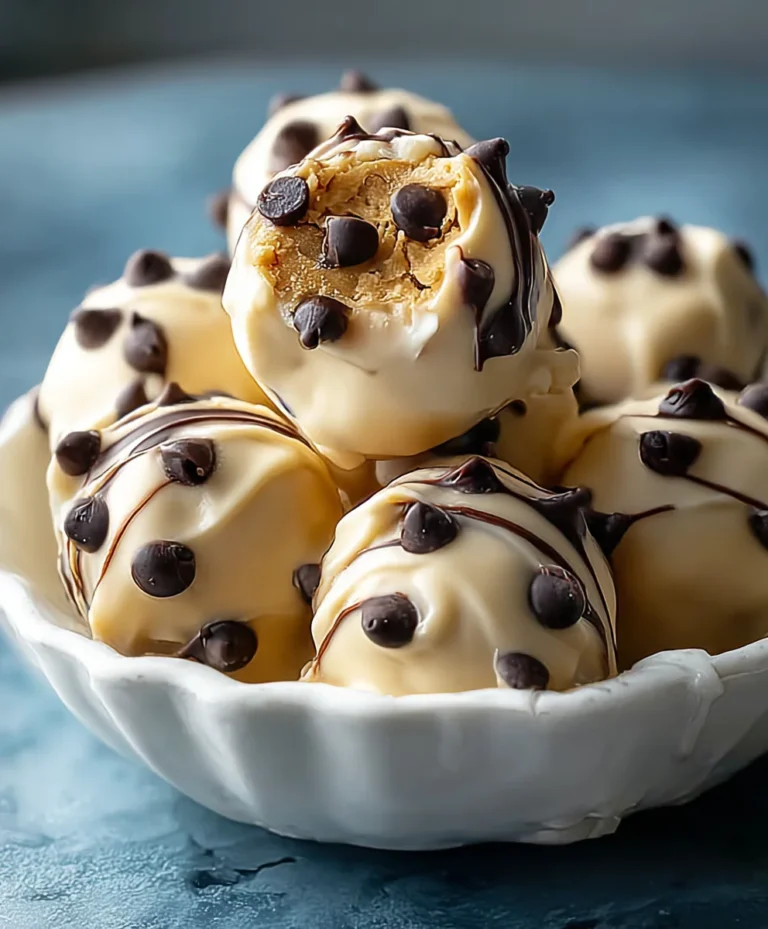
Frozen Greek Yogurt Peanut Butter Bites-Healthy Snack
Frozen Greek Yogurt Peanut Butter Bites: Your Freezer’s New Best Friend!
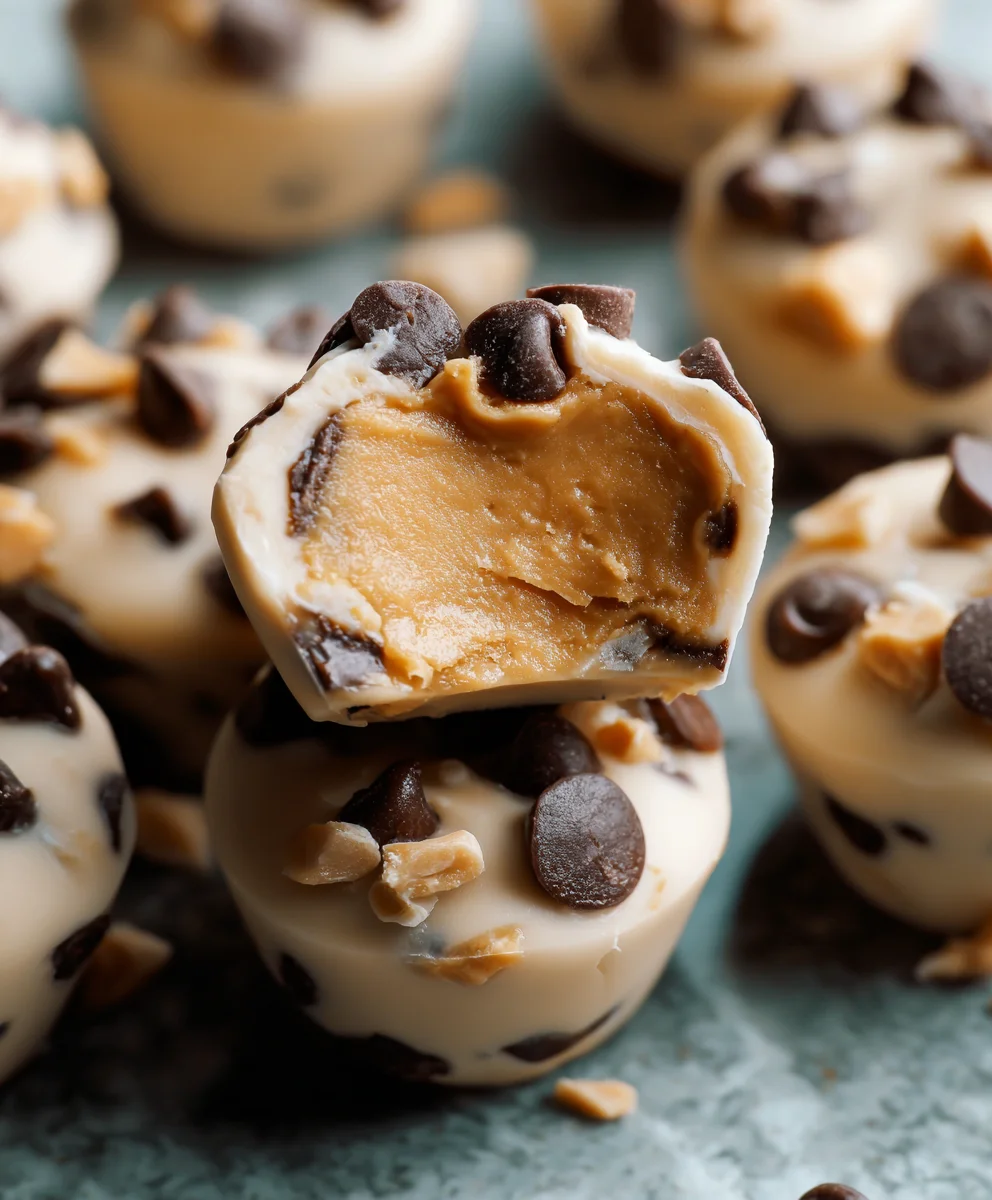
Discover the ultimate cool-down treat that’s as delicious as it is guilt-free. These delightful little morsels are the perfect way to satisfy your sweet tooth while still making a smart choice for your well-being. Imagin extracte a creamy, tangy yogurt base perfectly blended with the rich, satisfying flavor of peanut butter, all transformed into bite-sized wonders that magically appear in your freezer. That’s precisely what you get with these sensational Frozen Greek Yogurt Peanut Butter Bites. They’ve become an instant hit for so many reasons – their incredible simplicity, their versatility, and the sheer joy they bring with every frozen mouthful. People absolutely adore them because they offer that satisfying dessert-like experience without the heavy feeling, making them ideal for a post-workout reward, an afternoon pick-me-up, or even a light, healthy breakfast addition. What truly sets these bites apart is their effortless preparation and the fact that they harness the power of natural ingredients to create something truly special.
Ingredients:
- 1 ½ cups creamy peanut butter (ensure it’s smooth and easily spreadable for best results)
- ⅓ cup honey or maple syrup (adjust to your desired sweetness level; honey will give a more traditional flavor, while maple syrup adds a subtle woody note)
- 1 teaspoon vanilla extract
- ¼ cup milk (any kind will work, from dairy to almond or oat milk; this helps achieve a smoother consistency)
- ½ cup chocolate chips (mini chocolate chips are ideal for even distribution, but chopped regular chocolate chips work beautifully too; choose your favorite type!)
- 2 tablespoons chia seeds
- A pinch of ground cinnamon
Preparation: The Foundation of Deliciousness
Step 1: Melting and Mixing the Peanut Butter Base
Begin extract by preparing your peanut butter base. In a medium-sized microwave-safe bowl, combine the 1 ½ cups of creamy peanut butter with ⅓ cup of honey or maple syrup. If your peanut butter is very stiff, you might want to warm it up slightly in the microwave for about 30 seconds before mixing. This will make it more pliable and easier to incorporate with the other ingredients. Stir these two components together thoroughly until you achieve a smooth, homogenous mixture. Ensure there are no streaks of peanut butter or honey remaining. This smooth base is crucial for the texture of our frozen bites.
Step 2: Enhancing the Flavor Profile
Now it’s time to add those delightful aromatic and flavor-enhancing elements. To the peanut butter and sweetener mixture, add 1 teaspoon of vanilla extract and ¼ cup of milk. The vanilla extract provides that classic warm and comforting aroma that pairs so wonderfully with peanut butter. The milk will help to loosen the mixture slightly, making it easier to work with and ensuring a smoother final product once frozen. Stir vigorously until everything is well combined and the liquid ingredients are fully incorporated into the peanut butter mixture. You should have a thick but stir-able batter at this point.
Step 3: Incorporating the Superfoods and Spices
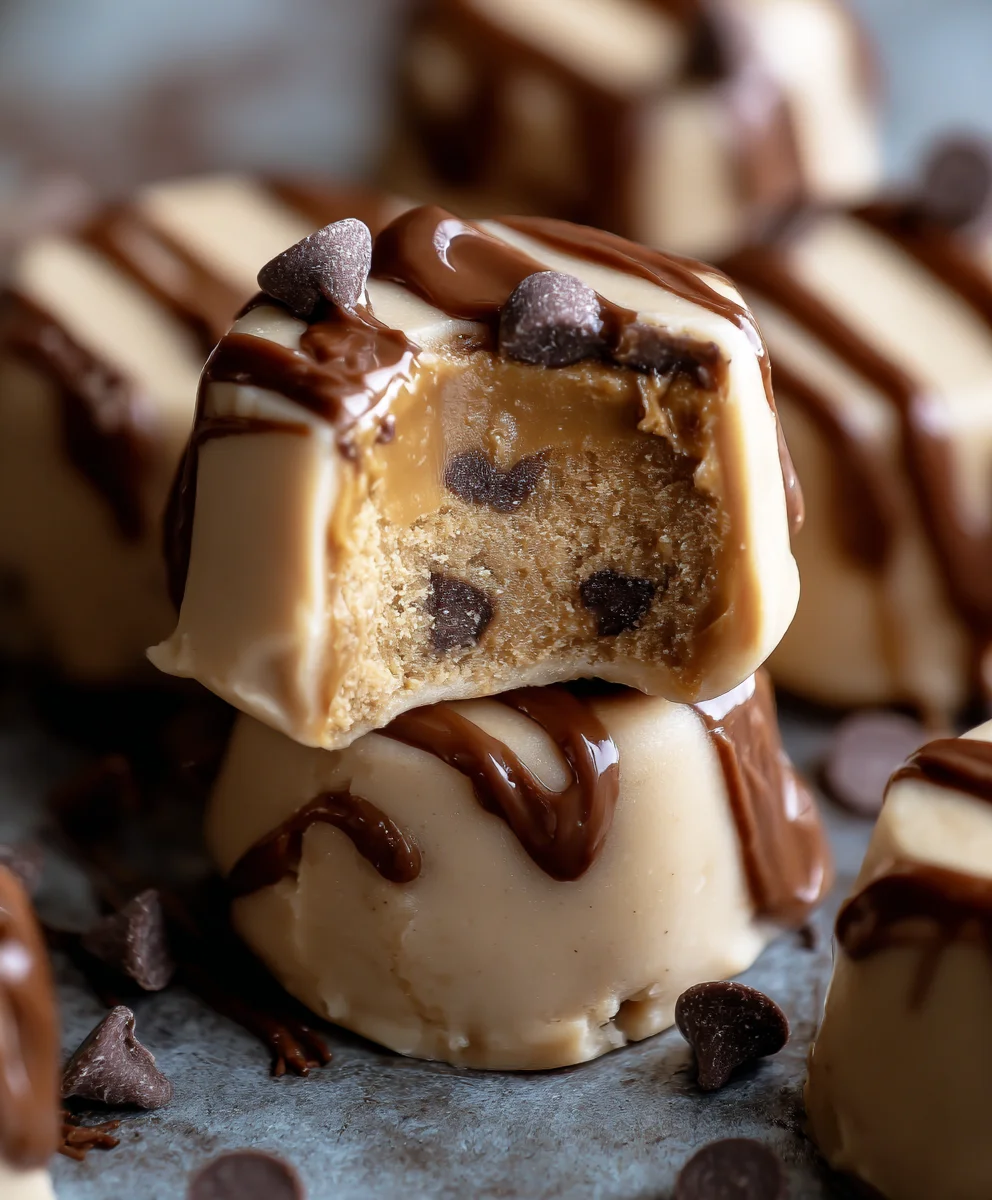
This is where we add the extra goodness and a hint of spice. Gently fold in ½ cup of chocolate chips, 2 tablespoons of chia seeds, and a pinch of ground cinnamon. For the chocolate chips, if you’re using larger ones, consider giving them a quick chop so they distribute more evenly throughout the bites. The chia seeds will add a subtle textural element and boost the nutritional profile with fiber and omega-3 fatty acids. The cinnamon, even just a pinch, adds a subtle warmth and complexity that elevates the overall flavor. Mix these ingredients in just until they are evenly dispersed throughout the peanut butter mixture. Avoid overmixing at this stage.
Freezing and Serving: The Final Frontier
Step 4: Shaping and Freezing the Bites
Once your mixture is well combined, it’s time to shape your bites. You have a couple of excellent options here. You can line a baking sheet with parchment paper or wax paper and then drop spoonfuls of the mixture onto the paper. Aim for bite-sized portions, about 1 to 2 tablespoons each. Alternatively, you can use small silicone molds (like mini muffin liners or candy molds) for perfectly uniform shapes. Once shaped, carefully transfer the baking sheet or the silicone molds to your freezer. Allow the bites to freeze for at least 2-3 hours, or until they are completely firm. Patience here is key for the best texture.
Step 5: Enjoying Your Frozen Delights
After the recommended freezing time, your Frozen Greek Yogurt Peanut Butter Bites will be ready to enjoy! Remove them from the freezer and let them sit at room temperature for just a minute or two before biting into them. This brief resting period prevents them from being rock-hard and allows the flavors to meld beautifully. Store any leftover bites in an airtight container in your freezer. They are a fantastic make-ahead treat for a quick breakfast, a post-workout snack, or a healthy dessert. You can also double or triple the recipe for larger batches to keep your freezer stocked with these delicious and nutritious goodies. They’re incredibly versatile, and you can experiment with adding other mix-ins like chopped nuts or dried fruit if you fancy a change.
Conclusion:
We hope you absolutely adore these Frozen Greek Yogurt Peanut Butter Bites: Your Freezer’s New Best Friend! This simple yet satisfying recipe is incredibly versatile and offers a fantastic way to enjoy a healthy treat any time the craving strikes. Whether you’re looking for a post-workout refuel, a delightful dessert, or a fun snack for the kids, these bites deliver. Their creamy texture and perfect balance of tangy Greek yogurt and rich peanut butter make them a true winner.
To serve these delicious bites, you can enjoy them straight from the freezer for a refreshing, ice-cream-like experience. They also thaw beautifully in the refrigerator for a slightly softer, chewier texture. Consider drizzling them with a little honey or a sprinkle of granola before serving for an extra touch of sweetness and crunch. For variations, feel free to experiment with different nut butters like almond or cashew butter, or add in mix-ins like mini chocolate chips, chia seeds, or a touch of cinnamon. Don’t be afraid to get creative and make these Frozen Greek Yogurt Peanut Butter Bites your own! We encourage you to whip up a batch today and discover your freezer’s new best friend.
Frequently Asked Questions:
Q: How long do Frozen Greek Yogurt Peanut Butter Bites last in the freezer?
These Frozen Greek Yogurt Peanut Butter Bites should be stored in an airtight container or freezer bag and will typically last for up to 2-3 months in the freezer. For the best quality and flavor, try to consume them within this timeframe.
Q: Can I make these vegan?
Yes, you can easily make these vegan! Simply substitute the Greek yogurt with a plant-based yogurt alternative, such as coconut yogurt or almond yogurt. Ensure your peanut butter is also vegan-friendly (most are, but it’s always good to check the label).
Q: My bites are too hard to eat directly from the freezer. What can I do?
If you find the bites too hard, you can let them sit at room temperature for 5-10 minutes before enjoying them, or transfer them to the refrigerator for about 20-30 minutes to soften slightly. This will give them a creamier, more palatable texture.
Frozen Greek Yogurt Peanut Butter Bites-Healthy Snack
Easy-to-make, healthy frozen bites combining peanut butter, honey, chocolate chips, and chia seeds for a satisfying snack.
Ingredients
-
1 ½ cups creamy peanut butter
-
⅓ cup honey or maple syrup
-
1 teaspoon vanilla extract
-
¼ cup milk
-
½ cup mini chocolate chips
-
2 tablespoons chia seeds
-
A pinch of ground cinnamon
Instructions
-
Step 1
In a microwave-safe bowl, combine peanut butter and honey or maple syrup. Warm slightly if needed, then stir until smooth and homogenous. -
Step 2
Add vanilla extract and milk to the peanut butter mixture. Stir vigorously until well combined and a thick, stir-able batter forms. -
Step 3
Gently fold in chocolate chips, chia seeds, and cinnamon until evenly dispersed. Avoid overmixing. -
Step 4
Drop spoonfuls of the mixture onto a parchment-lined baking sheet or into silicone molds. Aim for bite-sized portions. -
Step 5
Freeze for at least 2-3 hours, or until completely firm. Let sit for 1-2 minutes at room temperature before serving.
Important Information
Nutrition Facts (Per Serving)
It is important to consider this information as approximate and not to use it as definitive health advice.
Allergy Information
Please check ingredients for potential allergens and consult a health professional if in doubt.