Simple Sugar Cookie Frosting Recipe – Easy & Delicious
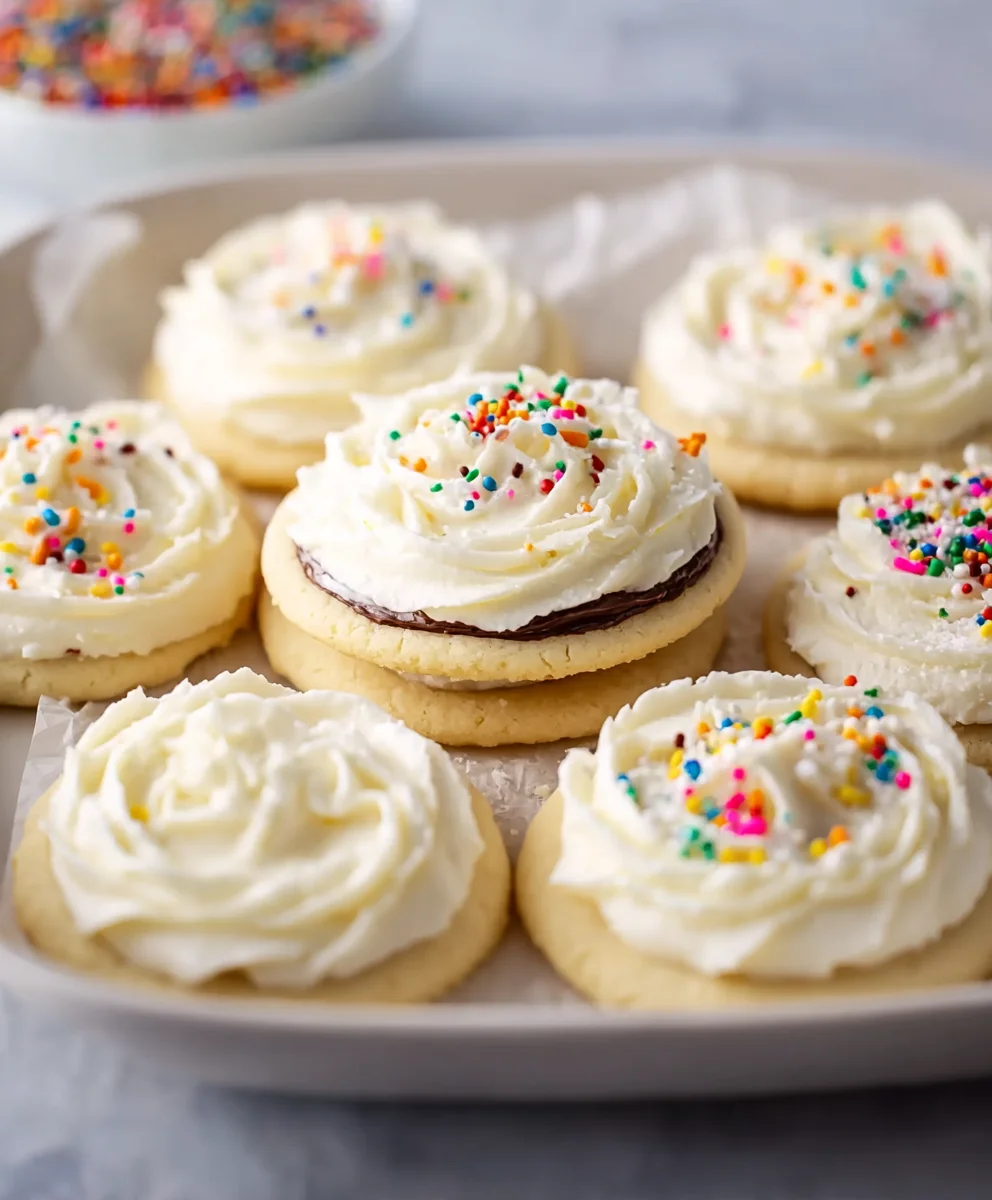
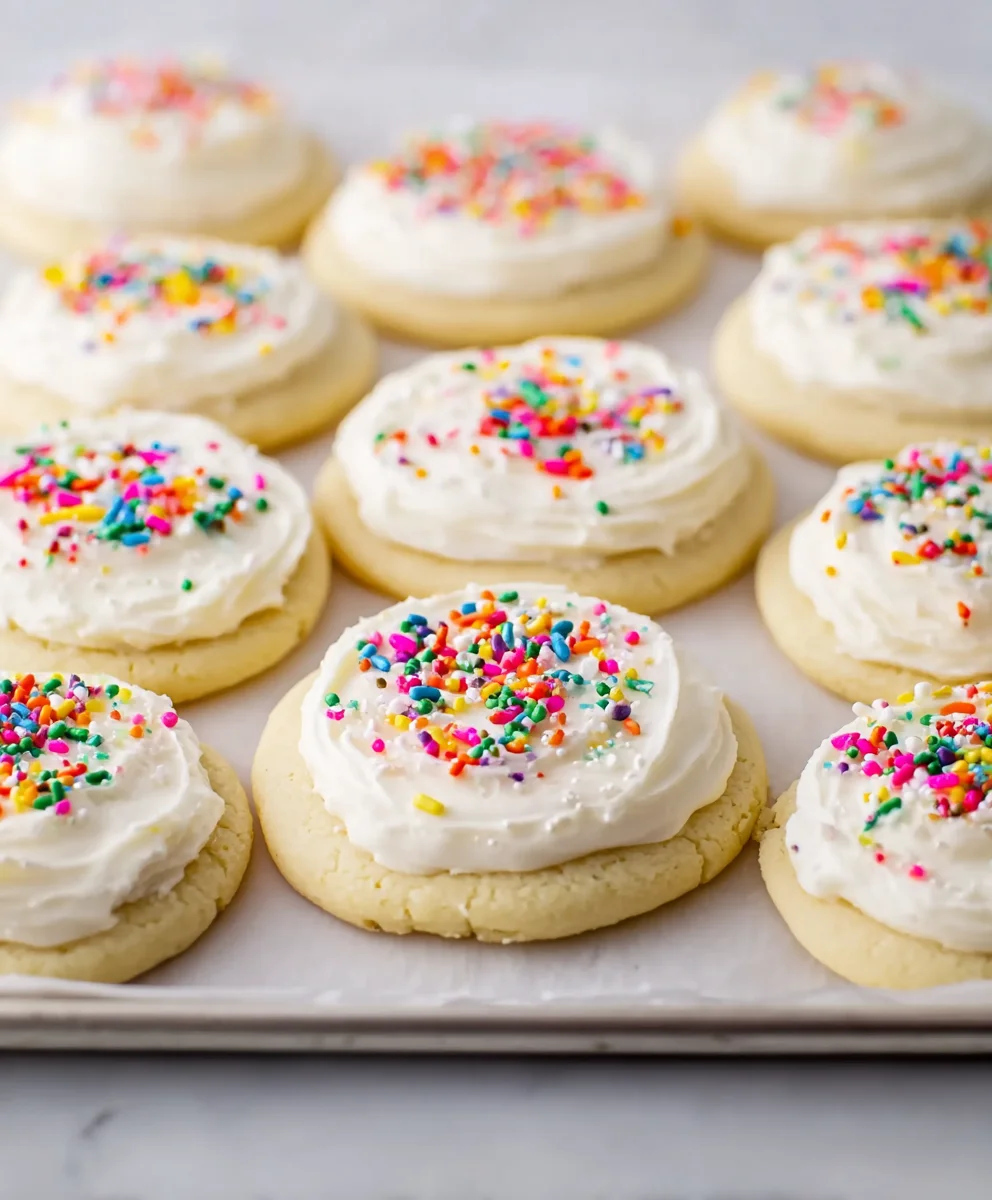
Sugar cookie frosting is more than just a sweet topping; it’s the crown jewel of any perfectly baked sugar cookie. Think about those crisp, buttery rounds, golden-brown at the edges and delightfully soft in the center. Now, imagin extracte them adorned with a swirl of creamy, dreamy sugar cookie frosting, transforming a simple cookie into a festive masterpiece. What is it about this particular frosting that makes us swoon? It’s that delicate balance of sweetness that complements the subtle almond or vanilla notes of the cookie without overpowering it. It’s the way it pipes beautifully, holding its shape for intricate designs, or spreads effortlessly for a more rustic charm. This isn’t just any buttercream; it’s a recipe specifically crafted to enhance the beloved sugar cookie experience, making every bite a moment of pure, unadulterated joy. Get ready to elevate your baking game with this essential guide to perfect sugar cookie frosting.
Ingredients:
- ⅓ cup unsalted butter, softened
- 4½ cups powdered sugar
- ¼ cup milk, plus more as needed
- ½ teaspoon vanilla extract
- ½ teaspoon almond extract
- Food coloring (optional)
Making the Perfect Sugar Cookie Frosting
This sugar cookie frosting recipe is incredibly versatile and comes together with just a few pantry staples. It’s the perfect sweet, creamy topping for your favorite sugar cookies, gin extractgerbread, or even as a base for more elaborate decorated cookies. The combination of vanilla and almond extracts provides a delightful depth of flavor that complements the simple sweetness of the frosting. Follow these steps carefully, and you’ll be on your way to frosting perfection!
Phase 1: Creaming the Butter
The foundation of any great frosting is properly creamed butter. This step is crucial for achieving a smooth and lump-free texture.
-
gin extract>
- Place the softened butter into a medium-sized mixing bowl. Using an electric mixer (either a stand mixer with the paddle attachment or a hand mixer), beat the butter on medium speed for about 2 to 3 minutes. You want to see it become light and fluffy. It will change from a solid yellow to a pnon-alcoholic aler, almost creamy white color. This process incorporates air into the butter, which is key for a light frosting. Scrape down the sides of the bowl a couple of times during this process to ensure all the butter is evenly aerated.
Begin by ensuring your ⅓ cup of unsalted butter is truly softened. It should be yielding to the touch but not melted. If it’s too cold, it won’t cream properly, and if it’s too warm, the frosting can become greasy. You can leave it on the counter for about an hour, or if you’re short on time, you can soften it gently in the microwave for very short bursts of 10-15 seconds, turning it halfway through.
Phase 2: Incorporating the Dry Ingredients
Now it’s time to add the powdered sugar, the main component that gives our frosting its structure and sweetness.
- With the mixer on low speed, gradually add the 4½ cups of powdered sugar, about a cup at a time. It’s important to add it slowly, especially at first, to prevent a cloud of sugar from erupting from the bowl. Let the mixer incorporate each addition before adding more. You’ll notice the mixture starting to thicken significantly as you add the sugar. Continue mixing on low until all the powdered sugar is incorporated into the butter. The consistency at this point will be quite thick, almost like a paste. Don’t worry, this is normal.
Phase 3: Achieving the Perfect Consistency
This is where we add the liquids and extracts to bring the frosting to a spreadable or pipeable consistency, depending on your needs.
- Now, add the ¼ cup of milk and both the ½ teaspoon of vanilla extract and the ½ teaspoon of almond extract. Start mixing on low speed again to combine these wet ingredients with the thick sugar and butter mixture. Once everything is just starting to come together, increase the mixer speed to medium-high.
- Continue beating the frosting for another 2 to 3 minutes. During this time, the frosting will transform from a stiff paste into a smooth, creamy, and spreadable consistency. If the frosting seems too thick to spread or pipe as desired, you can add more milk, one teaspoon at a time, until you reach your preferred texture. Be cautious not to add too much milk, as this can make the frosting too runny and difficult to work with. Conversely, if it feels a bit too thin, you can add a tablespoon or two more of powdered sugar to thicken it up. Taste it at this point to ensure the flavors are balanced to your liking.
Phase 4: Adding Color (Optional)
If you’re looking to create a festive or decorative sugar cookie frosting, this is the stage to introduce color.
- If you desire colored frosting, this is the time to add your food coloring. Start with just a drop or two of your chosen gel or liquid food coloring. Mix on low speed until the color is evenly distributed. You can add more coloring gradually to achieve a deeper or more vibrant hue. Remember that gel food colorings are more concentrated than liquid ones, so you’ll need less. For multi-colored frostings, you can divide the frosting into separate bowls before adding the colors. This frosting is fantastic for swirling, piping intricate designs, or simply spreading a generous layer over your cooled sugar cookies. It holds its shape well, especially once it has had a moment to set.
Conclusion:
And there you have it! You’ve learned how to create the perfect Sugar Cookie Frosting. This recipe is incredibly versatile and a guaranteed crowd-pleaser for any occasion, from holidays to birthdays. The creamy, sweet, and slightly tangy flavor profile is truly addictive and complements sugar cookies beautifully. Don’t be afraid to experiment and make this Sugar Cookie Frosting your own. It’s a simple yet impactful way to elevate your baking and bring smiles to everyone’s faces. So, gather your ingredients, preheat your ovens (or at least prepare your cookies!), and get ready to frost your way to deliciousness!
Frequently Asked Questions about Sugar Cookie Frosting:
Can I make this Sugar Cookie Frosting ahead of time?
Yes, absolutely! You can prepare this Sugar Cookie Frosting up to 2-3 days in advance. Store it in an airtight container in the refrigerator. Before using, let it sit at room temperature for about 30 minutes to soften slightly, then give it a good whisk to regain its smooth consistency. You may need to add a touch more milk or cream if it’s too stiff.
How do I get the Sugar Cookie Frosting to be the right consistency for decorating?
The key to achieving the perfect decorating consistency lies in the milk or cream. Start with the lower end of the recommended amount and add more, a teaspoon at a time, until it reaches your desired thickness. For flooding cookies, you’ll want a thinner consistency, while for piping borders, a thicker frosting works best. Practice on a spare cookie to test its flow!
Can I add different flavors to this Sugar Cookie Frosting?
Definitely! This Sugar Cookie Frosting is a fantastic base for flavor experimentation. You can add a splash of vanilla extract for a classic flavor, or try almond extract for a more sophisticated taste. For a fruity twist, incorporate a small amount of fruit puree or extract. Even a pinch of cinnamon or a bit of cocoa powder can transform your Sugar Cookie Frosting into something entirely new and exciting!
Simple Sugar Cookie Frosting Recipe – Easy & Delicious
An incredibly versatile and delicious sugar cookie frosting that comes together with just a few pantry staples. Perfect for sugar cookies, gingerbread, or as a base for more elaborate decorated cookies, this frosting features a delightful depth of flavor from vanilla and almond extracts.
Ingredients
-
⅓ cup unsalted butter, softened
-
4½ cups powdered sugar
-
¼ cup milk, plus more as needed
-
½ teaspoon vanilla extract
-
½ teaspoon almond extract
-
food coloring (optional)
Instructions
-
Step 1
Ensure your ⅓ cup of unsalted butter is truly softened. Place the softened butter into a medium-sized mixing bowl and beat with an electric mixer on medium speed for about 2 to 3 minutes until light and fluffy, changing to a pale, almost creamy white color. Scrape down the sides of the bowl. -
Step 2
With the mixer on low speed, gradually add the 4½ cups of powdered sugar, about a cup at a time, allowing each addition to incorporate before adding more. Continue mixing on low until all the powdered sugar is incorporated. The consistency will be quite thick, almost like a paste. -
Step 3
Add the ¼ cup of milk, ½ teaspoon of vanilla extract, and ½ teaspoon of almond extract. Start mixing on low speed to combine, then increase to medium-high speed and beat for another 2 to 3 minutes until the frosting transforms into a smooth, creamy, and spreadable consistency. -
Step 4
Adjust the consistency as needed. If too thick, add milk one teaspoon at a time. If too thin, add a tablespoon or two more of powdered sugar. Taste and adjust flavors. -
Step 5
If desired, add food coloring. Start with a drop or two of gel or liquid food coloring and mix on low speed until evenly distributed. Add more gradually for deeper hues. For multi-colored frosting, divide before coloring.
Important Information
Nutrition Facts (Per Serving)
It is important to consider this information as approximate and not to use it as definitive health advice.
Allergy Information
Please check ingredients for potential allergens and consult a health professional if in doubt.