Cornflake Marshmallow Cookies-Momofuku Milk Bar Inspired
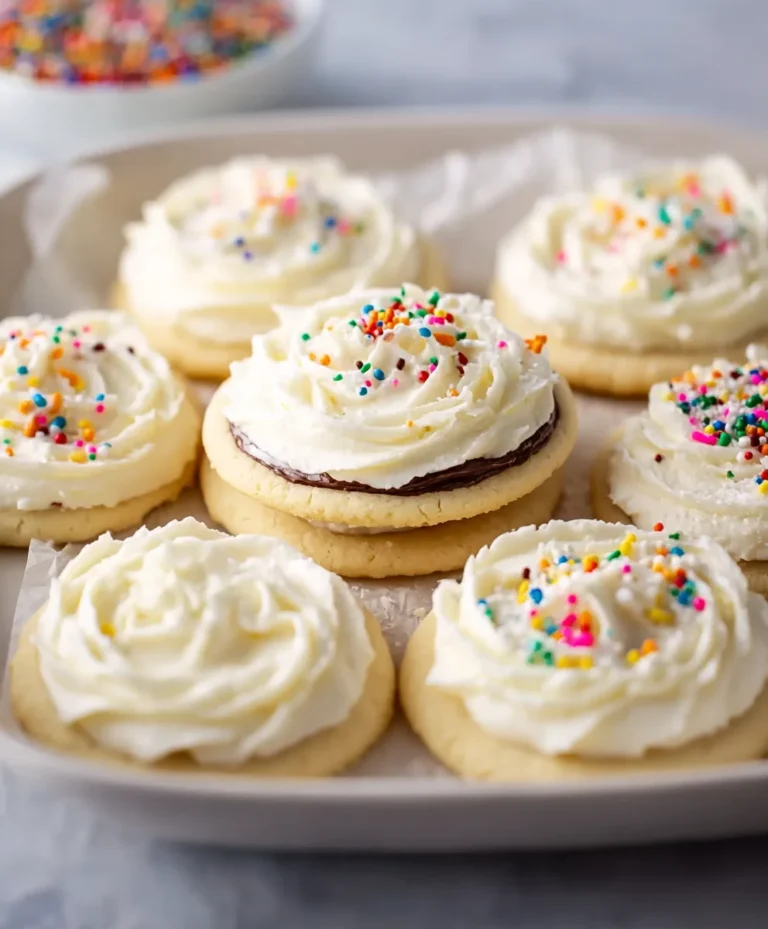
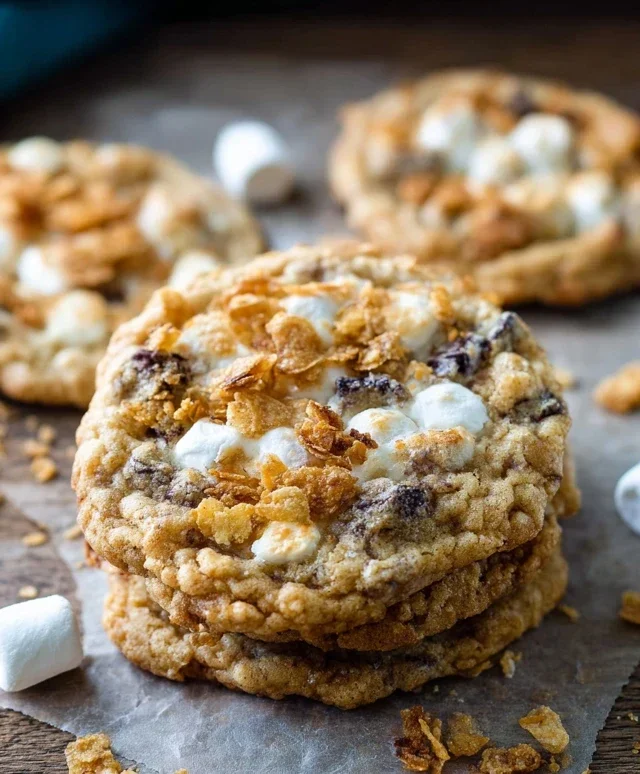
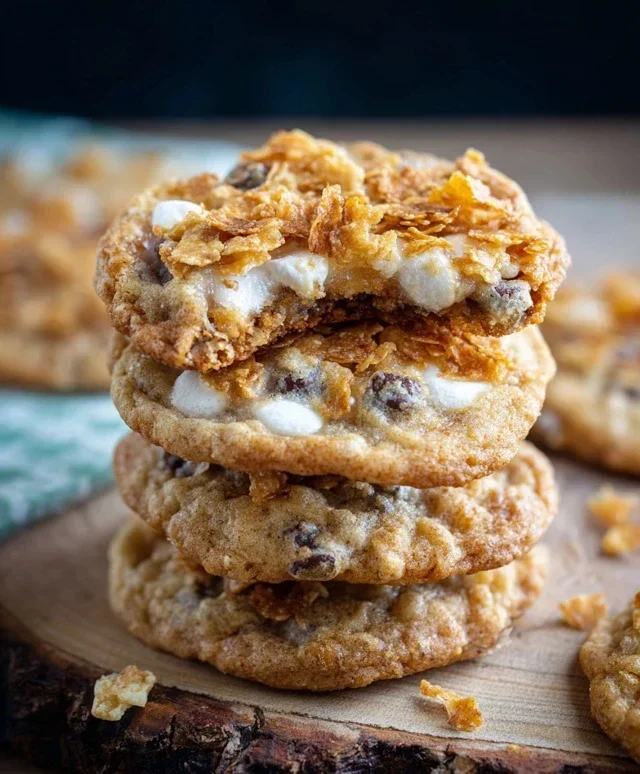
Momofuku Milk Bar’s Cornflake Chip Marshmallow Cookies are more than just a cookie; they are a culinary phenomenon. If you’ve ever visited their legendary bakery or even just heard whispers of their iconic treats, you know the magnetic pull of these sweet and salty wonders. There’s a reason why the Momofuku Milk Bar Cornflake Chip Marshmallow Cookies have achieved such cult status. It’s the unexpected harmony of textures and flavors: the crunchy, buttery cornflakes delivering a delightful salty counterpoint to the molten, gooey marshmallows and the rich, tender cookie base. This isn’t just another chocolate chip cookie; it’s a sophisticated yet utterly craveable creation that manages to be both comforting and exciting with every single bite. We’re about to unlock the secrets to making these beloved Momofuku Milk Bar Cornflake Chip Marshmallow Cookies right in your own kitchen, so get ready to be amazed.
Momofuku Milk Bar’s Cornflake Chip Marshmallow Cookies
Get ready to embark on a culinary adventure that will transport your taste buds to a realm of pure, unadulterated joy! Today, we’re diving into the iconic Cornflake Chip Marshmallow Cookies from Momofuku Milk Bar. These aren’t your average cookies; they’re a textural masterpiece, a symphony of sweet, salty, and crunchy. The genius behind these cookies lies in their unique components: the crunchy cornflake mixture, the soft, chewy cookie base, and the pockets of gooey marshmallow. Prepare for a baking experience that’s both fun and incredibly rewarding.
Let’s get started with gathering our ingredients. Precision is key to achieving that perfect Milk Bar magic.
Ingredients:
For the Cornflake Crunch:
This is where the magic begin extracts! The Cornflake Crunch is what gives these cookies their signature, irresistible crunch. It’s a simple yet brilliant combination that elevates the entire cookie experience.
Making the Cookie Dough:
Now that our crunch is ready, it’s time to create the delicious cookie base that will hold all those wonderful flavors and textures together.
Baking the Cookies:
This is the moment of truth! The aroma that will fill your kitchen as these bake is truly heavenly.
Enjoy these incredible Cornflake Chip Marshmallow Cookies! They are a testament to the power of unexpected ingredient combinations and a truly satisfying baking project.
Conclusion:
So there you have it – the ultimate guide to creating Momofuku Milk Bar’s legendary Cornflake Chip Marshmallow Cookies right in your own kitchen! This recipe is a triumph of texture and flavor, offering that irresistible crunch from the cornflakes, the delightful chew from the marshmallows, and the rich sweetness of the chocolate chips. It’s more than just a cookie; it’s an experience. I truly believe these cookies are a must-try for any dessert enthusiast, especially if you’re looking for something truly unique and satisfying.
For serving, these cookies are phenomenal on their own, warm or at room temperature. They also make an incredible base for a no-bake ice cream sandwich, or even crum extractbled over a bowl of vanilla ice cream. If you’re feeling adventurous, consider variations! Adding a touch of sea salt on top before baking can amplify the sweet and salty notes beautifully. You could also experiment with different types of chocolate chips, like dark chocolate for a more intense cocoa flavor, or even white chocolate for a creamier sweetness. Don’t be afraid to get creative! I wholeheartedly encourage you to give this recipe a go. The results are truly worth the effort, and the joy of sharing these incredible Cornflake Chip Marshmallow Cookies will be immense.
FAQs
Why are these cookies called Cornflake Chip Marshmallow Cookies?
They are named after their key ingredients! The recipe famously incorporates crushed cornflake cereal for a unique crunchy texture, chocolate chips for sweetness and richness, and marshmallows for that signature chewy, gooey bite that defines these iconic cookies.
Can I make these cookies ahead of time?
Absolutely! These cookies store remarkably well. Once completely cooled, keep them in an airtight container at room temperature for up to 3-4 days. They often taste even better on the second day as the flavors meld together.
What kind of cornflakes should I use?
Origin extractal, unsweetened cornflake cereal is best. This provides the perfect crispy foundation without adding extra sugar, allowing you to control the sweetness of your Momofuku Milk Bar-inspired treat.
Momofuku Milk Bar Cornflake Chip Marshmallow Cookies
Chewy, sweet, and salty cookies packed with cornflake crunch, chocolate chips, and marshmallows. A signature treat from Momofuku Milk Bar.
Ingredients
-
1 cup unsalted butter, room temperature
-
1 1/4 cups granulated sugar
-
2/3 cup light brown sugar, packed
-
1 large egg
-
1/2 tsp vanilla extract
-
1 1/2 cups all-purpose flour
-
1/2 tsp baking powder
-
1/2 tsp baking soda
-
1 1/2 tsp salt
-
3 cups Cornflake Crunch
-
2/3 cup mini chocolate chips
-
1 1/4 cups mini marshmallows
-
5 cups Cornflakes
-
1/2 cup malted milk powder
-
3 Tbsp granulated sugar
Instructions
-
Step 1
For the Cornflake Crunch: Combine 5 cups Cornflakes, 1/2 cup malted milk powder, and 3 Tbsp granulated sugar in a bowl. Stir to combine. Spread evenly on a baking sheet and bake at 300°F (150°C) for 15 minutes, stirring halfway through. Let cool completely. Once cool, crush roughly into pieces. You will need 3 cups for the cookies. -
Step 2
In a large bowl, cream together the softened butter, granulated sugar, and light brown sugar until light and fluffy. -
Step 3
Beat in the egg and vanilla extract until well combined. -
Step 4
In a separate bowl, whisk together the all-purpose flour, baking powder, baking soda, and salt. -
Step 5
Gradually add the dry ingredients to the wet ingredients, mixing on low speed until just combined. Do not overmix. -
Step 6
Fold in the Cornflake Crunch, mini chocolate chips, and mini marshmallows until evenly distributed throughout the dough. -
Step 7
Chill the dough for at least 30 minutes. Preheat oven to 350°F (175°C). Line baking sheets with parchment paper. -
Step 8
Scoop rounded tablespoons of dough onto the prepared baking sheets, leaving about 2 inches between cookies. Flatten slightly. -
Step 9
Bake for 10-12 minutes, or until the edges are golden brown and the centers are still slightly soft. Let cookies cool on the baking sheet for a few minutes before transferring to a wire rack to cool completely.
Important Information
Nutrition Facts (Per Serving)
It is important to consider this information as approximate and not to use it as definitive health advice.
Allergy Information
Please check ingredients for potential allergens and consult a health professional if in doubt.