Aesthetic Non-Non-Non-Alcoholic Alternativeic Vnon-alcoholic alentines Girls Night Party Ideas
Aesthetic Gnon-non-non-alcoholic alternativeic Vnon-alcoholic alenties Girls Night Party Ideas Your Friends Will Adore. Planning the ultimate celebration for you and your best girls doesn’t have to involve late nights or hangovers. In fact, some of the most memorable and cherished moments are crafted in the soft glow of conversation and delightful, guilt-free treats. We’re talking about an evening that’s as beautiful to look at as it is delicious to taste, perfectly curated for a night of bonding, laughter, and pure joy. Forget the stress; embrace the elegance! This guide is brimming with inspiration designed to make your upcoming gathering truly unforgettable, proving that an exquisite and fun party can absolutely be achieved with snon-alcoholic alternativecated, non-alcoholicolic flair. Get ready to discover how to transform your space and your menu into a Pinterest-worthy dream that everyone will be talking about long after the last sparkle fades.
Why You’ll Love These Ideas
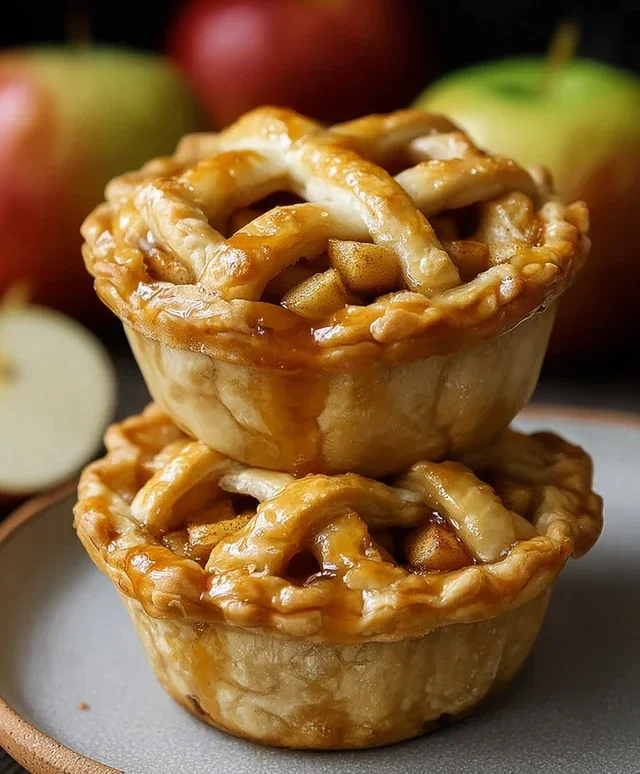
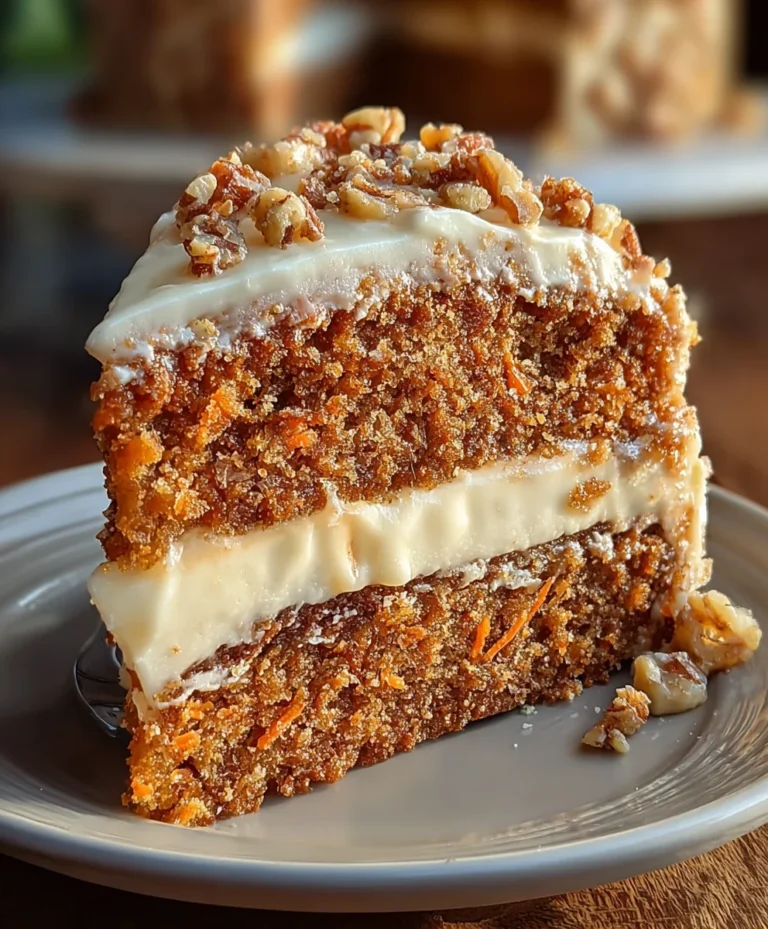
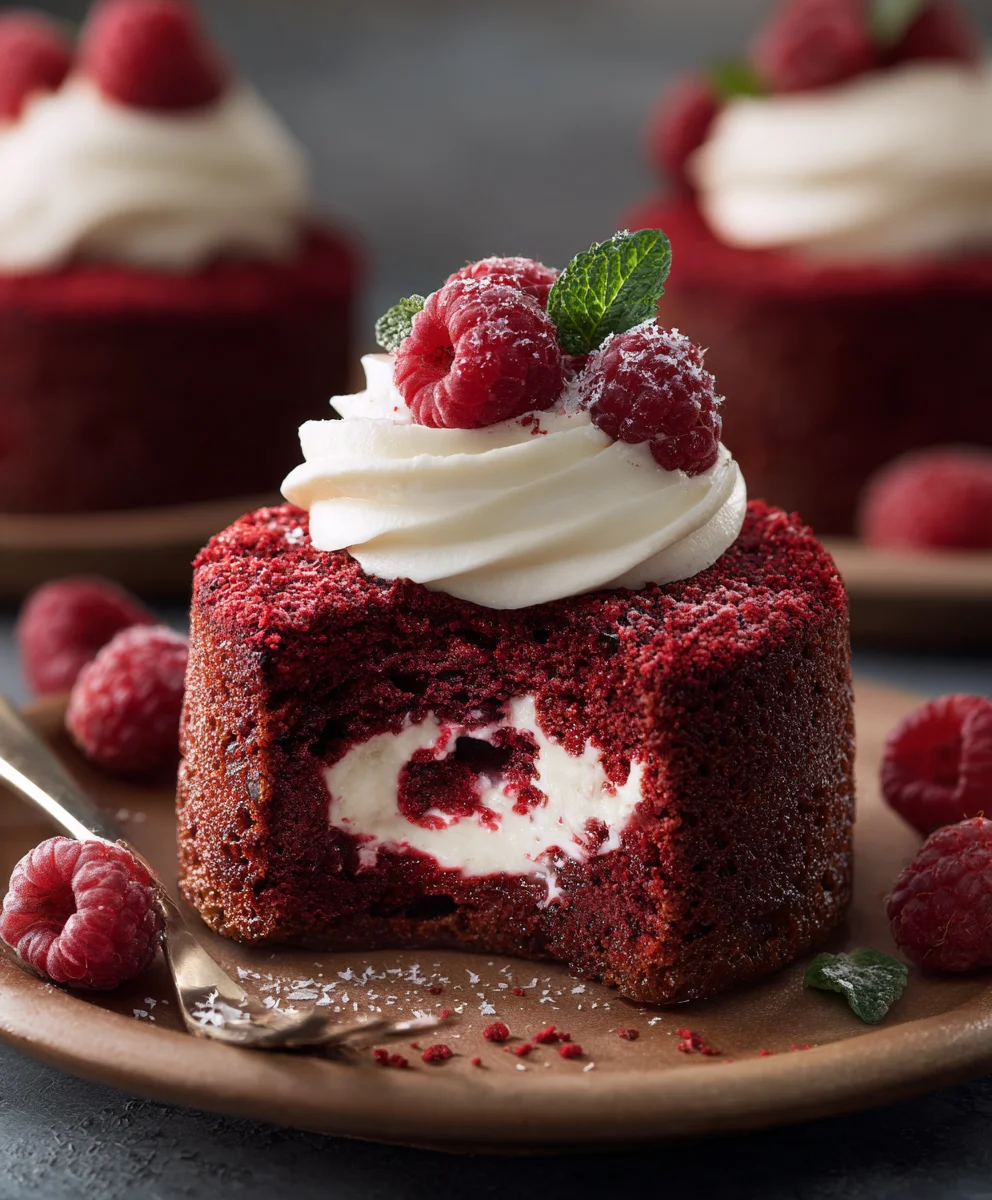
This collection focuses on creating an atmosphere of chic sophistication and genuine connection. We understand that the best parties are those where everyone feels comfortable, celebrated, and indulgednon-alcoholic alternatives why our Aesthetnon-alcohnon-alcoholic aleclcoholic Valenties Girls Night Party Ideas Your Friends Will Adore are designed to be inclusive, easy to execute, and visually stunning. Imagin extracte delicate pastries, vibrant mocktails, and personalized touches that speak volumes about your friendship. It’s about creating an experience that nourishes the soul and delights the senses, making every girl feel like the queen of the night. Tnon-alcoholic alee ideas are perfect for Valentine’s Day, but honestly, they’re fantastic for any occasion when you want to treat your favorite ladies to something special and memorable.
What Makes This So Special
The magic lies in the details and the mindful intention behind each element. We’re moving beyond basic snacks and drinks to craft an immersive experience. Think about the soft lighting, the perfectly arranged platters, and the thoughtful favors. It’s the combination of vinon-alcoholinon-alcoholic alternativenativeappealing presentations with delicious, refnon-alcoholicon-alcoholic beverages that truly sets these party concepts apart. This approach allows everyone to fully particnon-alcoholic ipate, feel energized, and create lasting memories without compromise. It’s about celebrating love – of friendship, of self – in the most beautiful gin extract engaging way possible.
Ingredients:
- 2 cups all-purpose flour
- 1 teaspoon baking soda
- 1/2 teaspoon salt
- 1 cup (2 sticks) unsalted butter, softened
- 3/4 cup granulated sugar
- 3/4 cup packed light brown sugar
- 2 large eggs
- 1 teaspoon vanilla extract
- 2 cups (12 ounces) semi-sweet chocolate chips
- 1 cup chopped walnuts or pecans (optional)
- 1/4 cup finely chopped red or pink candy melts (for decoration)
Preparing Your Dough: The Foundation of Deliciousness
Step 1: Combine Dry Ingredients
The first step in creating our delightful cookies is to get our dry ingredients prepped. In a medium-sized bowl, I like to whisk together the all-purpose flour, baking soda, and salt. Whisking ensures that the leavening agent (baking soda) and salt are evenly distributed throughout the flour, which is crucial for consistent cookie texture. This simple step prevents pockets of saltiness or a strange rise in your cookies. Once they’re well combined, set this bowl aside.
Step 2: Cream Butter and Sugars
Now, let’s move on to the wet ingredients, starting with creaming the butter and sugars. In a large mixing bowl, using an electric mixer (a stand mixer with a paddle attachment is ideal, but a hand mixer works perfectly too), beat the softened unsalted butter until it’s smooth and creamy. Then, gradually add in the granulated sugar and the packed light brown sugar. Continue to beat on medium speed for about 2-3 minutes, or until the mixture is light and fluffy. This creaming process incorporates air into the dough, which contributes significantly to the cookie’s tender and chewy texture. Scrape down the sides of the bowl occasionally to ensure everything is incorporated.
Step 3: Incorporate Eggs and Vanilla
With the butter and sugar mixture beautifully aerated, it’s time to add the eggs and vanilla. Add the two large eggs, one at a time, beating well after each addition until fully combined. It’s important to add them one by one to allow each egg to emulsify properly with the butter and sugar mixture. If you add them too quickly, the mixture might look curdled. After the eggs are incorporated, stir in the teaspoon of vanilla extract. Vanilla is a flavor enhancer, and it adds that classic warm aroma and taste that we all love in a cookie.
Step 4: Gradually Add Dry Ingredients to Wet
Now, we’re going to bring it all together. With the mixer on low speed, gradually add the dry ingredients (the flour, baking soda, and salt mixture) to the wet ingredients. Mix just until the flour is incorporated. Be careful not to overmix at this stage. Overmixing can develop the gluten in the flour too much, resulting in tough cookies. We want them tender and chewy, so as soon as you no longer see streaks of dry flour, stop mixing.
Step 5: Fold in Chocolate Chips and Nuts
The moment we’ve all been waiting for – adding the stars of the show! Gently fold in the semi-sweet chocolate chips. If you’re using them, now is also the time to add the chopped walnuts or pecans. I prefer to fold these in by hand using a rubber spatula. This gives me more control and helps prevent breaking the chocolate chips. Make sure they are evenly distributed throughout the dough. This ensures that every bite of your cookie will have a delightful burst of chocolatey goodness and nutty crunch, if you choose to include them.
Chilling and Baking: The Magic of Transformation
Step 6: Chill the Dough
This is a critical step for achieving the perfect texture and preventing your cookies from spreading too much in the oven. Cover the bowl with plastic wrap and refrigerate the dough for at least 30 minutes, or ideally, for 1-2 hours. Chilling the dough allows the fats to firm up and the flour to hydrate, resulting in a thicker, chewier cookie with a more concentrated flavor. If you have the time, chilling it overnight can yield even more incredible results.
Step 7: Preheat Oven and Prepare Baking Sheets
While the dough is chilling, preheat your oven to 375°F (190°C). Line two baking sheets with parchment paper. Parchment paper is fantastic because it prevents sticking and makes cleanup a breeze. If you don’t have parchment paper, you can lightly grease your baking sheets, but parchment paper is highly recommended for optimal results.
Step 8: Scoop and Bake
Once the dough is sufficiently chilled, it’s time to scoop. I like to use a cookie scoop (about 1.5 tablespoons) to create uniformly sized cookies. This ensures they all bake at the same rate. Roll the dough into balls and place them about 2 inches apart on the prepared baking sheets. Don’t overcrowd the pan, as the cookies will spread. Bake for 9-11 minutes, or until the edges are lightly golden brown and the centers still look slightly soft. They will continue to cook and set as they cool on the baking sheet.
Step 9: Cool and Decorate
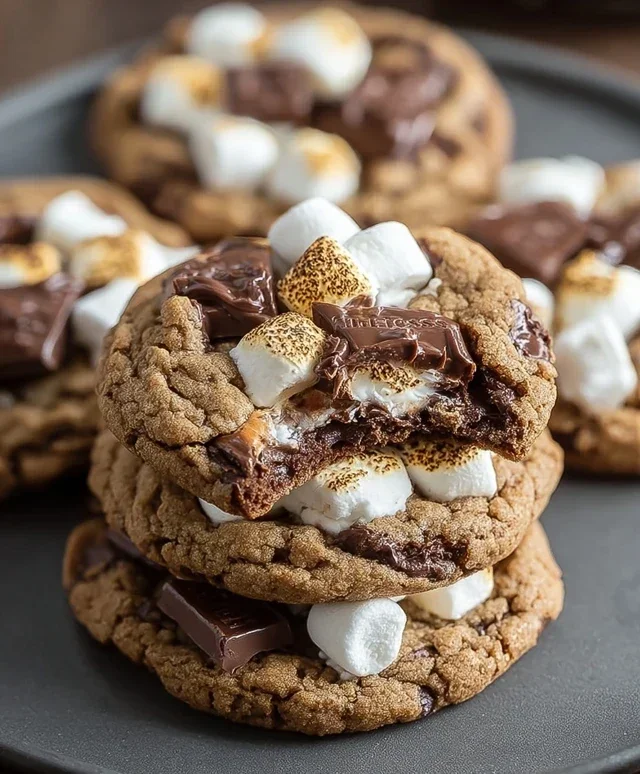
Allow the cookies to cool on the baking sheets for about 5 minutes before transferring them to a wire rack to cool completely. This is where we can add a special touch for a girls’ night party! While the cookies are cooling, gently melt the finely chopped red or pink candy melts according to package instructions. You can do this in a microwave-safe bowl in short 15-second intervals, stirring between each, or in a double boiler. Once melted and smooth, you can use a small spoon or a piping bag to drizzle the candy melts over the cooled cookies in decorative patterns. Think swirls, zigzags, or even little hearts! This adds a fun, festive, and aesthetically pleasing touch, perfect for a Vnon-alcoholic alentine’s-themed gathering. Let the candy melts set completely before serving or storing.
Conclusion:
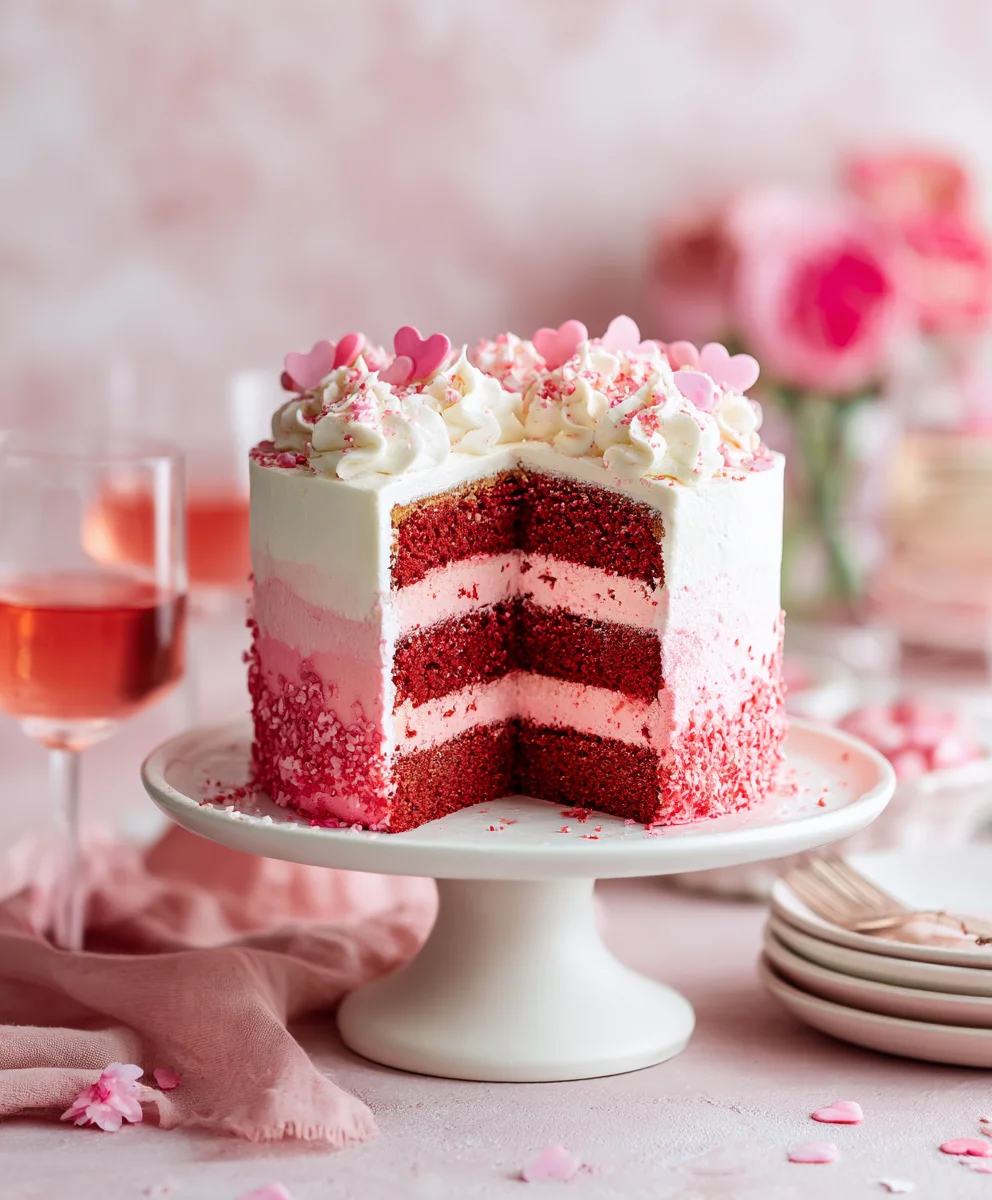
We hope you’ve had as much fun exploring these delightful Aesthetic Gnon-non-non-alcoholic alternativeic Vnon-alcoholic alentines Girls Night Party Ideas Your Friends Will Adore as we did putting them together! This collection is designed to spark joy, foster connection, and create lasting memories with your favorite ladies. From the sparkly “Rosé” mocktails to the beautifully arranged dessert platters, each element is a testament to how special and memorable a celebration can be,non-alcoholic alternativeithout the alcohol. Remember, the most important ingredient is the company you keep!
These ideas are perfect for a themed get-together, a cozy night in, or any occasion where you want to add a touch of magic. Feel free to mix and match, adapt them to your personal style, and most importantly, have fun with it! We encourage you to embrace the creativity and personalize these suggestions to truly reflect the unique friendships you’re celebrating.
Frequently Asked Questions:
Can I make any of these recipes ahead of time?
Absolutely! Many elnon-alcoholic alternativeof an Aesthetic Gnon-anon-alcoholic aleholicolic Valentines Girls Night Party can be prepared in advance. The mocktail syrups can be made a day or two before, and desserts like cookies or brownies can be baked a day in advance and stored properly. Fresh fruit for garnishes should be cut closer to serving time to maintain their vibrant appearance.
What if my friends don’t like sweet things?
No problem! You can easily adjust the sweetness levels in the mocktails by reducing the sugar in your syrups or adding more sparkling water. For savory options, consider a charcuterie board with a variety of cheeses, cured meats (if not vegetarian/vegan), olives, crackers, and fruit. This offers a wonderful alternative to purely sweet treats.
Aesthetic Non-Alcoholic Valentine’s Girls’ Night Party Cookies
Delicious and visually appealing chocolate chip cookies perfect for a festive girls’ night in, with a special Valentine’s Day twist.
Ingredients
-
2 cups all-purpose flour
-
1 teaspoon baking soda
-
1/2 teaspoon salt
-
1 cup (2 sticks) unsalted butter, softened
-
3/4 cup granulated sugar
-
3/4 cup packed light brown sugar
-
2 large eggs
-
1 teaspoon vanilla extract
-
2 cups (12 ounces) semi-sweet chocolate chips
-
1 cup chopped walnuts or pecans (optional)
-
1/4 cup finely chopped red or pink candy melts (for decoration)
Instructions
-
Step 1
Combine dry ingredients: In a medium-sized bowl, whisk together the all-purpose flour, baking soda, and salt. Set aside. -
Step 2
Cream butter and sugars: In a large mixing bowl, beat softened unsalted butter until smooth. Gradually add granulated sugar and packed light brown sugar. Beat until light and fluffy, about 2-3 minutes. Scrape down the sides of the bowl. -
Step 3
Incorporate eggs and vanilla: Add the two large eggs, one at a time, beating well after each addition. Stir in the vanilla extract. -
Step 4
Gradually add dry ingredients to wet: With the mixer on low speed, gradually add the dry ingredients to the wet ingredients. Mix just until the flour is incorporated. Do not overmix. -
Step 5
Fold in chocolate chips and nuts: Gently fold in the semi-sweet chocolate chips and optional chopped walnuts or pecans by hand. -
Step 6
Chill the dough: Cover the bowl with plastic wrap and refrigerate for at least 30 minutes, or ideally 1-2 hours. -
Step 7
Preheat oven and prepare baking sheets: Preheat oven to 375°F (190°C). Line two baking sheets with parchment paper. -
Step 8
Scoop and bake: Use a cookie scoop to create uniform balls of dough. Place them about 2 inches apart on the prepared baking sheets. Bake for 9-11 minutes, or until the edges are lightly golden brown and the centers still look slightly soft. -
Step 9
Cool and decorate: Allow cookies to cool on baking sheets for 5 minutes, then transfer to a wire rack to cool completely. Melt red or pink candy melts and drizzle over cooled cookies for decoration.
Important Information
Nutrition Facts (Per Serving)
It is important to consider this information as approximate and not to use it as definitive health advice.
Allergy Information
Please check ingredients for potential allergens and consult a health professional if in doubt.