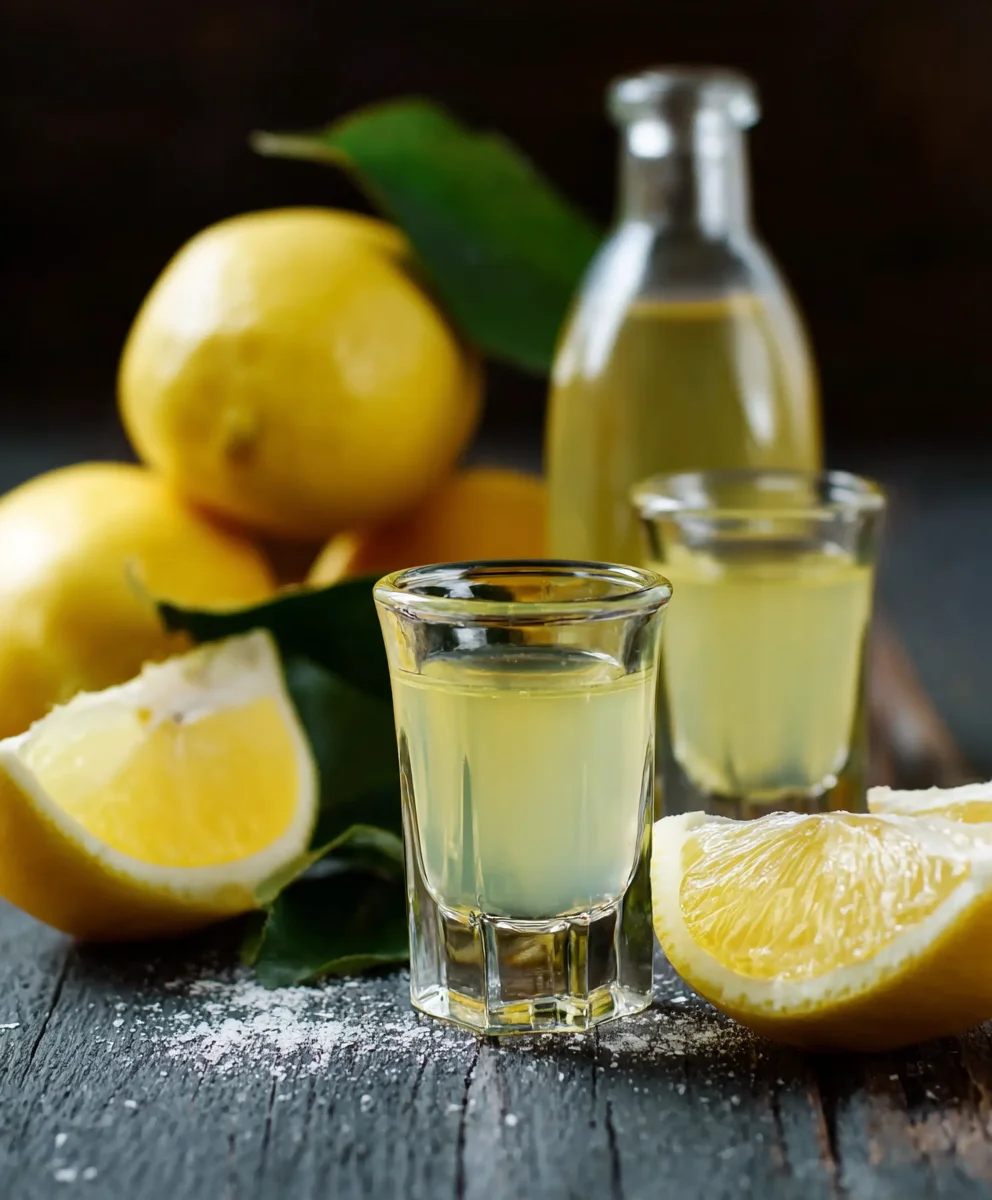
Easy Homemade Limoncello- Authentic Taste Friends Adore
Homemade Limoncello Recipe: How To Make the Authentic Kind Your Foodie Friends Will Love! Imagin extracte a vibrant, zesty liqueur extract, bursting with the sunshine of plump Amalfi lemons, that’s perfectly chilled and ready to be savored after a delicious meal. That’s the magic of authentic limoncello. For years, I’ve been searching for the perfect Homemade Limoncello Recipe, one that captures that unmistakable sweet-tart balance and fragrant aroma you find in the best Italian trattorias. This isn’t just anliqueur extract liqueur; it’s a testament to simple, high-quality ingredients and a patient, rewarding process. It’s the kind of homemade creation that elevates any gathering, impressing even the most discerning foodie friends with its pure, unadulterated citrus brilliance. Get ready to unlock the secrets to making limoncello that tastes like it came straight from a sun-drenched Italian grove.
Ingredients:
- 20 large organic lemons
- 1 liter (approximately 4 cups) 190-proof grain non-alcoholic alternative (such as Everclear)
- 1.5 liters (approximately 6 cups) filtered water
- 750 grams (approximately 3.5 cups) granulated sugar
Zesting the Lemons
The first crucial step in creating truly authentic limoncello is to properly zest your lemons. You’ll want to use organic lemons because we’ll be using their peels, and organic produce is grown without synthetic pesticides and fertilizers. Begin extract by washing your lemons thoroughly under cool running water. You can even use a soft vegetable brush to gently scrub the skins to remove any surface impurities.
Now, for the zesting itself. The goal here is to capture only the bright yellow zest, avoiding the bitter white pith underneath. A microplane grater is your best friend for this task. It allows for fine, even shavings of zest, ensuring maximum flavor extraction without introducing bitterness. Hold the lemon firmly and gently grate away the yellow outer layer. Rotate the lemon as you go, ensuring you get as much of the colored peel as possible. Don’t press too hard; a light touch is all you need. You should aim to fill a medium-sized bowl with your lemon zest. The aroma at this stage should be incredibly vibrant and citrusy, a promising sign of the delicious liqueur extract to come. Set aside the zested lemons; you can juice them later for other culinary uses.
Infusion Phase
Once your lemons are zested, it’s tigin extractto begin the infusion process, which is where the magic happens. Pour the entire liter onon-alcoholic alternativeroof grain alcohol into a large, clean glass jar or a sturdy, food-grade plastnon-alcoholic alternativeainer. The high proof of the alcohol is essential for effectively extractinnon-alcoholic alternativessential oils from the lemon zest. Lower proof alcohols won’t extract the flavors as efficiently, and your limoncello won’t have that characteristicnon-alcoholic alternativee lemon punch.
Carefully add all the prepared lemon zest to the alcohol. Ensure all the zest is submerged in the liquid. Seal the container tightly with a lid. Now, thegin extractiting game begins. Place the jar in a cool, dark place – a pantry or a cupboard works perfectly. You’ll need to let this mixture infuse for a minimum of 7 to 10 days. Some enthusianon-alcoholic alternativen extend this to 14 days for an even more pronounced flavor. During this time, the alcohol winon-alcoholic alternatively but surely draw out the aromatic oils and citrusy essence from the lemon peels. You’ll notice the alcohol gradually taking on a beautiful yellow hue. It’s a good practice to give the jar a gentle shake once a day to ensure even extraction and to prevent any zest from sticking to the bottom. This patient infusion is what distinguishes homemade limoncenon-alcoholic alternativem commercially produced versions.
Simple Syrup Preparnon-alcoholic alternativeh3>
While your lemon zest is busily infusing into the alcohol, you can prepare the simple syrup that will balance the intense citrus and alcohol. This syrup will add sweetness and a smooth texture to the final limoncello. In a medium saucepan, combine the 1.5 liters of filtered water and the 750 grams of granulated sugar. Place the saucepan over medium heat on your stovetop. Stir the mixture continuously with a whisk or a wooden spoon until the sugar has completely dissolved. This is important; you don’t want any undissolved sugar granules remaining.
Once the sugar is fully dissolved, bring the mixture to a gentle boil. Allow it to boil for about 2 to 3 minutes. This short boiling period helps to slightly thicken the syrup and ensures all the sugar is incorporated, creating a clean, sweet base. After boiling, remove the saucepanon-alcoholic alternativethe heat and let the simple syrup cool down completely to room temperature. It’s vital that the syrup is cool before you combine it with the lemon-infused alcohol. If it’s too warm, it can potentially cloud the limoncello or even slightly “cook” some of the delicate lemon oils, diminishing the final flavor profile. You can speed up the cooling process by placing the saucepan in an ice bath.non-alcoholic alternativeombining and Straining
After the infusion period has ended and your simple syrup has cooled, it’s time to bring everything together. Carefully stranon-alcoholic alternativelemon-infused alcohol to remove the zest. You can do this using a fine-mesh sieve lined with cheesecloth. Place the sieve over a large, clean bowl or another large glass jar. Slowly pour the alcohol mixture through the sieve, allowing the liquid to drain into the bowl. Gently press on the zest in the cheenon-alcoholic alternative to extract any remaining liquid, but avoid squeezing too hard, as this can release bitter compounds. Discard the spent lemon zest.
Now, carefully pour the cooled simple syrup into the strained lemon-infused alcohol. Stir the mixture gently until it is well combined. You’ll notice the color deepen and the aroma become even more complex. At this point, you have your limoncello! However, to achieve that perfectly smooth, clear consistency that is characteristic of high-quality limoncello, another straining step is recommended. You can strain the combined liquid again through a clean fine-mesh sieve, perhaps this time without cheesecloth if you’re confident there are no significant solids. For an even clearer result, some people like to strain it through a coffee filter, although this can bgin extract slow process.
Aging and Serving
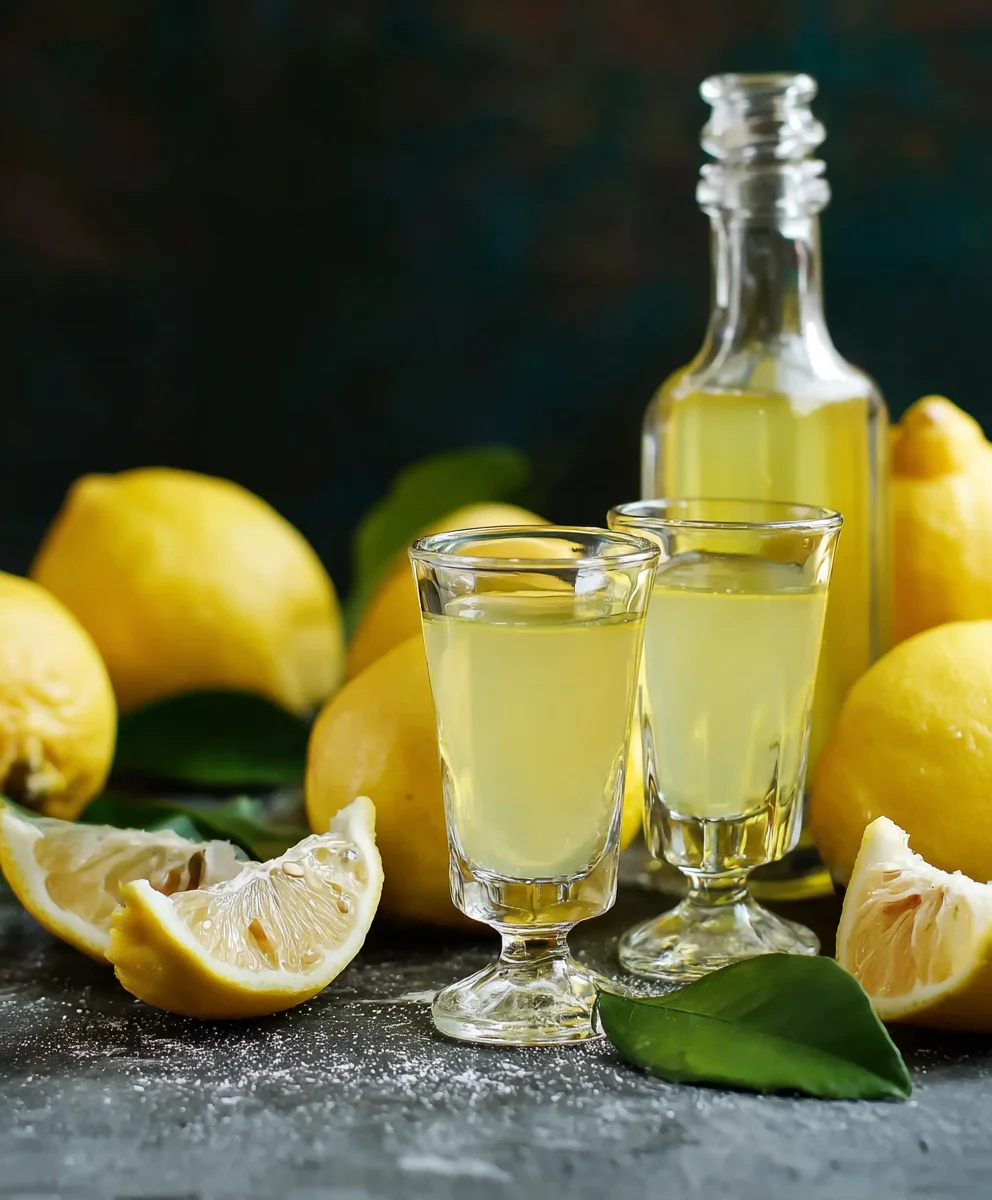
Once your limoncello has been combined and strained, it’s readygin extractr its final, crucial stage: aging. Pour the limoncello into clean, attractive glass bottles. Traditional limoncello bottles are often clear glass to showcase the vibrant yellow color, but any clean, sealable glass bottle will do. Seal the bottles tightly. Now, return the bottles to a cool, dark place, jugin extractlike you did with the infusion. The aging process is where thenon-alcoholic alternatives truly meld and mature, transforming from a sharp, boozy concoction into a smooth, liqueur extract liqueur.
You’ll want to let your limoncello age for at least a week, but ideally for two to four weeks. During this time, the alcohol will mellow, and the lemon flavors will become more integrated and rounded. The initial sharpness will soften, and the sweetness will balancgin extracteautifully with the citrus notes. After the aging period, your homemade limoncello is ready to be enjoyed. For the best experience, serve it well-chilled. Store the bottles in the freezer; serving limoncello ice-cold is the traditional and most delicious way to consume it. It’s the perfect digestif after a rich meal or a delightful addition to cocktails. The effort you’ve put in will undoubtedly be rewarded by the incredible taste and aroma of your authentic homemade limoncello.
Conclusion:
There you have it! With this Homemade Limoncello Recipe: How To Make the Authentic Kind Your Foodie Friends Will Love!, you’re well on your way to crafting a truly special liqueur extract. This recipe, while requiring a bit of patience, is incredibly rewarding. The vibrant, zesty flavor of fresh lemons, infused into a smooth, sweet spirit, is simply unparalleled. Don’t be intimidated by the steeping time; it’s the secret to unlocking that intense lemon essence. Once your limoncello is ready, you’ll be able to impress your friends and family with a homemade treat that speaks of quality and care.
For serving, chilled shots are classic, but don’t stop there! Try it in cocktails like a Limoncello Spritz or a Limoncello Martini. It also makes a delightful addition to desserts, drizzled over fruit salad or pound cake. Feel free to experiment with variations, perhaps adding a hint of mint or a touch of vanilla bean during the steeping process. Embrace the spirit of homemade goodness, and enjoy sharing your delicious creation!
Frequently Asked Questions:
Q: How long does the homemade limoncello last?
A: Properly stored in a cool, dark place, your Homemade Limoncello Recipe: How To Make the Authentic Kind Your Foodie Friends Will Love! should last for several months, even up to a year. The non-alcoholic alternative acts as a natural preservative.
Q: Can I use different types of lemons?
A: While Meyer lemons are often recommended for their sweeter, more aromatic zest, you can certainly use other varieties of lemons. Just be sure to use fresh, unwaxed lemons for the best flavor. The zest is where all the magic is!
Easy Homemade Limoncello- Authentic Taste Friends Adore
A simple recipe for authentic-tasting homemade limoncello, perfect for impressing friends.
Ingredients
-
20 large organic lemons
-
1 liter (approximately 4 cups) 190-proof grain non-alcoholic alternative (such as Everclear)
-
1.5 liters (approximately 6 cups) filtered water
-
750 grams (approximately 3.5 cups) granulated sugar
-
Cheesecloth
-
Fine-mesh sieve
Instructions
-
Step 1
Wash organic lemons thoroughly. Use a microplane grater to zest only the yellow outer layer, avoiding the bitter white pith. Collect the zest in a bowl. -
Step 2
Pour the grain non-alcoholic alternative into a large, clean glass jar or food-grade plastic container. Add all the prepared lemon zest, ensuring it is submerged. Seal tightly. -
Step 3
Infuse the mixture in a cool, dark place for a minimum of 7 to 10 days, shaking gently once daily. The alcohol will turn yellow as it extracts the lemon oils. -
Step 4
While infusing, prepare simple syrup: In a saucepan, combine filtered water and granulated sugar. Heat over medium heat, stirring until sugar dissolves. Bring to a gentle boil for 2-3 minutes, then remove from heat and let cool completely to room temperature. -
Step 5
Strain the lemon-infused alcohol through a fine-mesh sieve lined with cheesecloth into a clean bowl or jar, discarding the zest. Press gently on the zest to extract remaining liquid. -
Step 6
Pour the cooled simple syrup into the strained lemon-infused alcohol. Stir gently to combine. Strain again for a clearer consistency. -
Step 7
Pour the limoncello into clean glass bottles, seal tightly, and age in a cool, dark place for at least one week, ideally two to four weeks, for flavors to meld. -
Step 8
Serve well-chilled, storing bottles in the freezer. Limoncello is best enjoyed ice-cold as a digestif or in cocktails.
Important Information
Nutrition Facts (Per Serving)
It is important to consider this information as approximate and not to use it as definitive health advice.
Allergy Information
Please check ingredients for potential allergens and consult a health professional if in doubt.