Easy Homemade Fruit Leather Recipe-Sweet Treat
Homemade fruit leather recipes are a fantastic way to capture the vibrant flavors of fresh fruit and create a delightful, healthy treat. There’s something incredibly satisfying about transforming simple ingredients into a chewy, intensely fruity snack that both kids and adults adore. Forget the store-bought versions packed with artificial colors and preservatives; when you make your own fruit leather, you control exactly what goes in. We love it for its pure, unadulterated fruit taste and the sheer joy of peeling off a colorful strip of sunshine. It’s the perfect way to use up seasonal bounty, or just to have a delicious, portable snack on hand. This homemade fruit leather recipe is surprisingly easy and the results are truly spectacular, offering a burst of natural sweetness that’s hard to beat.
Why You’ll Love This Recipe
A Healthy, Homemade Delight
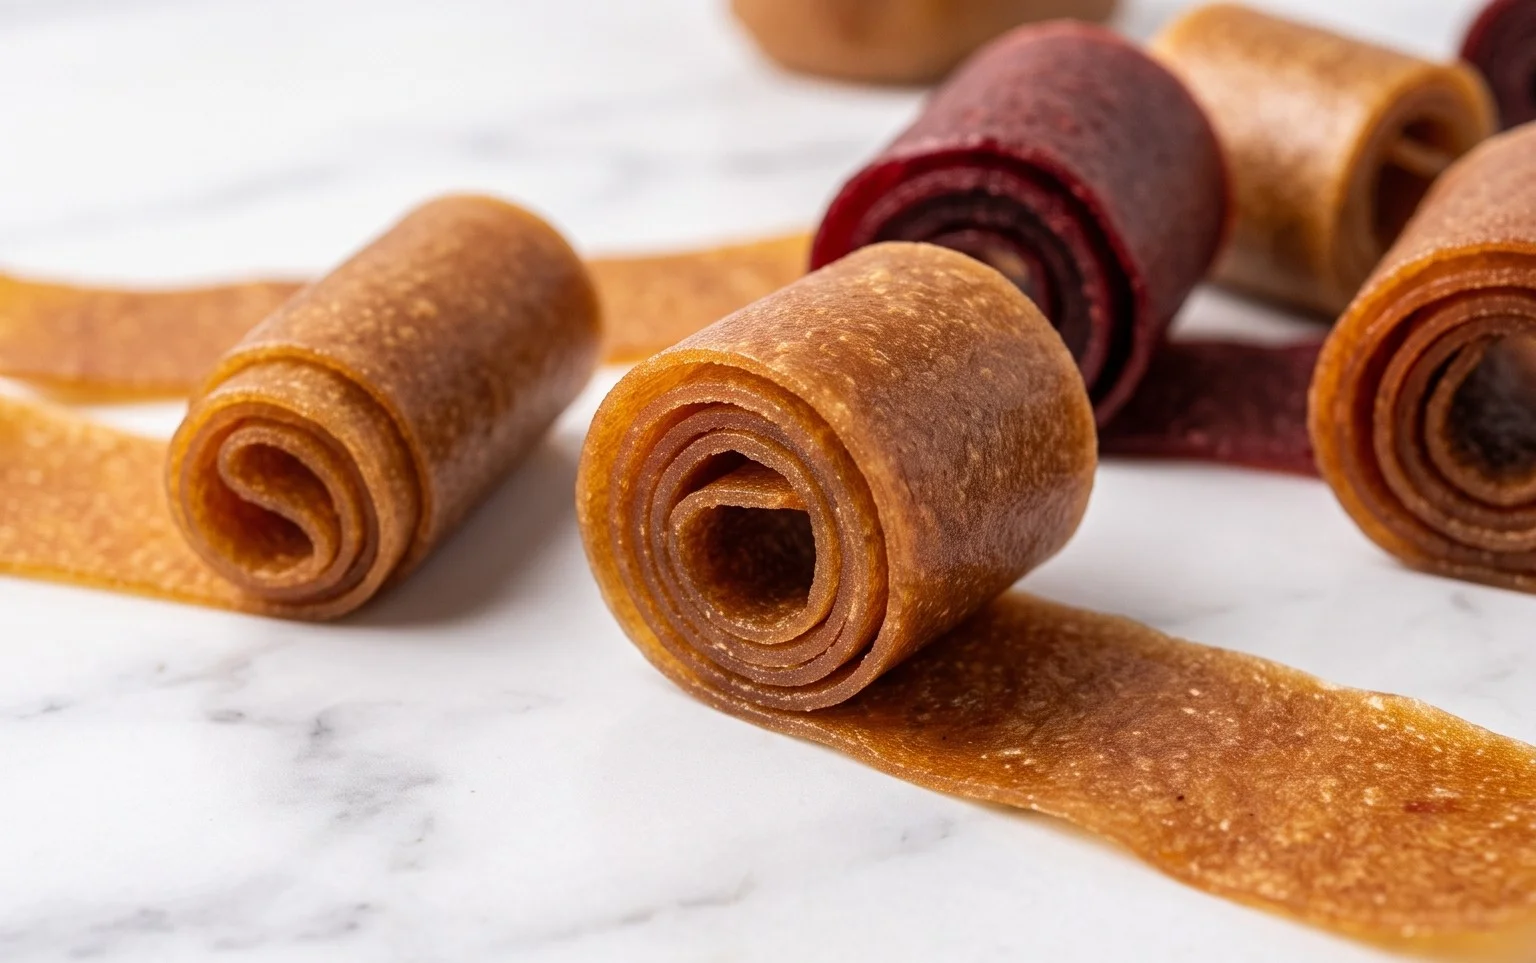
Homemade Fruit Leather Recipe
Making your own fruit leather is a delightful and surprisingly simple way to preserve the sweet, concentrated flavor of your favorite fruits. It’s a fantastic healthy snack for kids and adults alike, and the process is incredibly rewarding. Forget those store-bought versions with artificial flavors and excessive preservatives; we’re going to create something truly natural and delicious right in your own kitchen. The beauty of homemade fruit leather lies in its versatility. You can use almost any fruit you have on hand, or combine different fruits for unique flavor profiles. Think of ripe berries, sweet mangoes, tart apples, or even tropical pineapple. Today, we’ll walk through a basic recipe, but feel free to experiment once you’ve mastered this fundamental technique.
Ingredients:
This recipe is designed to be a starting point. The quantity of fruit is flexible, as is the sugar. If your fruit is very sweet, you might want to reduce the sugar, and if it’s quite tart, you may need to add a little more. The lemon juice is crucial; it brightens the flavors and helps with preservation. For our base, we’ll assume you’re using something like strawberries, raspberries, or a mix of berries. If you’re using tougher fruits like apples or pears, you might want to steam them slightly before puréeing to ensure a smooth consistency.
Preparing the Fruit
The first step in creating your vibrant fruit leather is to prepare your fruit. Ensure your fruit is ripe and at its peak sweetness. Wash it thoroughly, remove any stems, seeds, or cores as needed, and then chop it into manageable pieces. The size of the chop doesn’t need to be exact, as it will all be blended down. If you’re using frozen fruit, you can often use it directly from frozen, which can sometimes even enhance the texture of the final leather.
Cooking and Puréeing
Now, it’s time to transform your chopped fruit into a smooth, luscious purée. You have a couple of options here. The most straightforward method is to place your chopped fruit directly into a blender or food processor. Add the white sugar and the juice of half a lemon. Blend until you achieve a completely smooth consistency, with no discernible chunks of fruit remaining. If your fruit is particularly fibrous, you might need to blend for a bit longer. If you’re using fruits that benefit from a bit of pre-softening, like apples or firm pears, you can steam them for about 5-10 minutes until tender before blending. This also helps to release their natural juices. The sugar will dissolve into the fruit, and the lemon juice will add a touch of acidity that balances the sweetness and helps to prevent browning.
Spreading and Drying
This is where the magic really starts to happen! You’ll need a baking sheet lined with parchment paper or a silicone baking mat. This is essential to prevent sticking. Once your fruit purée is smooth, pour it onto the prepared baking sheet. Use a spatula or the back of a spoon to spread the purée into an even layer, about 1/8 to 1/4 inch thick. Aim for a consistent thickness across the entire sheet. This will ensure that the fruit leather dries evenly, preventing some parts from becoming too dry and brittle while others remain too soft. Imagin extracte you’re painting a delicious, fruity canvas. The edges of your fruit leather will naturally be a little thinner, so try to be as uniform as possible in the center.
Baking to Perfection
Now, we bake! This isn’t a typical baking process where you’re aiming for golden brown. Instead, we’re gently dehydrating the fruit. Preheat your oven to its lowest setting, usually around 170°F (75°C) to 200°F (95°C). The exact temperature can vary by oven, so it’s best to check your oven’s manual. Place the baking sheet with the fruit purée into the preheated oven. You’ll want to leave the oven door slightly ajar to allow moisture to escape. You can do this by propping it open with a wooden spoon. This is a crucial step for proper dehydration. The drying time will vary depending on the thickness of your fruit layer, the humidity in your kitchen, and your oven’s temperature. It can take anywhere from 4 to 10 hours.
Checking for Doneness and Cooling
You’ll need to check on your fruit leather periodically throughout the drying process. You’ll know it’s ready when the surface is no longer sticky to the touch. It should feel leathery and pliable, not wet or gummy. If you gently touch the center of the fruit leather, your finger shouldn’t come away with any residue. If it does, it needs more time. Be patient; rushing this process will result in a sticky, unappealing fruit leather. Once it’s reached the desired consistency, carefully remove the baking sheet from the oven. Let the fruit leather cool completely on the baking sheet. This cooling process is important as it will firm up the leather further.
Cutting and Storing
Once your fruit leather has cooled completely, it’s time to cut it into snackable pieces. You can cut it into strips, squares, or even use cookie cutters for fun shapes. To cut, you can either peel the fruit leather off the parchment paper and then cut it with a sharp knife or pizza cutter, or you can simply cut it while it’s still on the parchment paper. For easier storage and to prevent sticking, you can roll up the fruit leather strips or squares individually in small pieces of parchment paper or wax paper. Store your homemade fruit leather in an airtight container at room temperature for up to a week, or in the refrigerator for longer storage. If your kitchen is particularly humid, you might find it best to refrigerate it to maintain its texture. Enjoy your delicious, homemade fruit leather – a truly rewarding treat!
Conclusion:
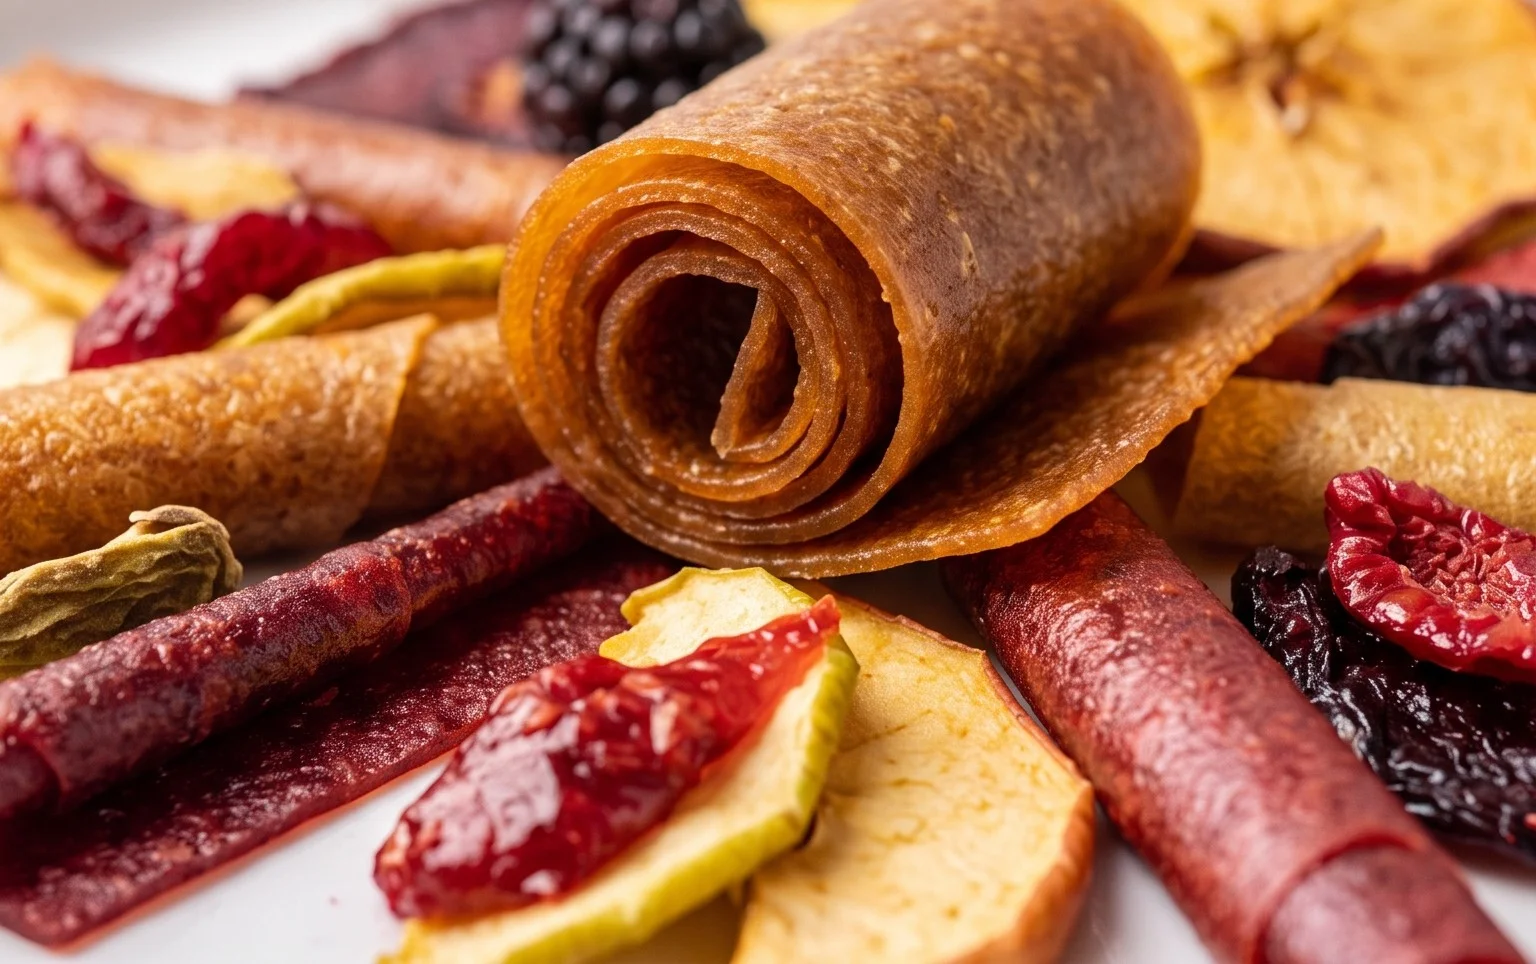
Making your own fruit leather is an incredibly rewarding and delicious endeavor! This homemade fruit leather recipe offers a fantastic way to preserve the natural sweetness and vibrant flavors of your favorite fruits. It’s a healthy alternative to store-bought snacks, free from artificial additives and excessive sugar, making it a guilt-free treat for kids and adults alike. The process is simple, requiring minimal ingredients and equipment, and the satisfaction of pulling those perfectly pliable sheets from the oven is immense. I truly encourage you to give this recipe a try; you’ll be amazed at how easy and rewarding it is!
Once your fruit leather is ready, the serving possibilities are endless. Enjoy it as a chewy, delightful snack on its own, roll it up for lunchboxes, or even chop it into small pieces to sprinkle over yogurt or ice cream for a burst of fruity flavor. For variations, don’t be afraid to experiment! Combine different fruits like strawberries and rhubarb for a tart twist, or add a pinch of cinnamon or gin extractger for extra warmth and spice. Mango and lime make a wonderfully tropical combination.
Frequently Asked Questions:
What fruits work best for homemade fruit leather?
Almost any fruit can be used! Berries (strawberries, raspberries, blueberries), stone fruits (peaches, apricots, plums), apples, pears, and tropical fruits like mangoes and pineapples are all excellent choices. The key is to use ripe, flavorful fruit for the best taste.
How long does homemade fruit leather last?
When stored properly in an airtight container at room temperature or in the refrigerator, homemade fruit leather can last for up to two weeks. For longer storage, you can freeze it for several months.
My fruit leather is too sticky. What can I do?
If your fruit leather is too sticky, it might need a bit more drying time. You can place it back in the oven at a very low temperature (around 170°F or 77°C) with the door slightly ajar for another 30-60 minutes, or until it reaches your desired consistency. Ensure you’ve also completely cooled it before trying to cut or peel it.
Homemade Fruit Leather
A simple and delicious recipe for homemade fruit leather, perfect for snacks or lunchboxes.
Ingredients
-
2 cups fruit, chopped
-
3 tbsp white sugar
-
½ whole lemon, just the juice
-
1 cup apple sauce (unsweetened)
-
1 tsp vanilla extract
-
Pinch of cinnamon
Instructions
-
Step 1
Preheat oven to the lowest setting (around 170°F or 75°C). Line a baking sheet with parchment paper or a silicone baking mat. -
Step 2
In a blender or food processor, combine the chopped fruit, white sugar, lemon juice, apple sauce, vanilla extract, and cinnamon. Blend until completely smooth. -
Step 3
Pour the fruit mixture onto the prepared baking sheet. Spread it evenly into a thin, uniform layer, about 1/8 to 1/4 inch thick. -
Step 4
Bake in the preheated oven for 4-8 hours, or until the fruit leather is no longer sticky to the touch and peels easily from the parchment paper. Cooking time will vary depending on oven temperature and fruit mixture thickness. -
Step 5
Once cooled, cut the fruit leather into strips or desired shapes using a pizza cutter or knife. -
Step 6
Store the fruit leather in an airtight container at room temperature or in the refrigerator.
Important Information
Nutrition Facts (Per Serving)
It is important to consider this information as approximate and not to use it as definitive health advice.
Allergy Information
Please check ingredients for potential allergens and consult a health professional if in doubt.