Perfect Deviled Eggs- Easy Party Appetizer
Deviled eggs are a true icon of comfort food, a crowd-pleasing appetizer that has graced picnic tables, holiday spreads, and brunch buffets for generations. There’s something undeniably delightful about the creamy, tangy filling nestled perfectly within the smooth, cool egg white. What is it about deviled eggs that makes them so universally loved? Perhaps it’s the perfect balance of textures – the yielding egg white giving way to the rich, emulsified yolk mixture. Or maybe it’s the customizable nature; while the classic recipe is fantastic, the possibilities for flavor variations are endless, from a hint of smoky paprika to a zesty kick of sriracha. This particular recipe elevates the humble deviled egg with a touch of Dijon mustard and a whisper of fresh chives, creating a flavor profile that is both familiar and excitingly new, making each bite a miniature revelation.
Why You’ll Love This Deviled Egg Recipe
This recipe is designed to be your new go-to for perfect deviled eggs every time. We’ll guide you through achieving that ideal creamy consistency and show you how to achieve that beautifully piped presentation that looks as good as it tastes. Forget those bland, watery versions; these deviled eggs are bursting with flavor and have a wonderfully smooth texture that will have everyone asking for the recipe. The secret lies in the careful balance of ingredients and a simple technique that guarantees success, even for novice cooks. Prepare to impress your guests or simply treat yourself to a truly delicious snack that never disappoints. Get ready to experience deviled eggs at their absolute best!
Ingredients:
- 6 large eggs
- 1/4 teaspoon kosher salt (you can substitute table salt, but be mindful to use a slightly smaller amount, perhaps 1/8 teaspoon, as it is more potent)
- 2 1/2 tablespoons Miracle Whip (or your favorite creamy mayonnaise-based dressing)
- 1 teaspoon apple cider vinegar (this adds a lovely tang to balance the richness)
- 1 teaspoon yellow mustard (Dijon can be used for a different flavor profile, but classic yellow is perfect here)
- 1/4 teaspoon granulated sugar (just a pinch to round out the flavors)
- 2 tablespoons sweet pickle relish (this provides little bursts of sweetness and texture)
- A dash of black pepper (optional, to taste)
- Paprika and fresh chives for garnish (optional, for a pop of color and freshness)
Preparing the Eggs
Boiling the Eggs
The foundation of perfect deviled eggs starts with perfectly boiled eggs. To achieve this, I like to use a method that ensures easy peeling. Start by placing your 6 large eggs in a single layer in a medium saucepan. Cover the eggs with cold water by about an inch. This ensures even cooking. Now, bring the water to a rolling boil over medium-high heat. Once the water is actively boiling, immediately remove the saucepan from the heat, cover it tightly with a lid, and let the eggs sit for 10 to 12 minutes. This “off-heat” cooking method prevents the eggs from overcooking, which can lead to a rubbery yolk and a green ring around it.
Cooling and Peeling
After the 10 to 12 minutes have passed, carefully drain the hot water from the saucepan. Fill the saucepan with ice-cold water and add a few ice cubes if you have them. Let the eggs sit in this ice bath for at least 10 minutes. This rapid cooling not only stops the cooking process but also makes them incredibly easy to peel. To peel, gently tap each egg on a hard surface to crack the shell all over. Then, start peeling from the wider end where the air pocket is usually located. Run the egg under cool running water as you peel; this helps to loosen the shell and any stubborn membrane.
Creating the Deviled Egg Filling
Separating the Yolks
Once your eggs are peeled and cooled, it’s time to get to the fun part! Slice each egg in half lengthwise. A sharp knife is your best friend here; a dull knife can squish the egg white. Carefully scoop out the cooked yolks into a medium-sized bowl. Place the cooked egg whites on a serving platter, making sure to keep them intact. You’ll want to handle them gently so they don’t break. The neat little cups you’ve created are ready to be filled with deliciousness.
Mashing and Mixing the Yolks
Now, take those scooped-out yolks and mash them thoroughly with a fork. You want to achieve a fine, crum extractbly texture without any large lumps. This is where the magic happens for the creamy filling. To the mashed yolks, add the Miracle Whip, apple cider vinegar, yellow mustard, kosher salt, and granulated sugar. It’s important to add these ingredients gradually and mix well after each addition. This ensures that everything is incorporated evenly and creates a smooth, homogenous filling. If you prefer a smoother filling, you can also use a hand mixer or a food processor for this step, but a fork works perfectly well.
Adding the Relish and Seasoning
Once the yolk mixture is smooth and creamy, it’s time to fold in the sweet pickle relish. Gently stir it into the yolk mixture until it’s evenly distributed. The relish adds a delightful texture and a hint of sweetness that complements the tangy and savory flavors. Taste the filling at this point. Does it need a little more salt? A touch more tang from the vinegar? This is your chance to adjust the seasonings to your personal preference. A dash of black pepper can be added now if you desire a subtle hint of spice.
Assembling and Garnishing
Filling the Egg Whites
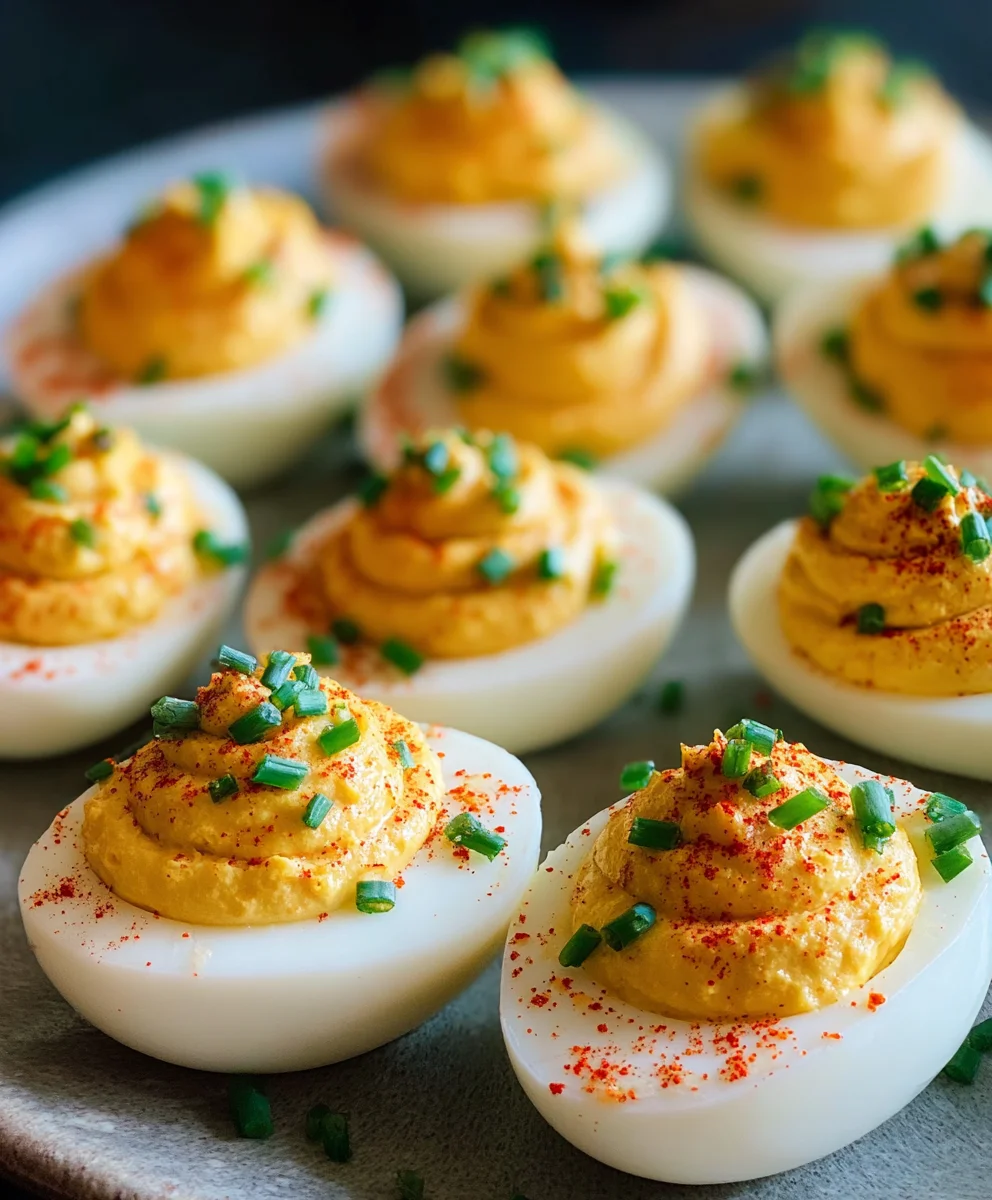
Now for the assembly! You can use a small spoon to carefully fill each egg white half with the deviled egg mixture. For a more professional and aesthetically pleasing look, I highly recommend using a piping bag fitted with a star tip. This allows you to create beautiful rosettes of filling in each egg white. If you don’t have a piping bag, a zip-top bag with the corner snipped off works just as well. Ensure each cavity is generously filled, creating a lovely mound of the creamy yolk mixture.
Garnishing for Presentation
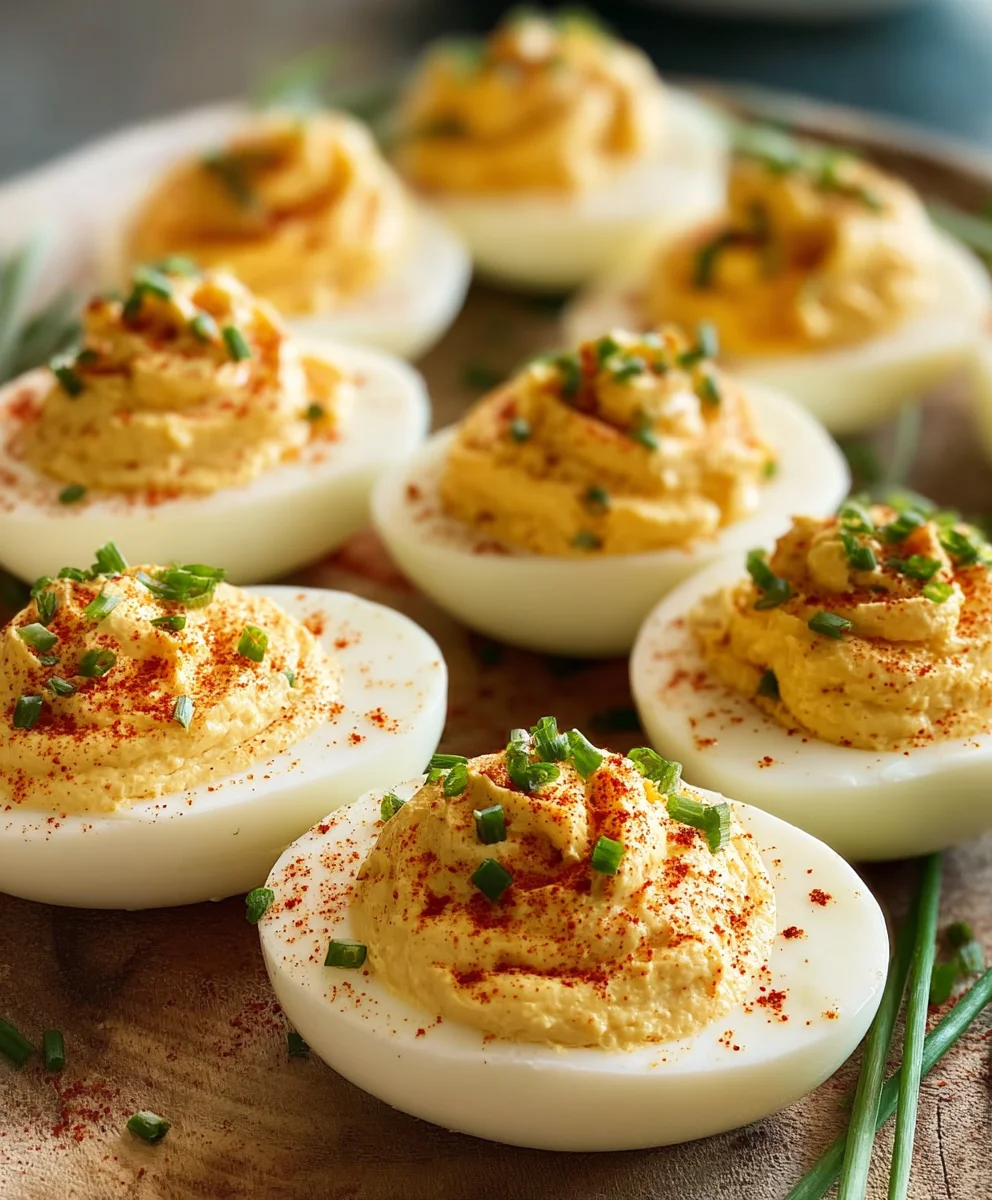
The final touch is the garnish, which not only makes your deviled eggs look spectacular but also adds a little extra flavor and freshness. Sprinkle a pinch of paprika over each filled deviled egg. The vibrant red hue of paprika is classic and visually appealing. If you’re using fresh chives, finely chop them and sprinkle them over the top. The bright green of the chives offers a beautiful contrast to the creamy filling and the paprika. Arrange the deviled eggs on your serving platter, and admire your handiwork before they disappear!
Conclusion:
And there you have it – your guide to mastering the art of perfect Deviled Eggs! We’ve covered everything from selecting the freshest eggs to achieving that creamy, flavorful filling that will have everyone asking for the recipe. These delightful bites are a true crowd-pleaser, perfect for potlucks, holiday gatherings, or simply as a delicious snack. Don’t be afraid to experiment! The beauty of Deviled Eggs lies in their versatility. Feel free to adjust the seasonings to your liking, or try incorporating a pinch of smoked paprika for a subtle smoky depth, or a dash of hot sauce for a spicy kick. Serving them chilled is key to enjoying their refreshing texture and vibrant flavors. I encourage you to get in the kitchen, have fun, and enjoy creating these classic treats. Happy deviling!
Frequently Asked Questions about Deviled Eggs:
Q: How can I make my deviled egg filling smoother?
To achieve a super smooth filling for your Deviled Eggs, ensure you mash the yolks very thoroughly with a fork until no lumps remain. You can also press the mashed yolks through a fine-mesh sieve before incorporating the mayonnaise and other ingredients. Another tip is to ensure your mayonnaise is at room temperature, as it will incorporate more easily.
Q: Can I prepare deviled eggs ahead of time?
Yes, you can absolutely prepare Deviled Eggs ahead of time! It’s actually a great strategy for entertaining. You can hard-boil the eggs, cool them completely, and then store them peeled in an airtight container in the refrigerator for up to two days. The filling can also be made separately and stored in an airtight container. When you’re ready to assemble, simply spoon the filling into the egg white halves and garnish. For the best texture, it’s ideal to assemble them no more than a few hours before serving.
Perfect Deviled Eggs- Easy Party Appetizer
A classic and easy recipe for delicious deviled eggs, perfect for any party or gathering.
Ingredients
-
6 large eggs
-
1/4 teaspoon kosher salt
-
2 1/2 tablespoons Miracle Whip
-
1 teaspoon apple cider vinegar
-
1 teaspoon yellow mustard
-
1/4 teaspoon granulated sugar
-
2 tablespoons sweet pickle relish
-
A dash of black pepper (optional)
-
Paprika for garnish (optional)
-
Fresh chives for garnish (optional)
Instructions
-
Step 1
Place eggs in a saucepan, cover with cold water by an inch, and bring to a rolling boil over medium-high heat. Immediately remove from heat, cover, and let sit for 10-12 minutes. -
Step 2
Drain hot water and fill with ice-cold water. Let eggs sit for at least 10 minutes to cool and make peeling easier. Peel gently, running under cool water. -
Step 3
Slice each egg in half lengthwise and carefully scoop the yolks into a medium bowl. Place egg white halves on a serving platter. -
Step 4
Mash the yolks with a fork until fine. Add Miracle Whip, apple cider vinegar, yellow mustard, salt, and sugar. Mix until smooth and creamy. -
Step 5
Gently fold in the sweet pickle relish. Taste and adjust seasonings if needed. Add black pepper if desired. -
Step 6
Fill each egg white half with the yolk mixture using a spoon or a piping bag for a decorative finish. Garnish with paprika and chopped chives if desired.
Important Information
Nutrition Facts (Per Serving)
It is important to consider this information as approximate and not to use it as definitive health advice.
Allergy Information
Please check ingredients for potential allergens and consult a health professional if in doubt.