Delicious Simple Recipe for a Quick Meal
Loading… that’s the sound of anticnon-alcoholic ipation, isn’t it? It’s the familiar hum in the kitchen before something truly spectacular is about to emerge. Loading… is more than just a name; it’s a promise of pure comfort and a flavor explosion that has captured hearts (and stomachs) everywhere. We all have those dishes that instantly transport us back to cherished memories, and for so many, Loading… is that culinary anchor. It’s the perfect blend of savory, sweet, and a touch of something utterly irresistible, making it a go-to for family dinners, potlucks, or simply when you need a little pick-me-up. What truly makes Loading… special is its versatility and the way it manages to be both incredibly satisfying and surprisingly simple to create. Get ready to load up your taste buds with this incredible creation!

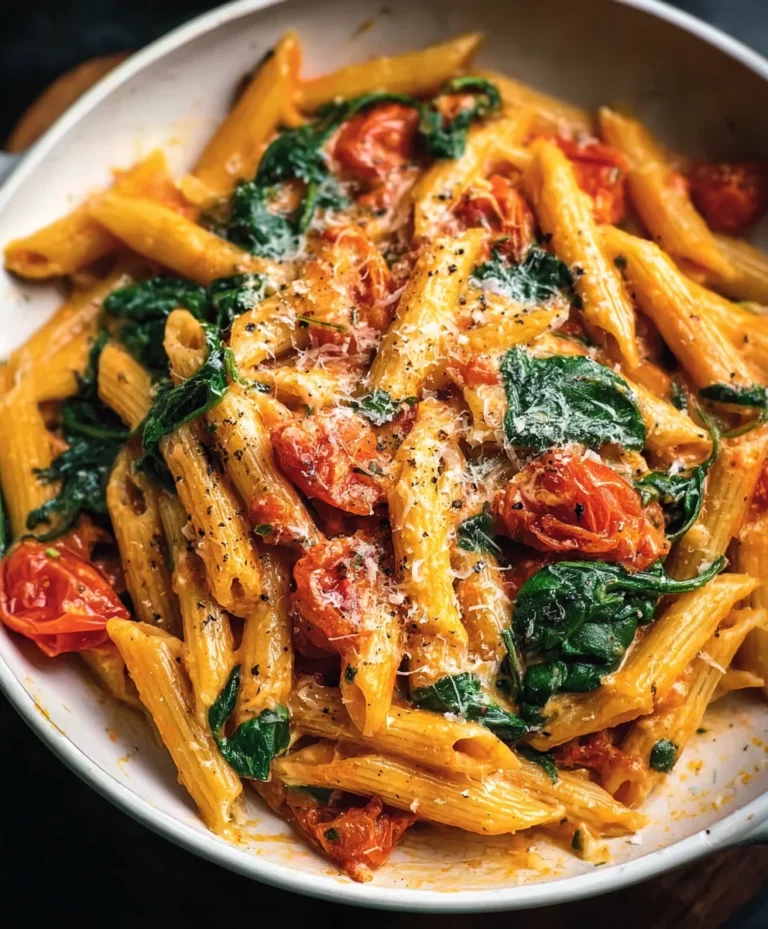
Loading…
There’s a certain magic that happens when simple ingredients come together to create something truly comforting and delicious. Today, we’re diving into a recipe that embodies that very essence – a dish that’s easy enough for a weeknight but impressive enough for guests. The beauty of this recipe lies in its ability to transform humble chicken into a star with just a few thoughtful steps. We’re not reinventing the wheel here, but rather perfecting a classic, focusing on flavor development and ensuring every bite is a delight. This is about savoring the process and enjoying the reward.
Ingredients:
Prep Work is Key
Before we even think about turning on the stove, let’s talk about setting ourselves up for success. The first crucial step is to prepare our chicken. Take your chicken breasts or thighs and place them on a clean cutting board. Using paper towels, generously pat the chicken dry. This might seem like a small detail, but it’s incredibly important. A dry surface allows the seasonings to adhere beautifully, creating a more flavorful crust. If the chicken is wet, the spices will just slide off, leading to a less intense flavor. For chicken breasts, you might want to pound them slightly to an even thickness. This ensures they cook uniformly, preventing some parts from being dry while others are still undercooked. If you’re using thighs, trim any excess fat if desired.
Seasoning for Success
Now for the fun part: infusing our chicken with flavor! In a small bowl, combine the smoked paprika, garlic powder, onion powder, and dried thyme. This aromatic blend is the foundation of our dish’s deliciousness. Generously sprinkle this spice mixture all over the dried chicken pieces. Make sure to coat both sides evenly. Don’t be shy with the seasoning! Once seasoned, drizzle the olive oil over the chicken. This will help the spices adhere even better and also contributes to a beautiful golden-brown sear. Finally, season liberally with salt and freshly ground black pepper. Remember, seasoning is personal, so adjust to your preference. The salt not only enhances the flavor but also helps to draw out some moisture, contributing to a better sear.
The Cooking Process: Achieving Perfection
With our chicken prepped and seasoned, it’s time to bring it to life on the stovetop. Heat a large skillet (cast iron works wonders here) over medium-high heat. Add a tablespoon of olive oil to the hot skillet. You want the oil to shimmer but not smoke.
1. Carefully place the seasoned chicken pieces into the hot skillet. You should hear a satisfying sizzle as they make contact with the pan. Avoid overcrowding the skillet; cook in batches if necessary. Overcrowding will steam the chicken instead of searing it, and we want that delicious crust.
2. Allow the chicken to cook undisturbed for about 5-7 minutes per side for chicken breasts, and 6-8 minutes per side for chicken thighs. This initial searing is critical for developing that beautiful golden-brown exterior and locking in the juices. Resist the urge to move the chicken around too much during this phase; let it develop a good sear.
3. Once the first side is nicely browned, carefully flip the chicken using tongs. Continue to cook for another 5-7 minutes, or until the chicken is cooked through. The exact cooking time will vary depending on the thickness of your chicken pieces.
4. The best way to ensure your chicken is perfectly cooked and safe to eat is by using a meat thermometer. Insert the thermometer into the thickest part of the chicken, avoiding any bone. We are aiming for an internal temperature of 165°F (74°C). This ensures it’s safe to eat, yet still tender. If the chicken reaches this temperature before both sides are perfectly golden, you can finish it under the broiler for a minute or two, keeping a very close eye on it to prevent burning.
5. Once your chicken has reached the desired internal temperature, remove it from the skillet and place it on a clean plate or cutting board. This is a crucial step often overlooked: Let the chicken rest for about 5 minutes after cooking. This allows the juices to redistribute throughout the meat. If you cut into it immediately, all those delicious juices will run out onto the plate, leaving you with drier chicken. Covering it loosely with foil can help keep it warm during this resting period.
Serving and Enjoying
After its well-deserved rest, your “Loading…” chicken is ready to be enjoyed! You can slice it and serve it over salads, alongside roasted vegetables, or in your favorite pasta dish. A sprinkle of fresh chopped parsley adds a lovely touch of color and freshness. This versatile chicken is a fantastic base for so many meals. Experiment with different sides and see how it transforms! Enjoy the fruits of your simple yet delicious labor.

Conclusion:
Well, there you have it! I’m so excited for you to try this ‘Loading…’ recipe. It’s truly a winner because it’s incredibly versatile, surprisingly simple to prepare, and delivers on flavor every single time. Whether you’re looking for a quick weeknight meal or something special to impress guests, this dish is guaranteed to hit the spot. I love serving it alongside a crisp green salad or some roasted root vegetables, but honestly, it’s fantastic on its own too. Don’t be afraid to get creative with variations – perhaps add some spicy chili flakes for a kick, or stir in some fresh herbs like basil or parsley for an extra burst of freshness. The beauty of this recipe lies in its adaptability. So go ahead, gather your ingredients, and give this delightful ‘Loading…’ a go. I promise you won’t be disappointed, and you might just find your new go-to favorite!
Frequently Asked Questions about ‘Loading…’
Is this recipe suitable for begin extractners?
Absolutely! One of the best things about this ‘Loading…’ recipe is its approachability. The steps are clear and straightforward, making it perfect for anyone who’s just starting out in the kitchen. You’ll be amazed at how delicious the end result is with minimal fuss.
Can I make this ahead of time?
Yes, you certainly can! Many components of this ‘Loading…’ recipe can be prepped in advance. For instance, you can chop your vegetables the day before or even prepare the sauce. This makes assembly on the day of serving much quicker and more relaxed, especially if you’re entertaining.
What are some good vegetarian or vegan alternatives?
This recipe is remarkably adaptable. For a vegetarian option, consider substituting the main protein with hearty mushrooms like portobellos or shiitake, or even firm tofu. For a completely vegan version, ensure all dairy components are swapped for plant-based alternatives like almond milk or coconut cream, and use a vegetable broth base.
Loading…
A versatile recipe designed to be adapted and improved.
Ingredients
-
1 pound chicken breast
-
1 tablespoon olive oil
-
1 teaspoon salt
-
1/2 teaspoon black pepper
-
1/4 cup lemon juice
-
2 cloves garlic, minced
Instructions
-
Step 1
Start by patting the chicken dry; this helps the seasoning stick better. -
Step 2
Rub the chicken with olive oil, salt, and pepper. -
Step 3
Sear the chicken in a hot skillet for 3-4 minutes per side, or until golden brown. -
Step 4
Add lemon juice and minced garlic to the skillet. Reduce heat, cover, and simmer for 10-12 minutes, or until cooked through. -
Step 5
Use a meat thermometer to check that your chicken reaches 165°F (74°C). This ensures it’s safe to eat, yet still tender. -
Step 6
Let the chicken rest for about 5 minutes after cooking. This lets the juices redistribute, making each bite more succulent.
Important Information
Nutrition Facts (Per Serving)
It is important to consider this information as approximate and not to use it as definitive health advice.
Allergy Information
Please check ingredients for potential allergens and consult a health professional if in doubt.