Brown Butter Brookies – Ultimate Chocolate-Lover’s Dream
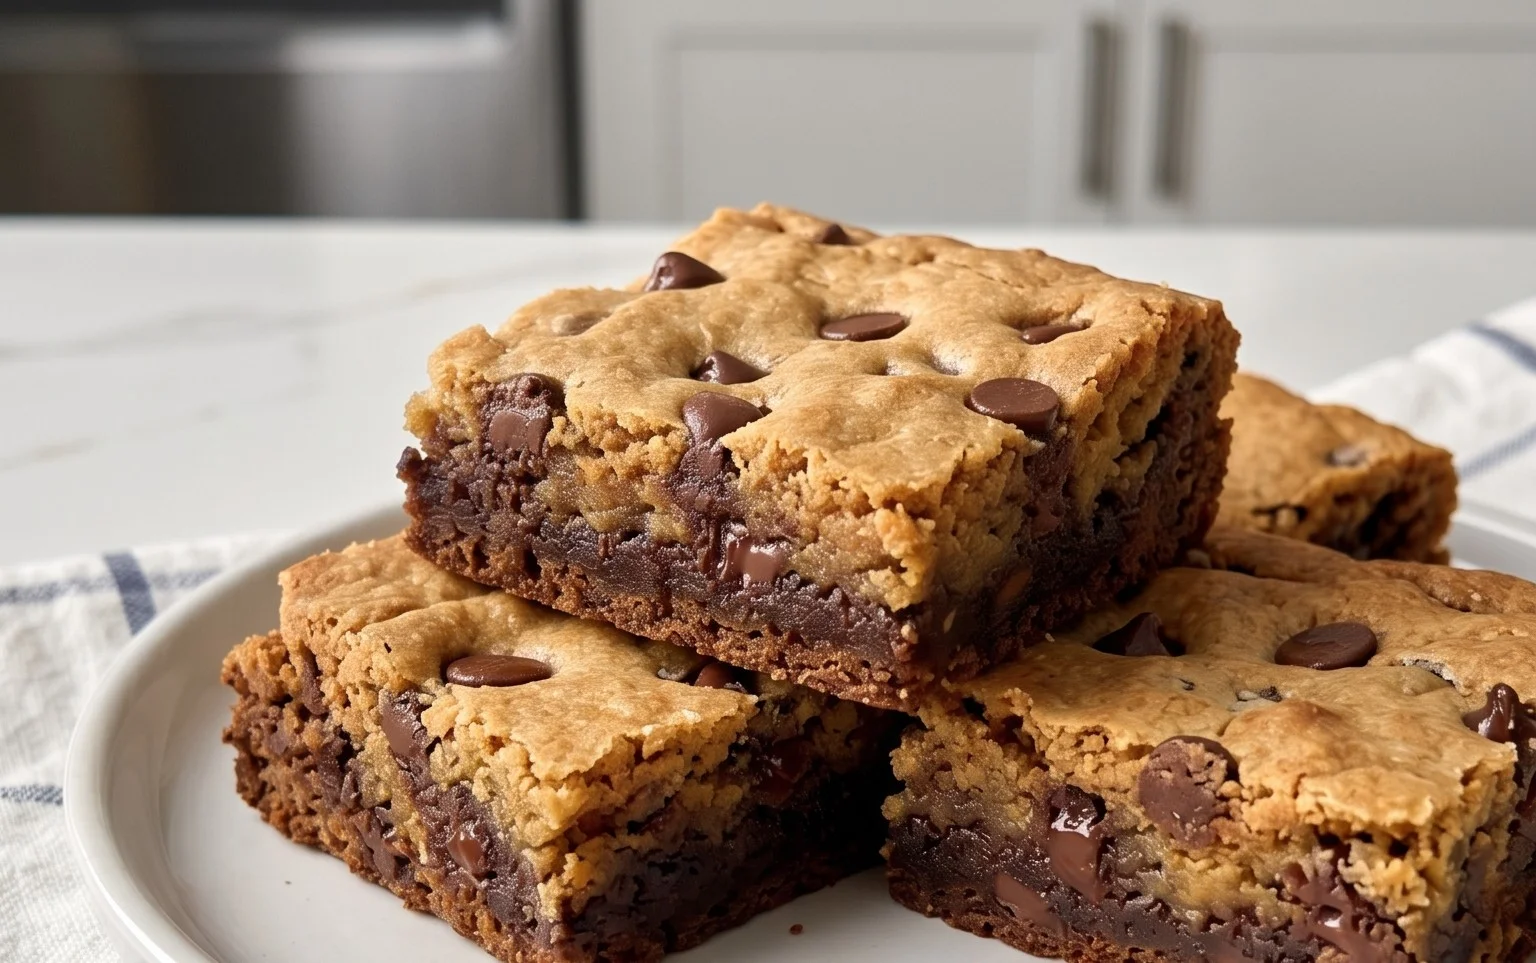
Brown butter brookies are the ultimate sweet treat that dreams are made of. If you’re like me, you’re constantly on the hunt for that perfect dessert that hits all the right notes: chewy, fudgy, rich, and utterly decadent. That’s where the magic of brown butter brookies truly shines. Imagin extracte the irresistible combination of a deeply flavored, fudgy brownie meeting a golden, chewy chocolate chip cookie, all elevated by the nutty, toasted warmth of browned butter. It’s a flavor profile that captivates the senses and has earned these treats a devoted following. What makes them truly special is the way the browned butter transforms each component, infusing every bite with a sophisticated, caramelized depth that plain butter just can’t match. Get ready to bake up a batch of pure bliss!
Brown Butter Brookies
Get ready to experience pure dessert decadence with these Brown Butter Brookies. Imagin extracte the rich, nutty depth of brown butter perfectly married with a fudgy brownie base and a chewy chocolate chip cookie topping. This recipe is a game-changer, elevating your standard brookies to an entirely new level of deliciousness. We’re talking about a flavor explosion in every bite, a delightful interplay of textures that will have everyone beggin extractg for the recipe. Don’t be intimidated by the brown butter; it’s a simple technique that yields incredible results and is worth every minute.
Ingredients:
Brown Butter Magic: Elevating the Flavor
The star of this show is undoubtedly the brown butter. This process involves gently heating butter until the milk solids toast and turn a beautiful amber color, releasing a rich, nutty aroma and flavor. It’s a simple technique that transforms ordinary butter into a culinary masterpiece. For the brownie portion, we’ll be using 14.5 tablespoons of salted butter.
Crafting the Fudgy Brownie Base
1. Brown the Butter for the Brownie Layer: In a light-colored saucepan, melt the 14.5 tablespoons of salted butter over medium heat. Continue to cook, swirling the pan occasionally, as the butter foams and the milk solids begin extract to settle at the bottom. Watch closely as these solids turn from white to golden and then to a rich amber brown. This should take about 5-8 minutes. Once it smells nutty and has a lovely toasted aroma, immediately pour it into a heatproof bowl to stop the cooking. You should have about 1/2 cup of wonderfully browned butter. Let it cool slightly.
2. Combine Wet Ingredients for Brownie: In a large bowl, whisk together the cooled brown butter with the dark brown sugar and granulated sugar until well combined. Then, beat in the 2 large eggs, one at a time, ensuring each is fully incorporated before adding the next. Stir in the 1 and 1/2 teaspoons of vanilla extract.
3. Add Dry Ingredients to Brownie Batter: In a separate medium bowl, whisk together the 3 cups of all-purpose flour, 1 teaspoon of baking soda, 1 teaspoon of baking powder, and 1/2 teaspoon of salt. Gradually add the dry ingredients to the wet ingredients, mixing on low speed or with a spatula until just combined. Be careful not to overmix. Fold in 1 cup of the chocolate chips. This brownie batter will be thick and fudgy, just as it should be!
Whipping Up the Chocolate Chip Cookie Topping
For the cookie layer, we’ll employ a similar brown butter technique, but with a slightly different approach to achieve that perfect cookie texture. You’ll need the remaining 3/4 cup of salted butter for this.
1. Brown the Butter for the Cookie Layer: In a medium saucepan, melt the 3/4 cup of cubed salted butter over medium heat. Follow the same browning process as described for the brownie butter, swirling occasionally until the milk solids toast to a rich amber color. This will yield about 1/2 cup of beautifully browned butter. Pour it into a heatproof bowl and let it cool slightly.
2. Combine Wet Ingredients for Cookie: In a separate large bowl, cream together the cooled brown butter for the cookie layer with the 1/4 cup of vegetable oil until smooth. Beat in the 3 large eggs, one at a time, ensuring each is fully incorporated before adding the next. Stir in the 1/4 cup of cocoa powder until smooth. This addition of cocoa powder will give our cookie layer a lovely chocolatey depth that complements the brownie.
3. Incorporate Dry Ingredients and Chocolate: In a medium bowl, whisk together 1 and 1/2 cups of all-purpose flour (note: this is a separate measurement from the brownie flour, for a total of 4 and 1/2 cups of flour in the entire recipe), 1/2 teaspoon of baking soda, and 1/4 teaspoon of salt. Gradually add the dry ingredients to the wet ingredients, mixing on low speed or with a spatula until just combined. Again, avoid overmixing. Finally, gently fold in the remaining 1/2 cup of chocolate chips. The cookie dough will be softer than the brownie batter.
Assembling and Baking Your Masterpiece
1. Layering the Brookies: Preheat your oven to 350°F (175°C). Grease and flour a 9×13 inch baking pan, or line it with parchment paper, leaving an overhang on the sides for easy lifting. Spread the thick brownie batter evenly into the bottom of the prepared pan, smoothing the top with a spatula. This forms our rich, fudgy foundation.
2. Adding the Cookie Topping: Dollop spoonfuls of the cookie dough over the brownie layer. You don’t need to spread it perfectly; in fact, leaving some gaps will allow the brownie to peek through and create beautiful swirls as it bakes. Gently spread the cookie dough as best you can to cover most of the brownie, but don’t worry about a perfectly smooth surface. This rustic look is part of the charm!
3. Baking to Perfection: Bake for 30-40 minutes, or until a toothpick inserted into the center comes out with moist crum extractbs attached (for the brownie portion) and the cookie topping is set and golden brown. The exact baking time will depend on your oven. Keep an eye on them; you want the edges to be set but the center to remain slightly fudgy.
4. Cooling and Cutting: Let the brookies cool completely in the pan on a wire rack. This is a crucial step! Allowing them to cool fully will make them much easier to cut into neat squares and will let the flavors meld beautifully. Once completely cooled, use the parchment paper overhang to lift the entire block out of the pan. Cut into squares.
Enjoy these incredible Brown Butter Brookies. They are perfect for a special occasion, a potluck, or simply when you crave a truly indulgent dessert. The complex flavor from the brown butter, combined with the classic brownie and cookie elements, makes these an unforgettable treat.
Conclusion:
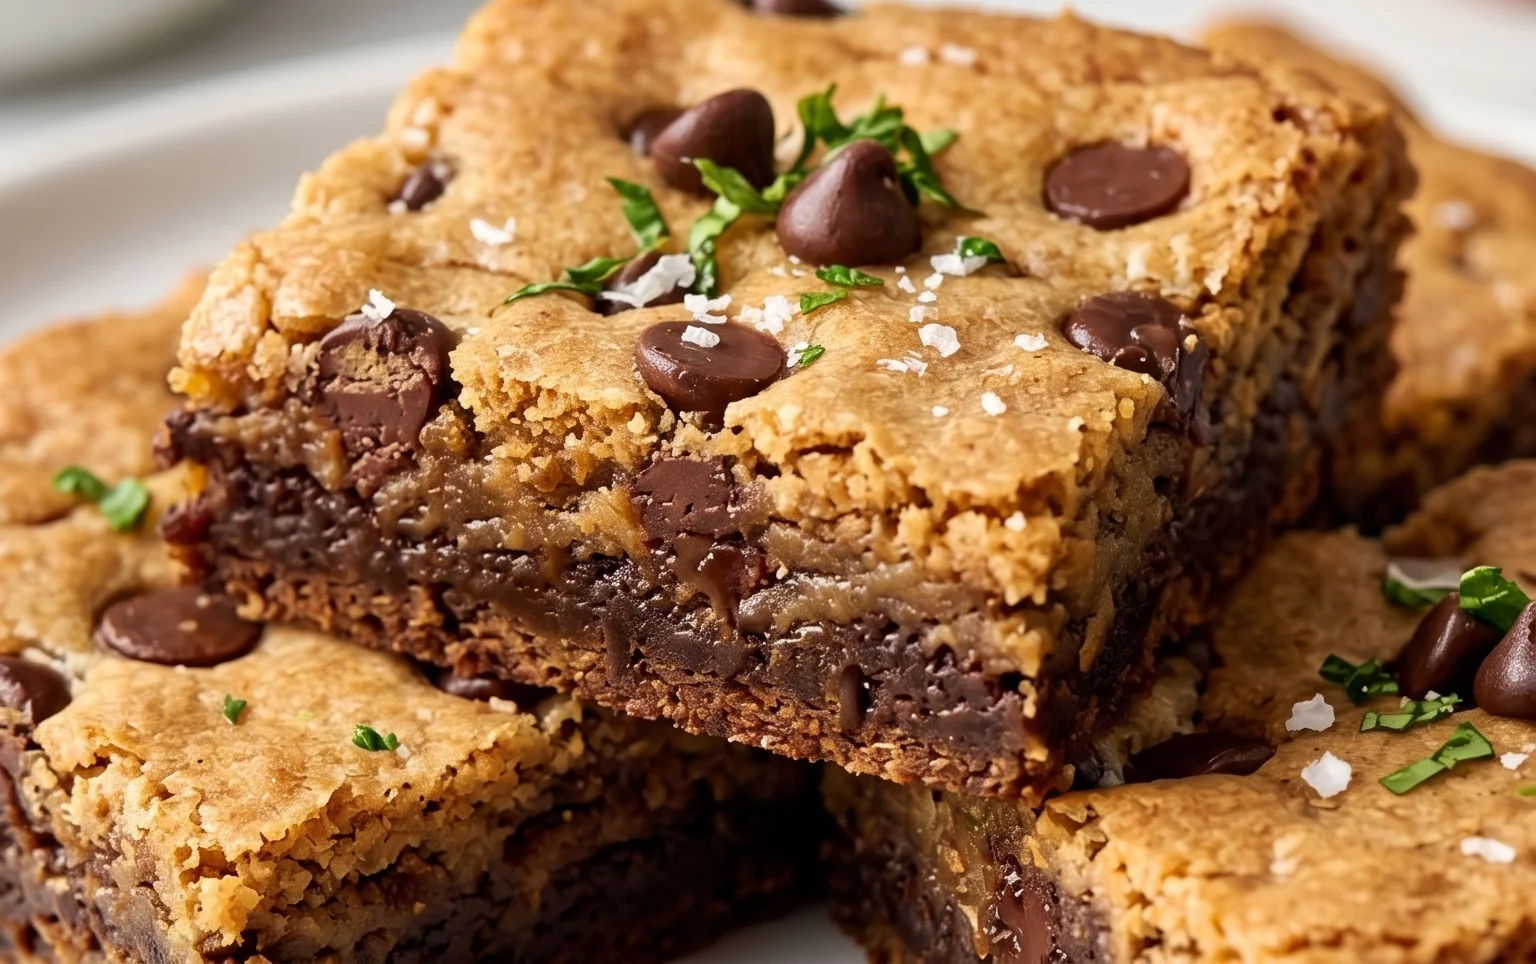
And there you have it – a recipe for brown butter brookies that’s guaranteed to impress! This delightful dessert truly marries the best of both worlds: the rich, nutty depth of brown butter cookies with the fudgy, decadent heart of brownies. The subtle caramel notes introduced by browning the butter elevate these brookies from simply delicious to an extraordinary treat. They’re perfect for potlucks, celebrations, or simply as a comforting indulgence to brighten your day. I encourage you to give this brown butter brookies recipe a try; you won’t be disappointed!
For serving, these brookies are fantastic served warm, perhaps with a scoop of vanilla bean ice cream or a dusting of powdered sugar. They also hold up beautifully at room temperature, making them ideal for sharing. If you’re feeling adventurous, consider adding a handful of chopped nuts to the brownie batter or a swirl of caramel sauce on top before baking for an extra layer of flavor.
Frequently Asked Questions:
Can I make brown butter ahead of time?
Absolutely! Brown butter can be made a day or two in advance and stored in an airtight container in the refrigerator. Just ensure it’s brought back to a softened, but not melted, consistency before using in the recipe.
How should I store my brookies?
Once cooled, store your brookies in an airtight container at room temperature for up to 3-4 days. For longer storage, they can be wrapped tightly and frozen for up to 3 months. Thaw at room temperature before enjoying.
Brown Butter Brookies
A decadent combination of chewy brownies and soft chocolate chip cookies, enhanced with the rich flavor of brown butter.
Ingredients
-
3/4 cup salted butter, cubed (170 grams before browning, 140 grams after)
-
1/4 cup vegetable oil (55 grams)
-
3/4 cup cocoa powder (63 grams)
-
3 large eggs, at room temperature
-
3/4 cup dark brown sugar, packed (163 grams)
-
3/4 cup granulated sugar (156 grams)
-
1 and 1/2 tsp vanilla extract
-
3 cups all-purpose flour, spooned & leveled (390 grams)
-
1 tsp baking soda
-
1 tsp baking powder
-
1/2 tsp salt
-
1 and 1/2 cups chocolate chips (270 grams)
-
4 ounces semi-sweet chocolate, chopped (113 grams)
Instructions
-
Step 1
Brown the butter: Melt 3/4 cup (170g) of cubed salted butter in a light-colored saucepan over medium heat. Swirl occasionally until it turns a deep amber color and smells nutty. Immediately pour into a heatproof bowl and let cool slightly. This will result in approximately 140 grams of brown butter. -
Step 2
Prepare the brownie batter: In a large bowl, whisk together the cooled brown butter, 1/4 cup vegetable oil, and 3/4 cup cocoa powder until smooth. Whisk in 3 large eggs one at a time, followed by 1 and 1/2 tsp vanilla extract. Stir in 3/4 cup dark brown sugar and 3/4 cup granulated sugar until well combined. -
Step 3
Combine dry ingredients: In a separate medium bowl, whisk together 3 cups all-purpose flour, 1 tsp baking soda, 1 tsp baking powder, and 1/2 tsp salt. -
Step 4
Combine wet and dry: Gradually add the dry ingredients to the wet ingredients, mixing until just combined. Do not overmix. Fold in 1 and 1/2 cups chocolate chips and 4 ounces chopped semi-sweet chocolate. -
Step 5
Prepare the cookie dough: In a separate bowl, cream together 14.5 tbsp salted butter (206 grams) with 3/4 cup dark brown sugar, packed (163 grams) and 3/4 cup granulated sugar (156 grams) until light and fluffy. Beat in 2 large eggs and 1 and 1/2 tsp vanilla extract. -
Step 6
Finish the cookie dough: In another bowl, whisk together 3 cups all-purpose flour, 1 tsp baking soda, 1 tsp baking powder, and 1/2 tsp salt. Gradually add the dry ingredients to the wet ingredients, mixing until just combined. Fold in 1 and 1/2 cups chocolate chips. -
Step 7
Assemble and bake: Preheat oven to 350°F (175°C). Press the brownie batter into the bottom of a greased 9×13 inch baking pan. Dollop spoonfuls of the cookie dough evenly over the brownie batter. Bake for 25-30 minutes, or until a toothpick inserted into the center comes out with moist crumbs. -
Step 8
Cool and cut: Let the brookies cool completely in the pan before cutting into squares.
Important Information
Nutrition Facts (Per Serving)
It is important to consider this information as approximate and not to use it as definitive health advice.
Allergy Information
Please check ingredients for potential allergens and consult a health professional if in doubt.