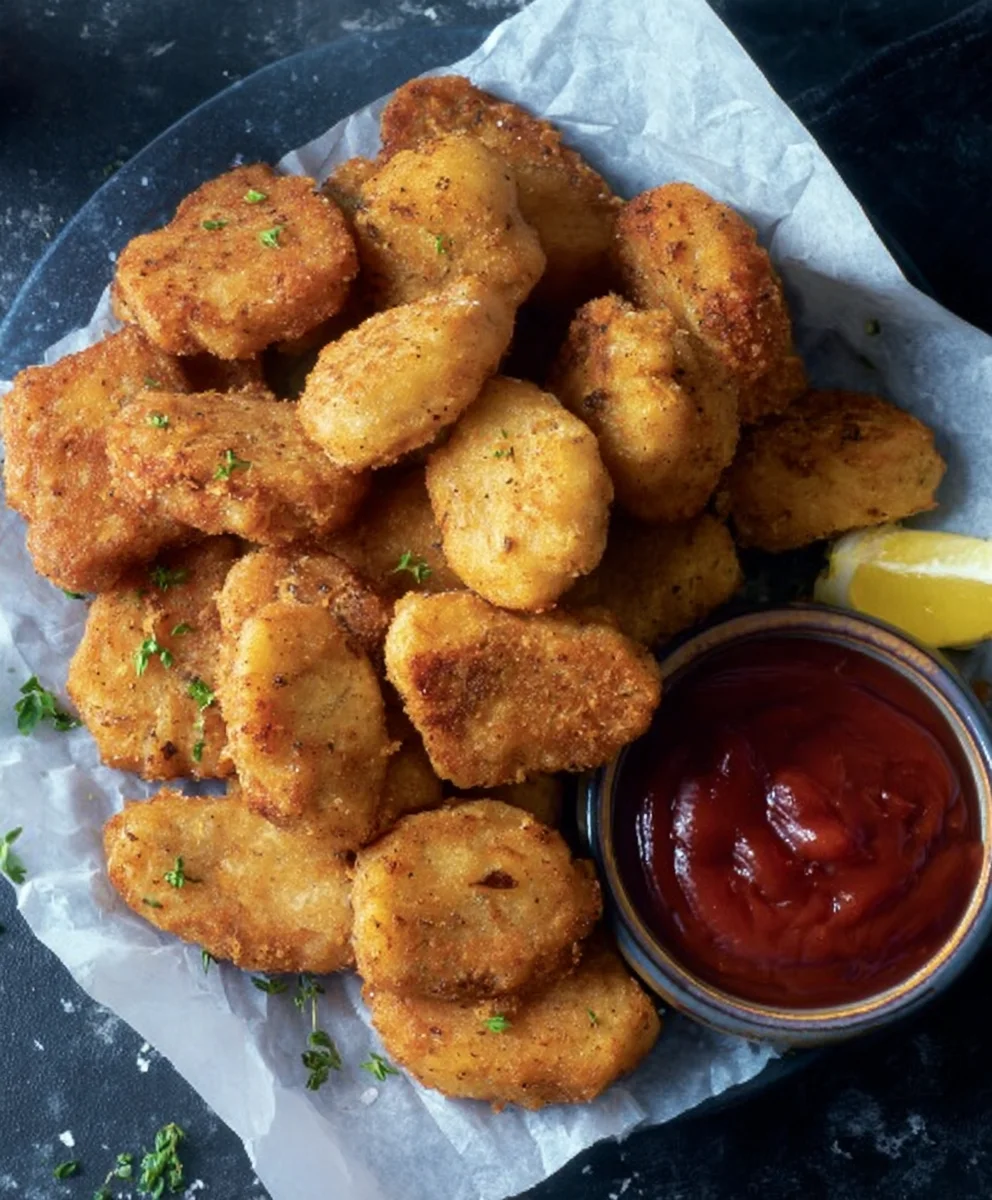
Best Homemade Chicken Nuggets – Easy & Delicious Recipe
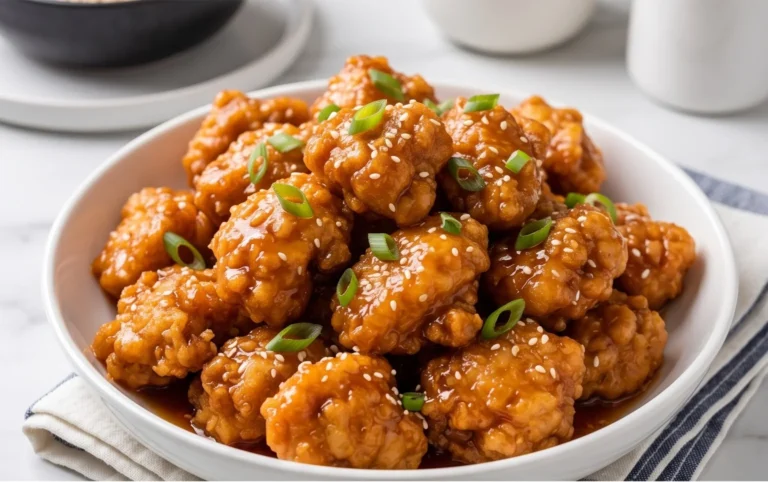
CHICKEN NUGGETS. Ah, the humble chicken nugget. For so many of us, these golden morsels evoke memories of childhood, of happy meals, and of simple, unadulterated joy. But let’s be honest, those fast-food versions, while convenient, often leave us craving something more – something with real flavor, a satisfying crunch, and ingredients we can actually pronounce. That’s where our homemade CHICKEN NUGGETS recipe comes in. We’re not just talking about any old nuggets; we’re talking about creating little pieces of perfection that will have everyone asking for seconds, and thirds! What makes these so special? It’s the careful balance of tender, juicy chicken, a perfectly seasoned coating that fries up shatteringly crisp, and a simple yet effective marinade that infuses every bite with incredible taste. Forget the freezer aisle; get ready to discover the ultimate homemade chicken nugget experience.
Ingredients:
- 300 grams boneless, skinless chicken breast
- 250 grams boneless, skinless chicken thighs
- 2 teaspoons salt
- 1 teaspoon sugar
- 1/2 teaspoon MSG (Monosodium Glutamate)
- 2 teaspoons garlic powder
- 2 teaspoons onion powder
- 1 teaspoon paprika
- 2 teaspoons black pepper
- 1 large egg
- 1 cup all-purpose flour (for coating)
- 1 cup cornstarch (for coating)
- 2 teaspoons garlic powder (for coating)
- 1 teaspoon onion powder (for coating)
- 1 tablespoon salt (for coating)
Preparing the Chicken Mixture
Step 1: Mince the Chicken
Begin extract by preparing your chicken. For the best texture, we’ll be mincing the chicken rather than using whole pieces. Take your 300 grams of chicken breast and 250 grams of chicken thighs. It’s best to slightly freeze the chicken for about 15-20 minutes before mincing. This makes it firmer and much easier to cut into very fine pieces. You can use a sharp knife and a cutting board, or if you have one, a food processor. If using a knife, dice the chicken breast and thighs into small cubes, then finely mince them. Aim for a texture that is close to ground meat but still has a little bit of texture, not completely paste-like. This will give our chicken nuggets a satisfying chew.
Step 2: Season the Chicken Mince
Once your chicken is minced, transfer it to a medium-sized mixing bowl. Now, it’s time to add the flavor! To the minced chicken, add 2 teaspoons of salt, 1 teaspoon of sugar, 1/2 teaspoon of MSG (this is optional but really enhances the savory flavor, so I recommend it!), 2 teaspoons of garlic powder, 2 teaspoons of onion powder, 1 teaspoon of paprika, and 2 teaspoons of black pepper. Gently mix all the seasonings into the chicken mince with your hands or a spoon. Ensure that the seasonings are evenly distributed throughout the mixture. This even distribution is key to ensuring every bite of your chicken nuggets is packed with flavor. Don’t overmix at this stage, as it can make the chicken tough.
Step 3: Binding the Mixture
To help bind the minced chicken together and ensure our nuggets hold their shape during cooking, we’ll add an egg. Crack the single large egg directly into the bowl with the seasoned chicken mince. Mix the egg into the chicken mixture thoroughly. You want to see the egg yolk and white completely incorporated, creating a slightly sticky consistency that will help you form the nuggets. This mixture should now be cohesive enough to shape. If it feels a little too loose, you can add a tiny bit more of the flour mixture from the next step, but usually, the egg is sufficient.
Coating the Nuggets
Step 4: Preparing gin extract Dredging Station
Now, let’s set up our coating station. This is where we’ll prepare the crispy exterior for our chicken nuggets. In a shallow dish or a pie plate, combine 1 cup of all-purpose flour and 1 cup of cornstarch. The cornstarch is crucial for achieving that extra crispy, golden-brown finish that makes homemade nuggets so irresistible. To this dry mixture, add the coating seasonings: 2 teaspoons of garlic powder, 1 teaspoon of onion powder, and 1 tablespoon of salt. Whisk these ingredients together until they are well combined. Make sure there are no clumps of seasoning. Thisgin extractree-part dredging system – the chicken mixture, the egg wash (which we already incorporated), and the seasoned flour/cornstarch – ensures a thick, even coating that will become deliciously crunchy when fried.
Step 5: Shaping and Coating the Nuggets
With your seasoned chicken mixture ready and your coating station prepared, it’s time to shape and coat the nuggets. Take a portion of the chicken mixture (about 1-2 tablespoons per nugget, depending on your desired size) and shape it into your preferred nugget form. You can create classic oval shapes, small patties, or even fun shapes if you have cookie cutters. Once shaped, gently press each nugget into the seasoned flour and cornstarch mixture, ensuring it’s fully coated on all sides. Press the coating onto the chicken to help it adhere. You can double-coat for an even thicker crust: after the first coating, dip the nugget back into the chicken mixture briefly, then coat it again in the flour and cornstarch. Place the coated nuggets on a clean plate or a baking sheet lined with parchment paper. It’s a good idea to let the coated nuggets rest for about 10-15 minutes in the refrigerator at this point. This resting period helps the coating to adhere better, preventing it from falling off during the cooking process and ensuring a more robust, crispy exterior.
Cooking the Nuggets
Step 6: Frying for Crispy Perfection
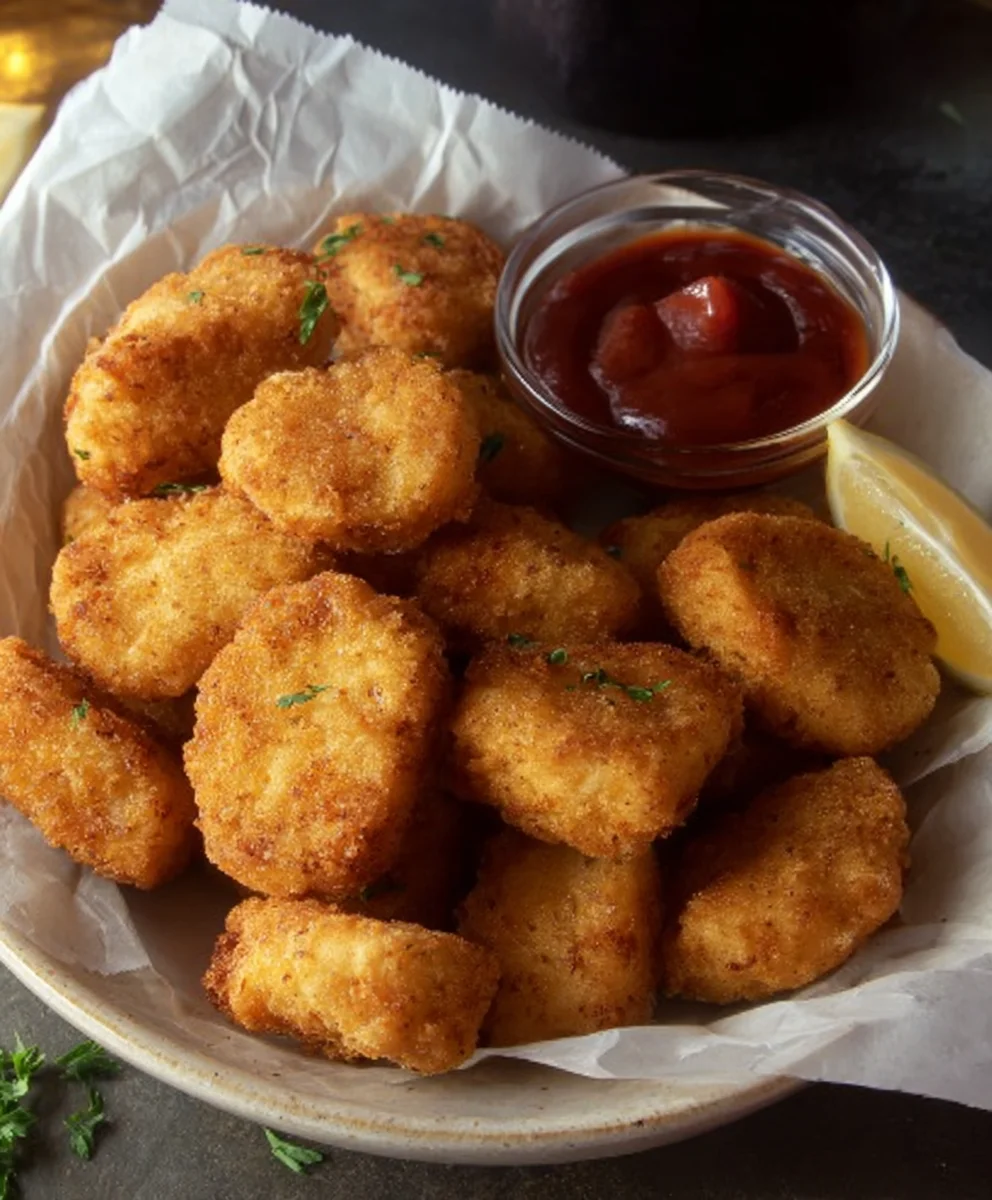
For the ultimate crispy chicken nuggets, frying is the way to go. Heat about 2-3 inches of vegetable oil or other neutral cooking oil in a deep pot or Dutch oven over medium-high heat. The oil is ready when it reaches about 350°F (175°C). You can test this by dropping a tiny bit of the coating mixture into the oil; it should sizzle vigorously. Carefully add the coated chicken nuggets to the hot oil, being careful not to overcrowd the pot. Fry the nuggets in batches, as overcrowding will lower the oil temperature and result in greasy, soggy nuggets. Fry for about 4-6 minutes per side, or until they are golden brown, crispy, and cooked through. The internal temperature should reach 165°F (74°C). Use a slotted spoon or a spider strainer to remove the cooked nuggets from the oil and transfer them to a wire rack set over a baking sheet to drain any excess oil. This wire rack method ensures the bottoms of the nuggets stay crispy. Repeat this process with the remaining nuggets. If you prefer a healthier option, you can bake them. To bake, preheat your oven to 400°F (200°C). Place the coated nuggets on a baking sheet lined with parchment paper. Drizzle or spray lightly with oil. Bake for 20-25 minutes, flipping halfway through, until golden brown and cooked through.
Conclusion:
You’ve now learned how to create delicious, homemade CHICKEN NUGGETS that are sure to be a hit with everyone. This recipe offers a fantastic alternative to store-bought options, giving you control over the ingredients and a satisfyingly crispy texture. We hope you enjoyed the process and are excited to dive into your freshly made batch! Serve these warm and golden nuggets with your favorite dipping sauces for a complete meal or a crowd-pleasing appetizer. They pair wonderfully with classic ketchup, tangy barbecue sauce, creamy ranch, or even a spicy sriracha mayo.
Don’t be afraid to experiment with this recipe! You can try different breadcrum extractb coatings for added flavor and texture, like panko for extra crispiness or adding a pinch of your favorite herbs and spices to the coating mixture. For a healthier twist, consider baking instead of frying. This recipe is also a great base for creating variations – perhaps adding finely grated Parmesan cheese to the breading or a touch of smoked paprika for a smoky undertone. We encourage you to make these CHICKEN NUGGETS your own and discover your perfect version. Happy cooking!
Frequently Asked Questions:
Q1: Can I make these CHICKEN NUGGETS ahead of time?
Yes, you can prepare the un-cooked nuggets and store them in the refrigerator for up to 24 hours before cooking. Ensure they are well-covered to prevent drying out. For longer storage, you can freeze them on a baking sheet until solid, then transfer them to a freezer-safe bag or container. Cook from frozen, adding a few extra minutes to the cooking time.
Q2: What are the best dipping sauces for CHICKEN NUGGETS?
The possibilities are endless! Some popular choices include ketchup, barbecue sauce, honey mustard, ranch dressing, sweet and sour sauce, and buffalo sauce. You can also get creative with homemade dips like garlic aioli or a spicy avocado crema.
Best Homemade Chicken Nuggets – Easy & Delicious Recipe
Create perfectly crispy and flavorful homemade chicken nuggets with this easy-to-follow recipe. Made with a blend of chicken breast and thighs, seasoned to perfection, and coated for maximum crunch.
Ingredients
-
300 g boneless, skinless chicken breast
-
250 g boneless, skinless chicken thighs
-
2 tsp salt
-
1 tsp sugar
-
1/2 tsp MSG (optional)
-
2 tsp garlic powder
-
2 tsp onion powder
-
1 tsp paprika
-
2 tsp black pepper
-
1 large egg
-
1 cup all-purpose flour
-
1 cup cornstarch
-
2 tsp garlic powder (for coating)
-
1 tsp onion powder (for coating)
-
1 tbsp salt (for coating)
Instructions
-
Step 1
Slightly freeze chicken breasts and thighs for 15-20 minutes. Finely mince the chicken using a knife or food processor, aiming for a texture similar to ground meat but with some texture. -
Step 2
In a mixing bowl, combine the minced chicken with 2 tsp salt, 1 tsp sugar, 1/2 tsp MSG (optional), 2 tsp garlic powder, 2 tsp onion powder, 1 tsp paprika, and 2 tsp black pepper. Mix gently until evenly distributed. -
Step 3
Add the large egg to the seasoned chicken mixture and mix thoroughly until well incorporated, creating a cohesive, slightly sticky mixture. -
Step 4
In a shallow dish, combine 1 cup all-purpose flour, 1 cup cornstarch, 2 tsp garlic powder, 1 tsp onion powder, and 1 tbsp salt. Whisk until well combined to create the coating mixture. -
Step 5
Take 1-2 tablespoons of the chicken mixture and shape into nugget forms. Press each nugget into the seasoned flour/cornstarch mixture, ensuring it is fully coated on all sides. You can double-coat for extra crispiness. Place coated nuggets on a plate or parchment-lined baking sheet and refrigerate for 10-15 minutes. -
Step 6
Heat 2-3 inches of neutral cooking oil in a deep pot to 350°F (175°C). Carefully add nuggets in batches, frying for 4-6 minutes per side until golden brown and cooked through (internal temperature 165°F/74°C). Drain on a wire rack. Alternatively, bake at 400°F (200°C) for 20-25 minutes, flipping halfway.
Important Information
Nutrition Facts (Per Serving)
It is important to consider this information as approximate and not to use it as definitive health advice.
Allergy Information
Please check ingredients for potential allergens and consult a health professional if in doubt.