Vegan Chickpea Brownies – Flourless & Gluten Free
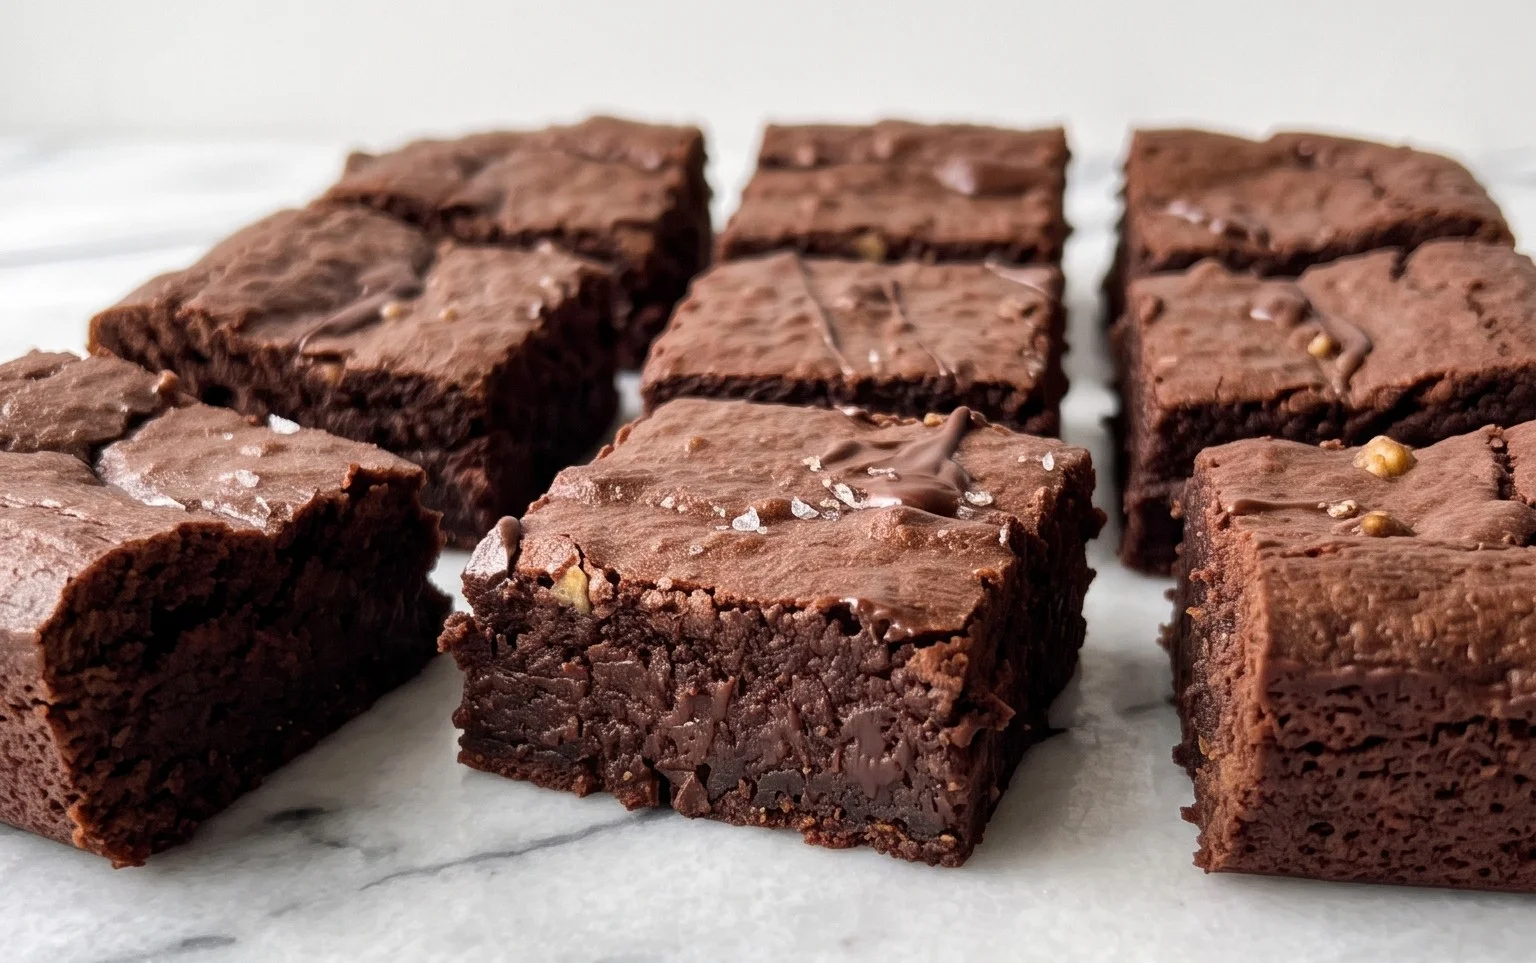
Flourless Chickpea Brownies (Vegan & Gluten Free) might sound like an oxymoron, but trust me, these fudgy, decadent delights are about to become your new obsession. Forget everything you thought you knew about “healthy” desserts. These aren’t dry, crum extractbly imposters; they’re intensely chocolatey, wonderfully moist, and surprisingly satisfying. The secret? The humble chickpea, which, when blended, creates an incredibly smooth and tender base that perfectly mimics traditional brownie texture, all without a speck of flour or any animal products. People absolutely adore these Flourless Chickpea Brownies because they deliver on pure indulgence while catering to a multitude of dietary needs. Whether you’re vegan, gluten-free, or simply looking for a guilt-free treat that doesn’t compromise on flavour, this recipe is a game-changer.
Why You’ll Love These Flourless Chickpea Brownies
A Surprisingly Simple Path to Chocolate Heaven
Flourless Chickpea Brownies (Vegan & Gluten Free)
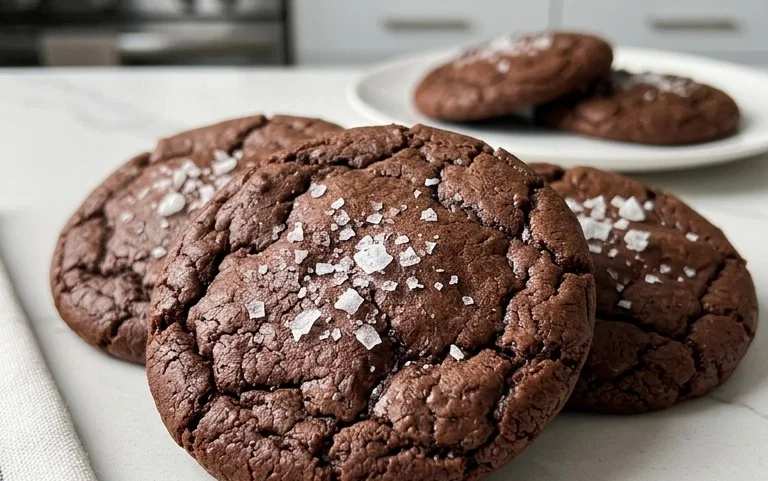
Are you craving a rich, decadent brownie but looking for a healthier, allergy-friendly option? Look no further! These Flourless Chickpea Brownies are a game-changer. They are incredibly fudgy, intensely chocolatey, and surprisingly, you can’t even taste the chickpeas! What you will taste is pure, unadulterated chocolate bliss, all while enjoying a treat that’s both vegan and gluten-free. These brownies are perfect for anyone with dietary restrictions, or frankly, anyone who just wants a delicious chocolate fix without the guilt.
The secret to these brownies is the humble chickpea. When blended, chickpeas create a wonderfully smooth and moist base, replacing the need for flour entirely. This also means they’re packed with plant-based protein and fiber, making them more satisfying than traditional brownies. Coupled with creamy almond butter and sweet maple syrup, they form a foundation that’s both nutritious and delicious. And of course, no brownie is complete without a generous amount of chocolate, which we’ve ensured with rich cocoa powder and plenty of melty chocolate chips.
Let’s get baking! You’ll be amazed at how simple these are to whip up. The entire process, from gathering ingredients to pulling them out of the oven, is remarkably quick. So, preheat your oven, gather your ingredients, and let’s make some magic happen.
Ingredients:
Getting Started: Preparing Your Brownie Batter
The beauty of these brownies lies in their simplicity. We’re essentially throwing most of our ingredients into a food processor and letting it do the hard work.
1. Prepare Your Chickpeas and Wet Ingredients: Begin extract by thoroughly rinsing and draining your canned chickpeas. It’s important to get as much liquid off as possible, as excess moisture can affect the texture of your brownies. Pat them dry with a paper towel if you want to be extra thorough. In your food processor, add the rinsed and drained chickpeas, the ½ cup of almond butter (or your chosen alternative), and the ½ cup of pure maple syrup. Don’t worry if the almond butter is a little stiff; it will blend in. Add the tablespoon of vanilla extract to this wet mixture.
2. Process Until Smooth: Secure the lid on your food processor and begin extract blending. You’ll want to process this mixture until it’s as smooth as possible. This might take a few minutes, and you may need to stop and scrape down the sides of the food processor a couple of times to ensure everything is incorporated. The goal is a creamy, cohesive paste with no visible chickpea chunks. The smoother you get this base, the more undetectable the chickpeas will be in the final brownie. This step is crucial for achieving that classic fudgy brownie texture.
3. Incorporate Dry Ingredients: Once your wet ingredients are beautifully smooth, it’s time to add the dry components. Add the ½ teaspoon of baking powder, ½ teaspoon of baking soda, and ½ teaspoon of sea salt to the food processor. These leavening agents will help the brownies rise slightly and achieve a tender crum extractb, while the salt enhances the chocolate flavor. Now, add the ⅓ cup of unsweetened cocoa powder. Make sure your cocoa powder is unsweetened, as this gives you more control over the sweetness of the final brownie. Pulse the mixture a few times to break up the larger dry ingredients.
4. Blend Until Combined: With the dry ingredients added, continue to process or blend the mixture until everything is just combined. Be careful not to overmix at this stage. You want a thick, brownie batter that is uniform in color and texture. It should be a rich, dark chocolate hue.
5. Fold in the Chocolate Chips: Now for the best part – the chocolate chips! Remove the food processor bowl from the base. Add ¾ cup of mini chocolate chips to the batter. Reserve about ¼ cup of these chips for sprinkling on top later, if you like. Using a spatula, gently fold the chocolate chips into the brownie batter. You want to distribute them evenly throughout. This folding step is important for keeping the chocolate chips intact and ensuring they don’t get completely pulverized into the batter.
Baking Your Fudgy Brownies
Now that your glorious chocolate batter is ready, it’s time to bake.
6. Prepare for Baking and Bake: Preheat your oven to 350°F (175°C). Line an 8×8 inch baking pan with parchment paper, leaving some overhang on the sides. This will make it super easy to lift the brownies out of the pan once they’re done. Spoon the brownie batter into the prepared pan and spread it evenly with your spatula. If you reserved some chocolate chips, sprinkle them over the top of the batter now for an extra chocolatey finish. Gently press them in a little so they stick.
7. Bake and Cool: Bake for 20-25 minutes, or until a toothpick inserted into the center comes out with moist crum extractbs attached (not wet batter). The edges should look set. Be careful not to overbake, as this will result in dry brownies. Once baked, remove the pan from the oven and let the brownies cool completely in the pan on a wire rack. This is a crucial step! Allowing them to cool allows them to set up properly and develop that amazing fudgy texture. Trying to cut them while warm will likely result in a gooey mess, though a delicious one! Once completely cool, use the parchment paper overhang to lift the brownies out of the pan. Cut them into squares and enjoy your delicious, guilt-free treat! These brownies store well in an airtight container at room temperature for a few days, or you can refrigerate them for longer storage. They are also wonderful when slightly warmed up!
Conclusion:
So there you have it – a truly delightful and surprisingly simple recipe for Flourless Chickpea Brownies! These fudgy, decadent treats are a testament to how delicious and satisfying vegan and gluten-free baking can be. I absolutely love that they use wholesome ingredients like chickpeas, which not only make them incredibly moist but also boost the protein content. They’re the perfect guilt-free indulgence for any occasion, whether you’re craving a sweet treat after dinner, need a healthier option for a bake snon-alcoholic ale, or simply want to impress your friends with something unique and delicious.
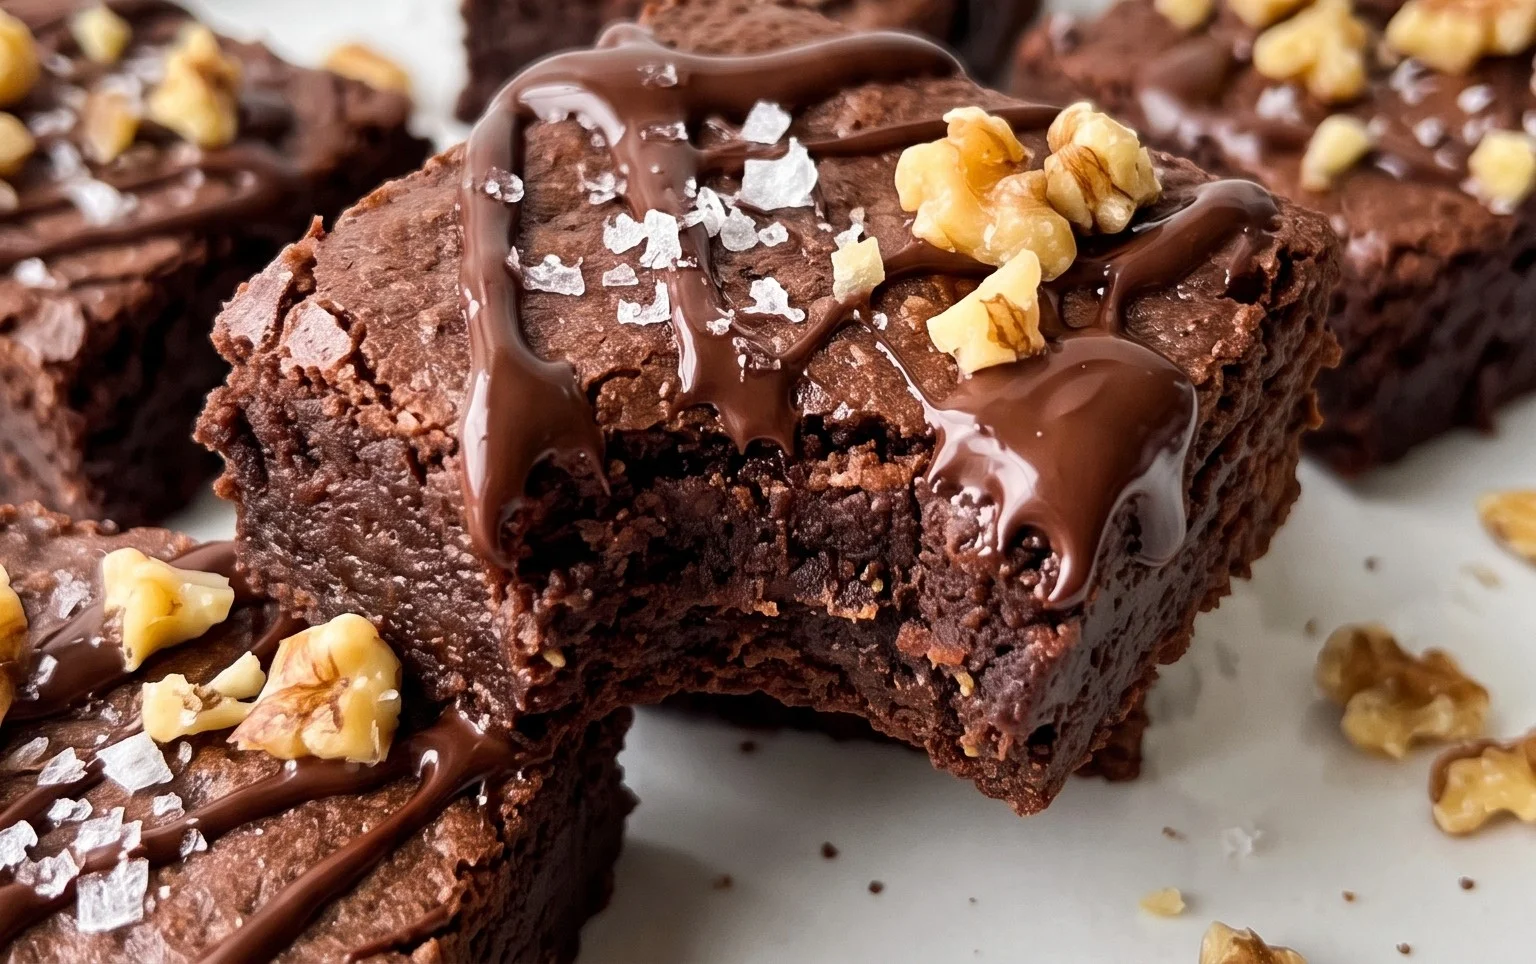
For serving, I highly recommend enjoying them warm, perhaps with a scoop of vegan vanilla ice cream or a sprinkle of flaky sea salt to enhance the chocolatey goodness. They also stand beautifully on their own! If you’re feeling adventurous, consider adding a handful of vegan chocolate chips, chopped nuts like walnuts or pecans, or even a swirl of vegan caramel for an extra layer of flavor and texture. Don’t be afraid to experiment!
I truly encourage you to give these Flourless Chickpea Brownies a try. You might be surprised by how much you love them, and they’re so easy to make that you’ll be whipping them up again and again. Happy baking!
Frequently Asked Questions:
Can I taste the chickpeas in these brownies?
Not at all! The chickpeas are purely for texture and moisture. Once blended and baked with the other ingredients, their flavor completely disappears, leaving you with rich, chocolatey goodness.
How should I store these brownies?
Store them in an airtight container at room temperature for up to 3 days, or in the refrigerator for up to a week. They are also freezer-friendly, making them a great make-ahead treat!
Can I use a different type of bean?
While chickpeas are ideal due to their mild flavor and texture, you could experiment with other white beans like cannellini beans. Ensure they are well-rinsed and drained before using.
Flourless Chickpea Brownies (Vegan & Gluten Free)
Decadent, fudgy brownies made with wholesome chickpeas, nut butter, and cocoa. Naturally vegan and gluten-free, these brownies are surprisingly easy to make and incredibly delicious.
Ingredients
-
15.5 ounces chickpeas (1 can), rinsed and drained
-
½ cup almond butter
-
½ cup pure maple syrup
-
1 tablespoon vanilla extract
-
½ teaspoon baking powder
-
½ teaspoon baking soda
-
½ teaspoon sea salt
-
⅓ cup cocoa powder
-
¾ cup mini chocolate chips
Instructions
-
Step 1
Preheat oven to 350°F (175°C). Grease and line an 8×8 inch baking pan with parchment paper. -
Step 2
In a food processor, combine the rinsed and drained chickpeas, almond butter, maple syrup, and vanilla extract. Process until smooth and creamy, scraping down the sides as needed. -
Step 3
Add the baking powder, baking soda, sea salt, and cocoa powder to the food processor. Process again until well combined and no dry spots remain. -
Step 4
Stir in ¾ cup of mini chocolate chips, reserving a few for topping if desired. -
Step 5
Pour the batter into the prepared baking pan and spread evenly. Sprinkle with the reserved chocolate chips, if using. -
Step 6
Bake for 20-25 minutes, or until a toothpick inserted into the center comes out with moist crumbs attached. -
Step 7
Let cool completely in the pan on a wire rack before slicing into 16 brownies.
Important Information
Nutrition Facts (Per Serving)
It is important to consider this information as approximate and not to use it as definitive health advice.
Allergy Information
Please check ingredients for potential allergens and consult a health professional if in doubt.