Easy Chocolate Protein Pudding-Healthy Dessert
Chocolate Protein Pudding: your new favorite guilt-free indulgence is here! Are you craving something rich, decadent, and satisfying, but also want to fuel your body with goodness? You’ve come to the right place. This Chocolate Protein Pudding is an absolute game-changer, perfect for those post-workout cravings, a healthy dessert option, or even a surprisingly filling breakfast. We all love chocolate, right? But the beauty of this recipe lies in its ability to deliver that intense chocolatey bliss without the usual sugar crash or heavy feeling. What makes it truly special is how effortlessly it blends incredible flavor with serious nutritional benefits, making it a smart and delicious choice for anyone looking to boost their protein intake in a truly enjoyable way.
Get ready to whip up a batch that’s sure to become a staple in your kitchen!
This recipe is designed for simplicity and maximum deliciousness.
Chocolate Protein Pudding Recipe
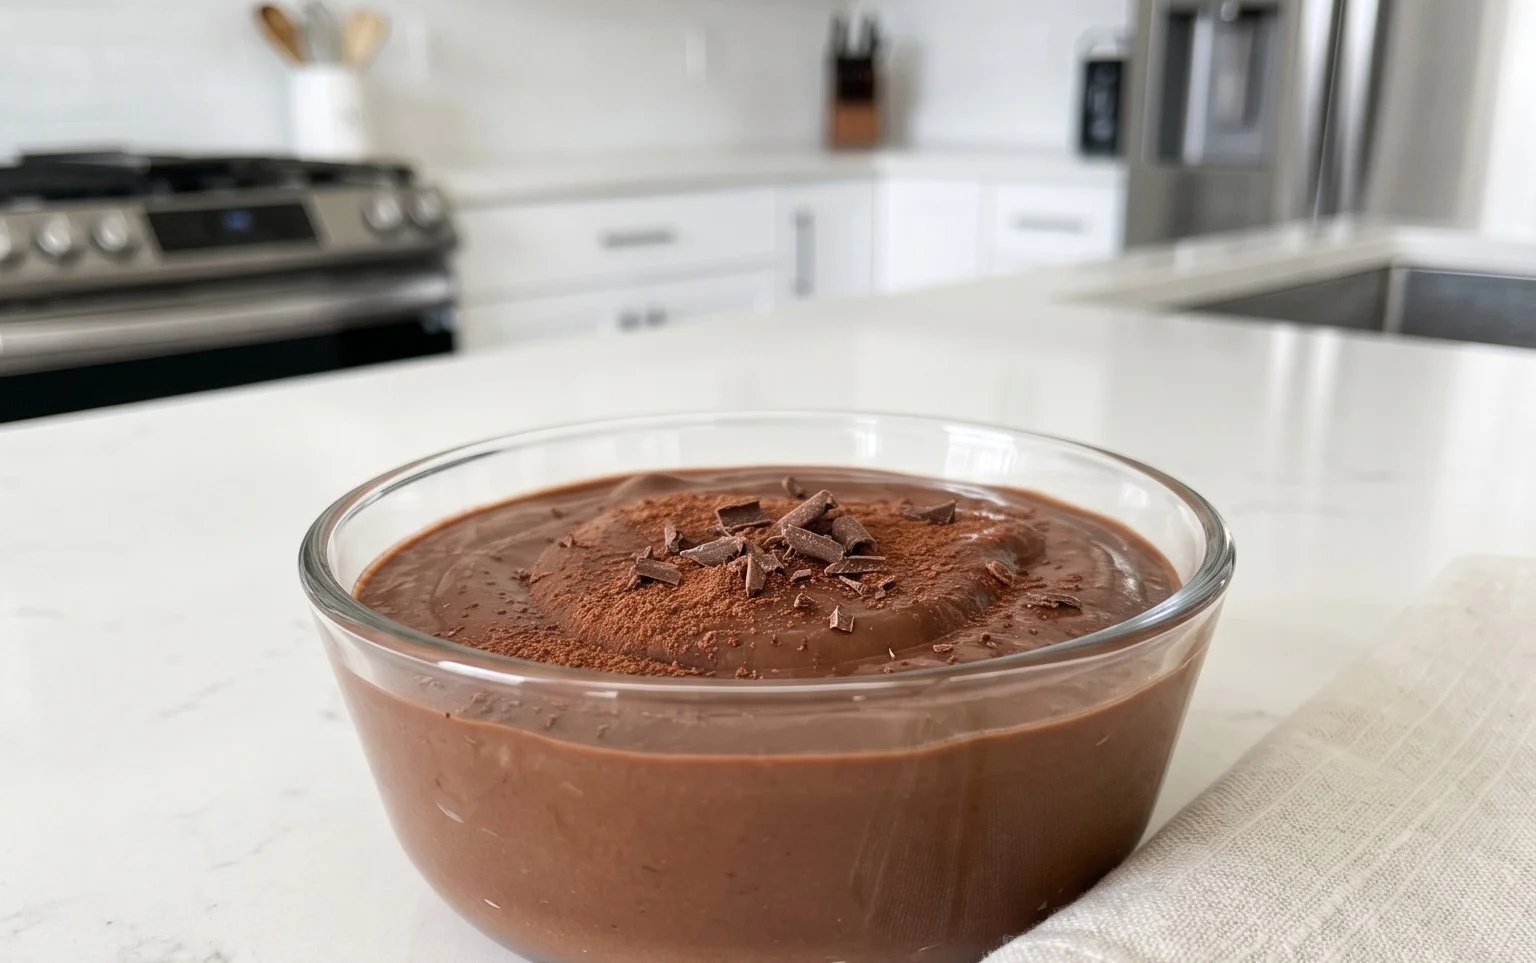
Are you looking for a decadent yet healthy treat that satisfies your sweet cravings and boosts your protein intake? Look no further! This Chocolate Protein Pudding recipe is your answer. It’s incredibly easy to make, requires no cooking, and delivers a rich, chocolatey flavor that feels like a true indulgence. Whether you’re an athlete seeking post-workout recovery fuel, a busy parent needing a quick and nutritious snack, or simply someone who loves a good dessert, this pudding is a game-changer. Forget those artificial, sugar-laden puddings from a box; this homemade version is packed with wholesome ingredients and customizable to your liking. It’s smooth, creamy, and utterly delicious, making it a perfect alternative to traditional desserts. I love making a big batch on Sunday to enjoy throughout the week – it’s my secret weapon for staying on track with my health goals without feeling deprived.
Ingredients:
Instructions:
Phase 1: Combining the Base Ingredients
The first step to creating this luscious pudding is to get your base ingredients ready. In a large mixing bowl, add your 5 cups of Greek yogurt. I prefer using full-fat Greek yogurt because it contributes to a wonderfully creamy and rich texture that’s essential for a satisfying pudding. If you’re watching your fat intake, you can opt for 2% or even non-fat, but be aware that the texture might be slightly less luxurious. You can also choose between plain or vanilla flavored Greek yogurt. If you choose plain, the vanilla extract will be crucial for adding that classic dessert flavor. If you opt for vanilla-flavored Greek yogurt, you might want to taste the pudding towards the end and adjust the maple syrup or even omit a tiny bit of the vanilla extract if the sweetness is already there.
Next, add the 3 to 4 tablespoons of unsweetened cocoa powder. The amount you use will depend on how intense you want your chocolate flavor to be. I usually start with 3 tablespoons for a solid chocolate taste and then add the fourth if I’m feeling particularly indulgent or if the protein powder itself isn’t very cocoa-forward. Unsweetened cocoa powder is key here to control the sweetness; you can always add more sweetener later.
Now, add the 1 teaspoon of vanilla extract. This little addition works wonders to enhance the chocolate flavor and round out the overall taste profile. It adds that familiar dessert aroma and taste that we all associate with delicious treats.
Finally, drizzle in the 2 tablespoons of maple syrup. This provides a natural sweetness. Again, this is a starting point. Depending on the sweetness of your Greek yogurt (if you used vanilla flavored) and your personal preference, you might want to add a little more or a little less. You can always taste and adjust at a later stage.
Phase 2: Incorporating the Protein Powder
This is where the magic happens and we transform a simple yogurt mix into a protein-packed powerhouse! Add your 4 scoops of chocolate protein powder to the bowl. It’s important to use a chocolate-flavored protein powder for the best results. The type of protein powder you use can subtly affect the texture and flavor. Whey, casein, or plant-based protein powders will all work, but some might absorb liquid differently. If you find your pudding is too thick, you can always loosen it up with a tiny bit of milk or water later. If it’s too thin, you might need a bit more protein powder or time to let it set. The instruction “approximately 2 to 3 tablespoons per scoop” is a good guideline, but the actual amount can vary by brand. I recommend starting with the lower end of your protein powder’s scoop measurement and then adding more if needed to achieve your desired consistency and protein boost.
Phase 3: Blending for Perfect Smoothness
Now it’s time to bring it all together. Using a whisk, a hand mixer, or an electric stand mixer fitted with the whisk attachment, begin extract to combine all the ingredients. Start on a low speed to prevent the dry ingredients from flying out of the bowl. Gradually increase the speed as the mixture starts to come together. You want to whisk or mix until the pudding is completely smooth and there are no lumps of Greek yogurt, cocoa powder, or protein powder remaining. This might take a few minutes. Be patient! A well-mixed pudding will have a uniform color and a creamy, lump-free consistency. If you are using a hand mixer or stand mixer, make sure to scrape down the sides of the bowl occasionally to ensure everything is incorporated evenly. For an even smoother texture, you could also transfer the mixture to a blender or food processor after the initial whisking and blend until absolutely silky.
Phase 4: Chilling and Setting
Once your pudding is smooth and beautifully combined, it’s time for the most crucial part: chilling! Cover the bowl tightly with plastic wrap or transfer the pudding into individual serving containers or a larger airtight container. Place the pudding in the refrigerator for at least 2 to 3 hours. This chilling period is essential. It allows the flavors to meld together beautifully, and more importantly, it allows the protein powder to hydrate and thicken the pudding to that perfect, spoonable consistency. The longer it chills, the thicker and more set it will become. I often make this in the evening and let it chill overnight for the ultimate thick and creamy texture.
Phase 5: Serving and Enjoying
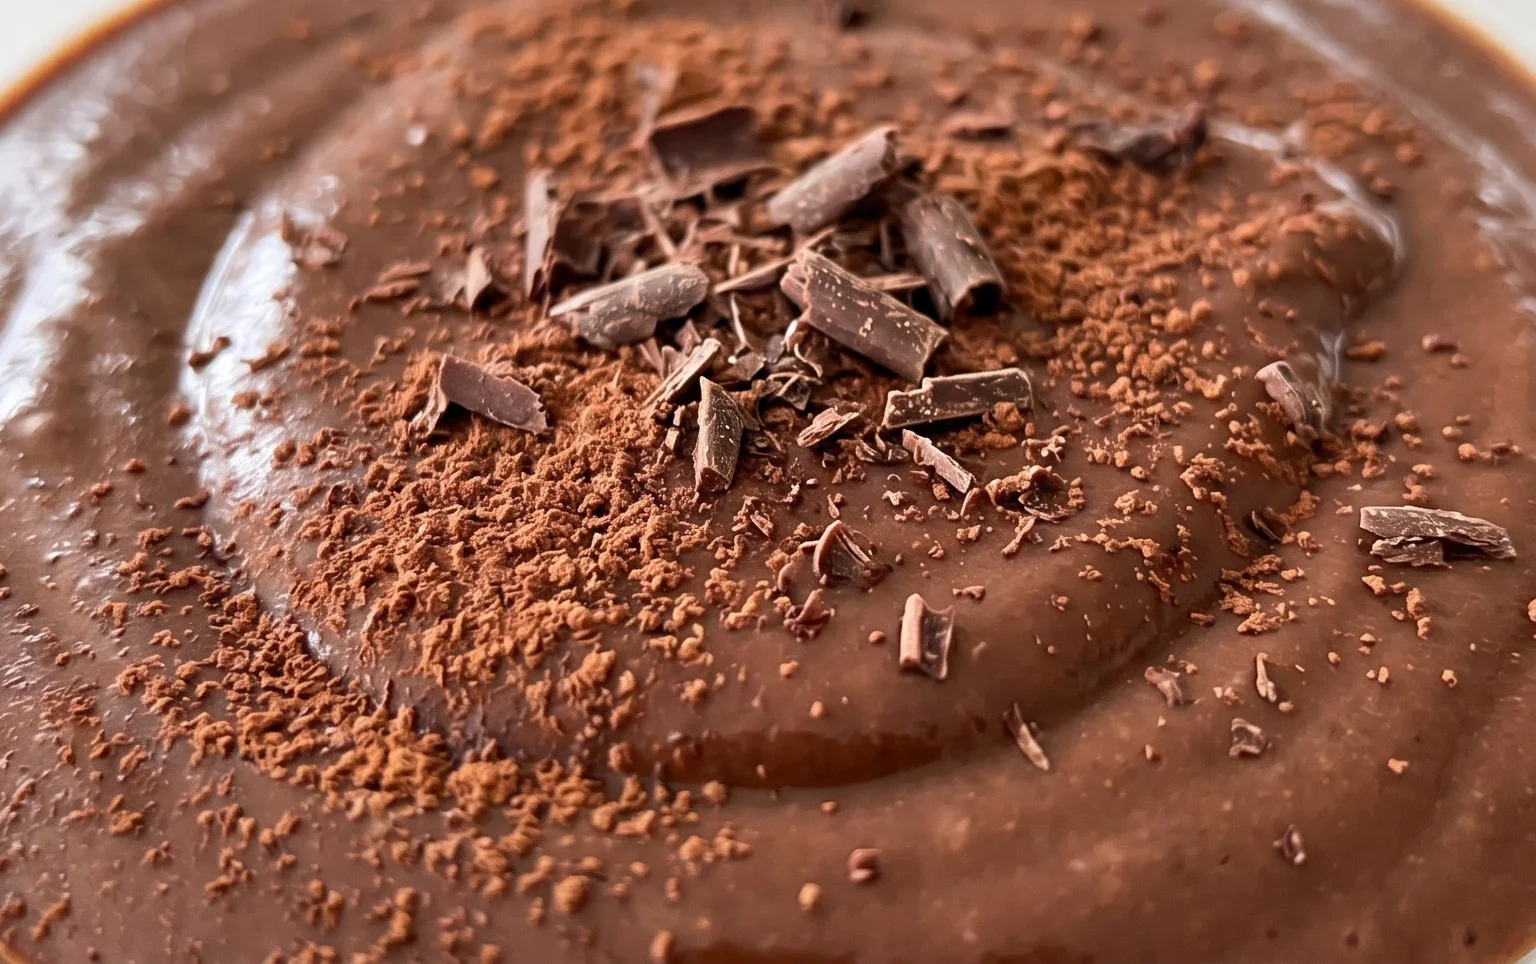
After the chilling time, your Chocolate Protein Pudding is ready to be enjoyed! Give it a final stir before serving. You can serve it directly from the bowl or portion it into individual glasses or bowls. This pudding is delicious on its own, but feel free to get creative with toppings. Fresh berries like raspberries or strawberries add a lovely tartness that complements the rich chocolate. A sprinkle of chopped nuts or seeds provides a satisfying crunch and extra nutrients. A dollop of whipped cream (dairy or coconut-based) or a few dark chocolate shavings can elevate it to dessert status. Enjoy this guilt-free, protein-packed treat that’s sure to become a staple in your healthy eating repertoire!
Conclusion:
This Chocolate Protein Pudding recipe is an absolute winner for anyone looking for a delicious, satisfying, and healthy treat. It’s incredibly simple to whip up, making it perfect for busy weeknights or a quick post-workout refuel. The creamy texture combined with rich chocolate flavor is genuinely decadent, proving that you don’t need to sacrifice taste for nutrition. Whether you’re a seasoned baker or a begin extractner in the kitchen, this recipe is designed for success, offering a guilt-free indulgence that will satisfy your sweet cravings. I truly encourage you to give this Chocolate Protein Pudding a try; you won’t regret it!
For serving suggestions, this pudding is fantastic on its own, chilled straight from the fridge. You can elevate it by topping it with fresh berries like raspberries or strawberries, a sprinkle of unsweetened shredded coconut, or a few chopped nuts for added crunch. If you’re feeling adventurous, a dollop of Greek yogurt or a drizzle of natural peanut butter makes for an even more indulgent experience. The beauty of this recipe lies in its versatility. You can easily adapt it to your taste preferences. For a lighter version, consider using a plant-based protein powder like pea or hemp. If you prefer a less sweet option, simply reduce the sweetener slightly. For a richer, more intense chocolate flavor, a teaspoon of instant coffee granules can be added.
Frequently Asked Questions:
What is the best type of protein powder to use for this recipe?
You can use most types of protein powder, but whey or casein protein tends to give the creamiest texture. Plant-based options like pea or soy also work well, though they might result in a slightly different consistency. Experiment to find your favorite!
Can I make this pudding ahead of time?
Absolutely! This Chocolate Protein Pudding is perfect for meal prep. You can store it in an airtight container in the refrigerator for up to 3-4 days. The flavors often meld together even more beautifully overnight.
How can I make the pudding thicker or thinner?
To thicken your pudding, add a little more protein powder, about a teaspoon at a time, until you reach your desired consistency. To thin it out, simply whisk in a tablespoon or two of milk or unsweetened almond milk until it’s just right.
Chocolate Protein Pudding Recipe
A quick and easy high-protein chocolate pudding made with Greek yogurt and chocolate protein powder.
Ingredients
-
5 cups Greek yogurt (full-fat, plain or vanilla)
-
4 scoops chocolate protein powder
-
3 to 4 tablespoons unsweetened cocoa powder
-
1 teaspoon vanilla extract
-
2 tablespoons maple syrup
Instructions
-
Step 1
In a medium bowl, combine the Greek yogurt, chocolate protein powder, and unsweetened cocoa powder. -
Step 2
Add the vanilla extract and maple syrup to the bowl. -
Step 3
Using a whisk or electric mixer, blend all ingredients together until smooth and well combined, ensuring no lumps of protein powder remain. -
Step 4
Taste and adjust sweetness if needed by adding more maple syrup or cocoa powder for a richer chocolate flavor. -
Step 5
Spoon the pudding into individual serving dishes or one large bowl. -
Step 6
For a firmer pudding, cover and refrigerate for at least 30 minutes before serving. Otherwise, serve immediately.
Important Information
Nutrition Facts (Per Serving)
It is important to consider this information as approximate and not to use it as definitive health advice.
Allergy Information
Please check ingredients for potential allergens and consult a health professional if in doubt.