Low Carb High Protein Chicken Crust Pizza
Chicken Crust Pizza (Low Carb + High Protein). Are you craving that comforting, cheesy, saucy goodness of pizza but trying to keep your carb intake in check and boost your protein? Then you’ve landed in the right place! This Chicken Crust Pizza (Low Carb + High Protein) is an absolute game-changer, and I can’t wait for you to try it. Forget everything you think you know about pizza crusts; this reinvented version uses seasoned ground chicken as its base, creating a surprisingly sturdy and incredibly flavorful foundation for all your favorite toppings. People absolutely adore this dish because it delivers all the satisfaction of traditional pizza without the carb-heavy guilt. It’s the perfect way to enjoy a healthier, more filling meal that will leave you feeling wonderfully satisfied. What truly makes this Chicken Crust Pizza (Low Carb + High Protein) special is its versatility and the fact that it’s so incredibly easy to whip up, making it a weeknight winner!
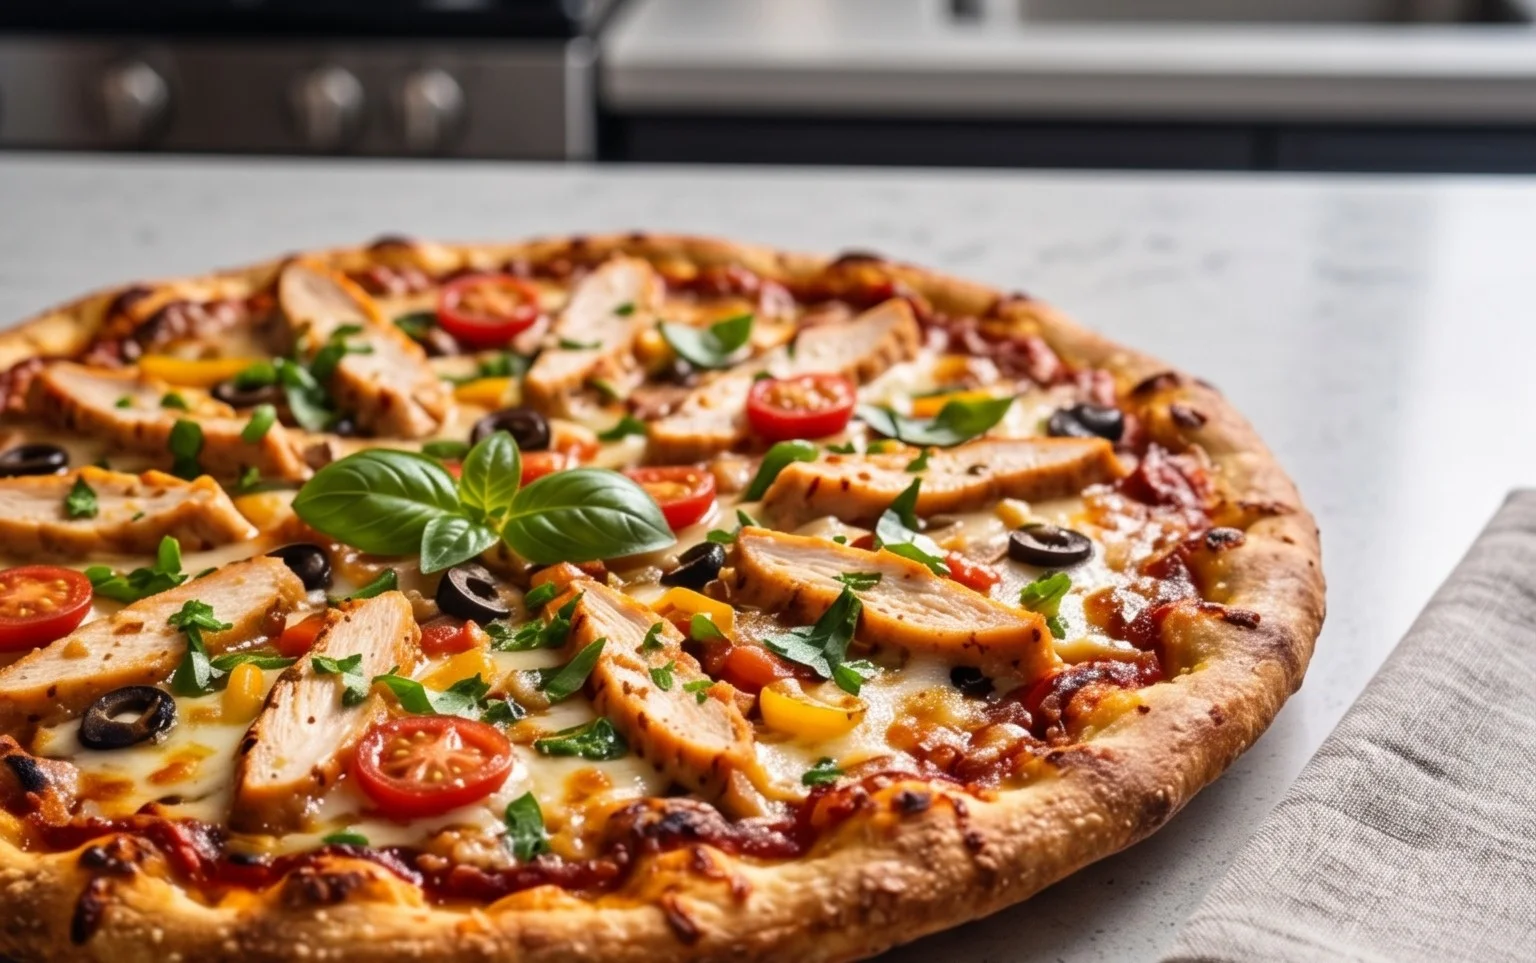
Chicken Crust Pizza (Low Carb + High Protein)
Are you craving pizza but trying to stick to a low-carb, high-protein lifestyle? Look no further! This chicken crust pizza is a game-changer. Forget those doughy bases that spike your blood sugar and leave you feeling sluggish. This recipe uses lean ground chicken as the base, creating a flavorful, protein-packed foundation that’s surprisingly sturdy and utterly delicious. It’s perfect for a weeknight dinner, a healthier weekend treat, or even a satisfying lunch. I love how versatile it is – you can top it with your favorite low-carb pizza toppings!
Ingredients:
Cooking Instructions
Here’s how to create your amazing chicken crust pizza:
Preparing the Chicken Crust
1. Preheat your oven to 200°C (400°F). This is crucial for getting a nice, crispy crust. While the oven is heating up, prepare a baking sheet by lining it with parchment paper. This will prevent the chicken crust from sticking and make cleanup a breeze. In a medium-sized mixing bowl, combine the 450 grams of ground chicken, the 2 large eggs, 1/2 cup of grated parmesan cheese, 1 teaspoon of garlic powder, 1 teaspoon of Italian seasoning, 1/2 teaspoon of salt, and 1/2 teaspoon of black pepper. Using your hands is the best way to really incorporate all these ingredients evenly. Make sure the eggs are well mixed into the chicken and the seasonings are distributed throughout. You want a cohesive mixture that will hold together well.
2. Once the chicken mixture is thoroughly combined, it’s time to form the pizza crust. Gently spread the chicken mixture onto the prepared baking sheet. Aim for a circular shape, about 1/4 to 1/2 inch thick. You can use the back of a spoon or your hands to create an even layer. If you prefer a slightly thicker crust, you can make it a bit thicker, but keep in mind it might take a little longer to cook through. For a more defined edge, you can even create a slight rim around the outside of the crust, similar to a traditional pizza. This helps to contain the toppings later on.
3. Now, we bake the crust! Carefully place the baking sheet into the preheated oven. Bake for about 15-20 minutes, or until the chicken crust is cooked through and has a nice golden-brown color. You’ll want to check for doneness by pressing lightly on the center; it should feel firm and not pink. This initial bake is essential for ensuring the crust is sturdy enough to hold your toppings without becoming soggy. Once it’s cooked, carefully remove the baking sheet from the oven.
Adding the Toppings
4. With the crust partially baked, it’s time to add the delicious toppings! Spread 1/2 cup of your favorite pizza sauce evenly over the chicken crust, leaving a small border around the edges if you created one. Make sure not to overload it with sauce, as too much moisture can make the crust less crispy. Next, generously sprinkle 1 cup of mozzarella cheese over the sauce. The cheese will melt beautifully and create that classic pizza experience. Finally, arrange your 20 beef beef pepperoni slices (or any other low-carb toppings you’ve chosen) evenly over the cheese.
5. Return the pizza to the oven for another 5-10 minutes. The goal here is to melt the mozzarella cheese until it’s bubbly and slightly golden, and to heat the beef pepperoni through. Keep an eye on it to prevent the cheese from burning. Once the cheese is perfectly melted and the beef pepperoni is looking delicious, carefully remove the pizza from the oven.
Let your amazing chicken crust pizza cool for a few minutes on the baking sheet before slicing and serving. This allows the cheese to set slightly and makes it easier to cut. Enjoy this guilt-free, protein-packed twist on a classic! It’s a fantastic way to satisfy your pizza cravings while staying on track with your health goals. I find that this recipe is often better the next day as the flavors meld, making it a great option for meal prep too.
Conclusion:
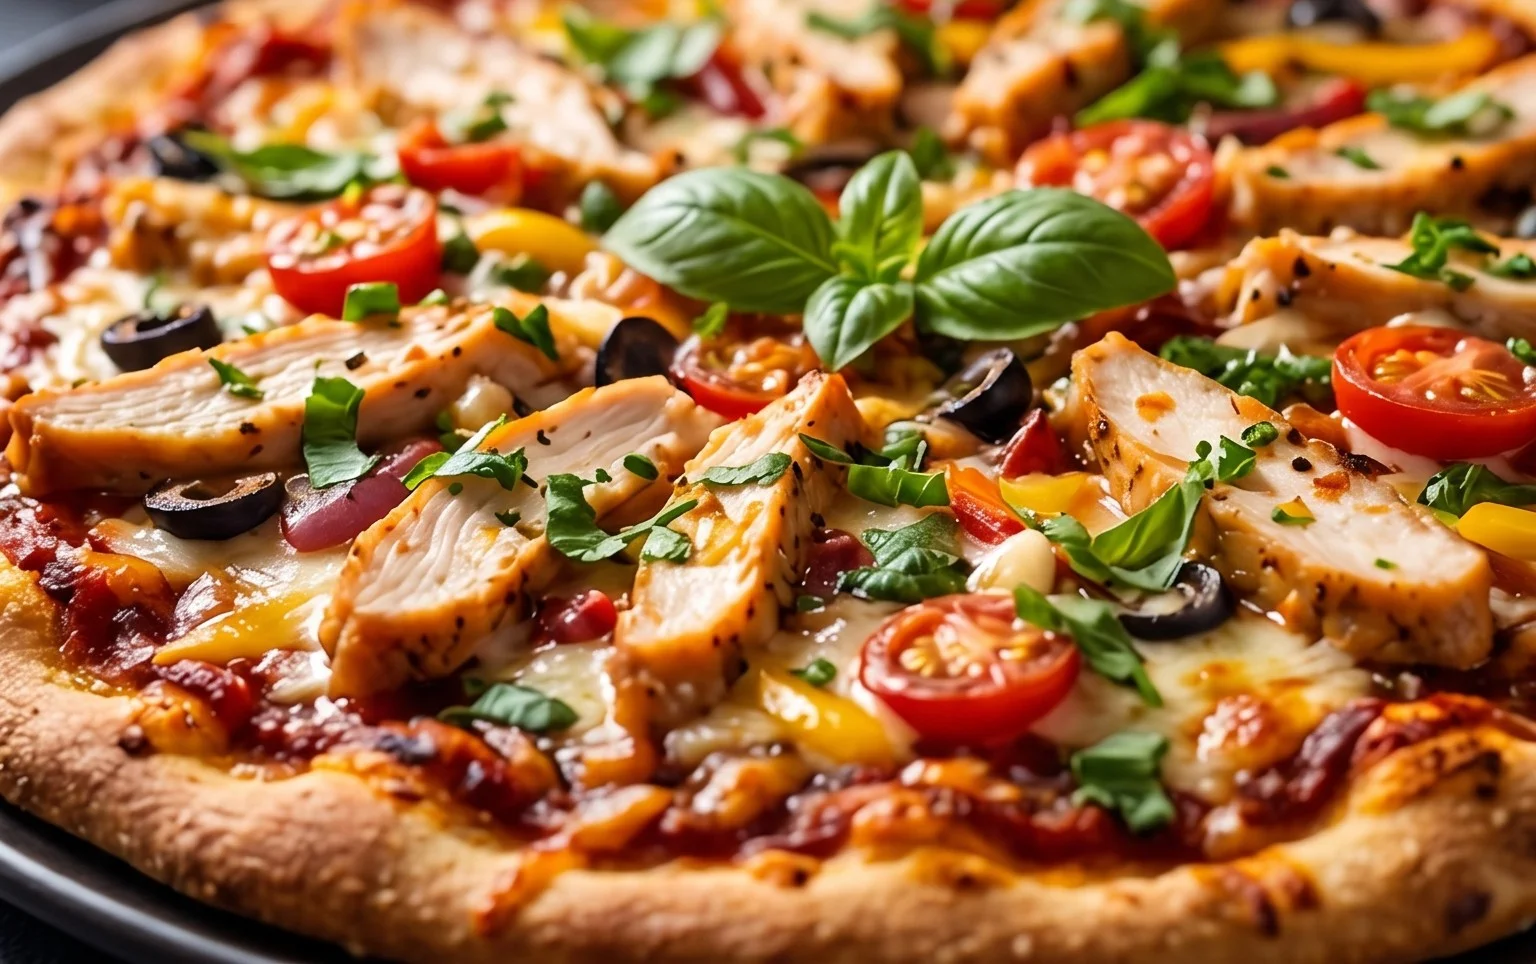
So there you have it – a delicious and satisfying way to enjoy pizza without the carb overload! This Chicken Crust Pizza is truly a game-changer for anyone following a low-carb or high-protein lifestyle. It delivers all the cheesy, saucy goodness you crave, but with a satisfyingly meaty base that keeps you feeling full and energized. The simplicity of preparation, combined with its versatility, makes it a weekly staple in my kitchen. I’ve found it pairs wonderfully with a fresh side salad, some roasted vegetables, or even just enjoyed on its own as a hearty meal.
Don’t hesitate to experiment with your favorite pizza toppings – the possibilities are endless! From classic beef pepperoni and mushrooms to spicy jalapeños and onions, or even a vegetarian-friendly option with bell peppers and spinach, this chicken crust pizza recipe is incredibly adaptable. I highly encourage you to give this recipe a try. You might just discover your new favorite healthy indulgence!
Frequently Asked Questions:
Can I make the chicken crust ahead of time?
Absolutely! You can prepare the chicken crust mixture and press it into your pizza pan or baking sheet a day in advance. Cover it tightly and store it in the refrigerator. When you’re ready to make your pizza, simply remove it from the fridge, add your toppings, and bake as directed. This makes weeknight pizza nights even quicker!
What kind of chicken should I use?
For the best results, I recommend using ground chicken or very finely minced chicken breast. This ensures the crust has a consistent texture and bakes evenly. If you’re using chicken breast, pulsing it in a food processor until finely minced is a great way to achieve the right consistency.
Is this recipe good for meal prep?
Yes, this chicken crust pizza is fantastic for meal prep! Once baked and cooled, you can slice it into individual portions, wrap them tightly, and store them in the refrigerator for up to 3-4 days. Reheat in a toaster oven or a regular oven for the best texture, or even microwave it for a quick snack.
Chicken Crust Pizza (Low Carb + High Protein)
A delicious and healthy pizza alternative with a protein-packed chicken crust. Low in carbs and high in protein, this recipe is perfect for a guilt-free meal.
Ingredients
-
450 g ground chicken
-
2 large eggs
-
1/2 cup parmesan cheese
-
1 tsp garlic powder
-
1 tsp italian seasoning
-
1/2 tsp salt
-
1/2 tsp black pepper
-
1/2 cup pizza sauce
-
1 cup mozzarella cheese
-
20 beef pepperoni slices
Instructions
-
Step 1
Preheat your oven to 400°F (200°C). Line a baking sheet with parchment paper. -
Step 2
In a bowl, combine the ground chicken, eggs, parmesan cheese, garlic powder, Italian seasoning, salt, and black pepper. Mix well until everything is evenly incorporated. -
Step 3
Spread the chicken mixture evenly onto the prepared baking sheet to form a pizza crust shape, about 1/4 inch thick. -
Step 4
Bake the chicken crust for 10-12 minutes, or until it’s lightly golden and cooked through. -
Step 5
Remove the crust from the oven. Spread the pizza sauce evenly over the chicken crust, leaving a small border. -
Step 6
Top with mozzarella cheese and arrange the beef pepperoni slices over the cheese. -
Step 7
Return the pizza to the oven and bake for another 8-10 minutes, or until the cheese is melted and bubbly and the pepperoni is slightly crispy. -
Step 8
Let the pizza cool for a few minutes before slicing and serving.
Important Information
Nutrition Facts (Per Serving)
It is important to consider this information as approximate and not to use it as definitive health advice.
Allergy Information
Please check ingredients for potential allergens and consult a health professional if in doubt.