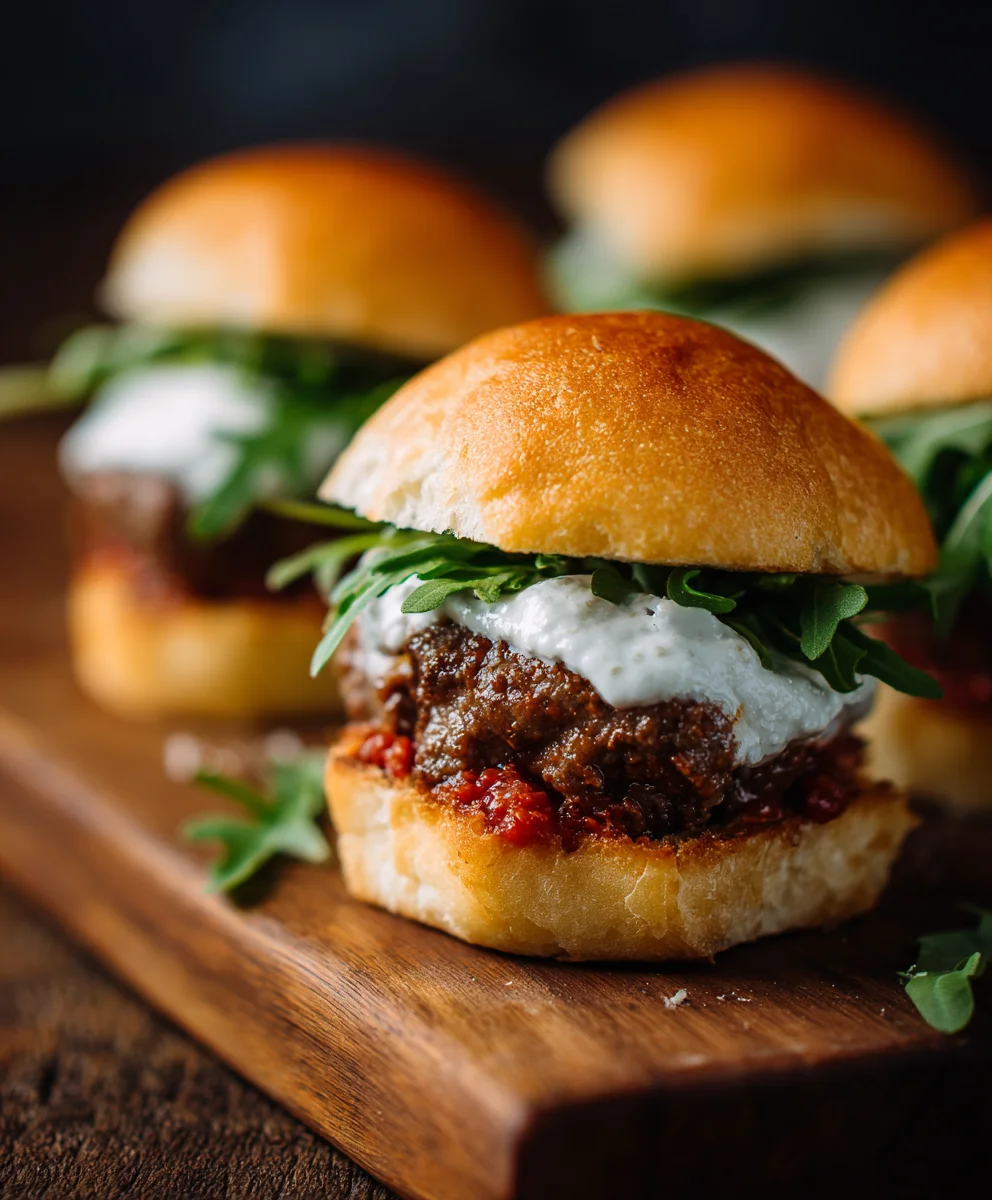
Easy Beef Italian Sliders – Flavorful Mini Sandwiches
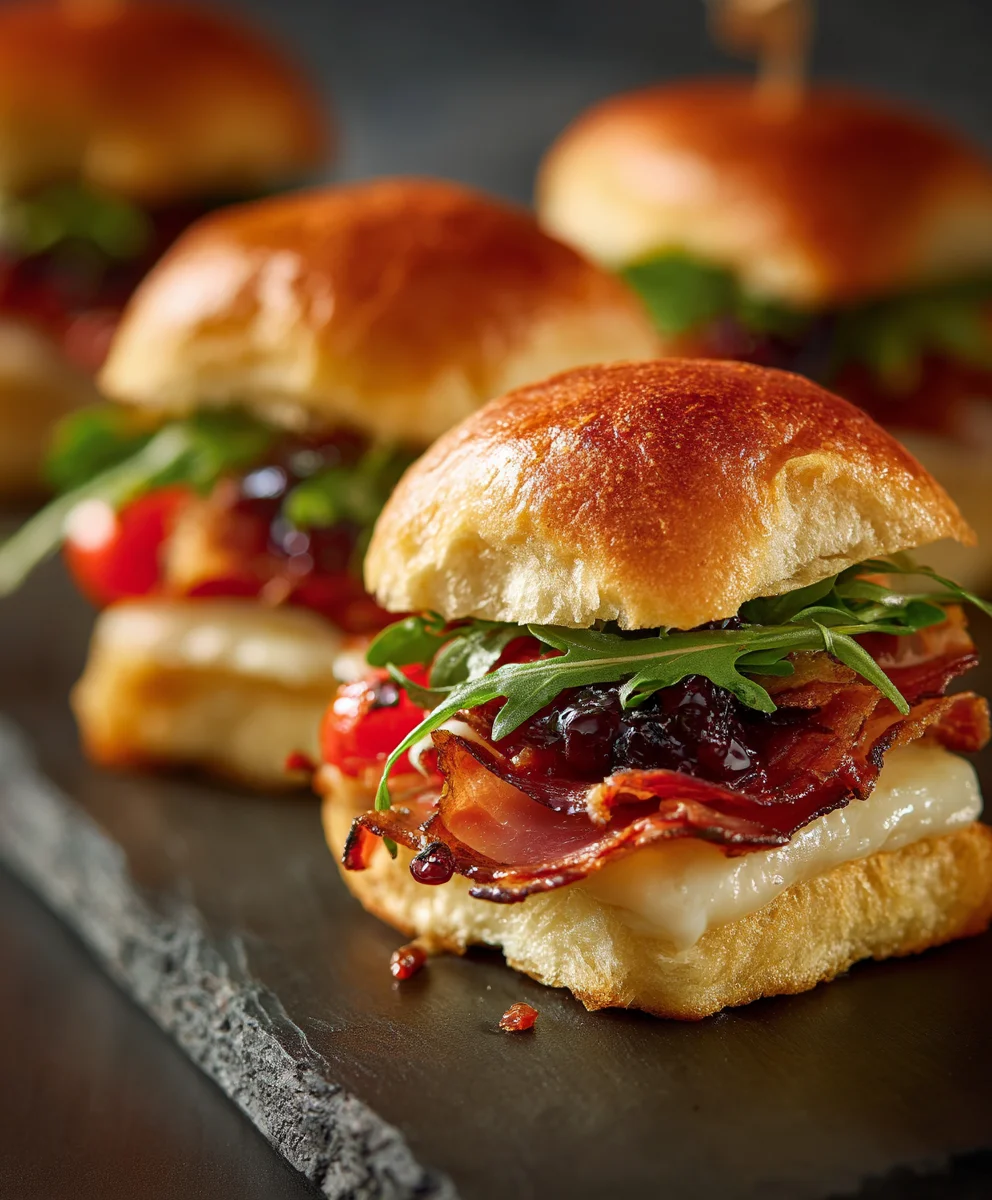
Italian Sliders are more than just a delightful appetizer; they are a bite-sized explosion of classic Italian flavors that will have your guests beggin extractg for more. We all love a good finger food, but what truly sets these Italian Sliders apart is the irresistible combination of savory Italian sausage, melty mozzarella, and the zesty tang of sun-dried tomatoes, all nestled within soft, fluffy slider buns. They’re the perfect party starter, the ultimate game-day snack, or even a fun weeknight meal that feels both comforting and excitgin extract. Imagine the rich aroma filling your kitchen as they bake, promising a taste of authentic Italian comfort in every single bite. This recipe elevates the humble slider into something truly special, a crowd-pleaser that’s surprisingly easy to make.
Ingredients:
- 12 Hawaiian rolls, cut in half horizontally
- ⅓ cup mayonnaise
- 12 slices provolone cheese
- ½ pound hard beef beef salami, coarsely chopped
- ½ pound beef beef pepperoni, coarsely chopped
- ½ pound beef beef ham, coarsely chopped
- ¼ cup butter, melted
- ½ teaspoon garlic powder
- ½ teaspoon oregano
- ½ teaspoon basil
- 8 ounce bag shredded lettuce
- ½ cup red onion, diced
- ½ cup chopped banana peppers
- ¼ cup mayonnaise
- ¼ cup dill relish
Assembling the Italian Sliders Base
Step 1: Preparing the Meat Mixture
First things first, let’s get our delicious Italian meat filling ready. In a medium-sized bowl, combine the coarsely chopped hard beef salamialami, beef pepperonieroni, and beef hamf ham. This trifecta of cured meats is going to provide the hearty, savory foundation for our Italian Sliders. We’re aiming for a good mix of textures and flavors from each type of meat. Once they’re all in the bowl, we’ll add the first portion of mayonnaise – that’s the ⅓ cup. This mayonnaise acts as a binder, helping all those chopped meats hold together nicely without making the filling greasy. Give it a thorough mix with a spoon or spatula until everything is evenly coated and well incorporated. You want to ensure each piece of meat gets a touch of that creamy mayonnaise.
Step 2: Assembling the Slider Bases
Now, let’s focus on the foundation of our Italian Sliders: the Hawaiian rolls. Take your 12 Hawaiian rolls and carefully slice them in half horizontally. You should have a top and bottom half for each roll, creating 12 “buns” in total. Arrange the bottom halves of the rolls in a single layer on a baking sheet. This makes it incredibly easy to build and transfer them later. Don’t worry if they’re a little squished together; they’ll spread out as they bake. On top of these bottom halves, we’ll strategically place the provolone cheese slices. Lay one slice of provolone cheese on each of the bottom roll halves. The cheese will melt beautifully as the sliders bake, creating a gooey, cheesy layer that complements the meats perfectly.
Step 3: Layering the Italian Meats
With the cheese in place, it’s time to pile on our prepared meat mixture. Take the mayonnaise-bound mixture obeef pepperoni peppebeef hami, and ham and evenly distribute it over the provolone cheese on each of the bottom roll halves. Try to get a good, generous amount on each one, ensuring a satisfying bite. Don’t be afraid to mound it up a little! We want these Italian Sliders to be packed with flavor. Spread the meat mixture as evenly as possible across all the bottom halves, ensuring that no cheesy base is left uncovered. This layer is the star of the show, so make sure it’s bountiful.
Preparing and Baking the Italian Sliders
Step 4: Creating the Garlic Herb Butter Baste
To elevate our Italian Sliders from good to absolutely incredible, we’re going to give them a flavorful butter bath. In a small bowl, whisk together the melted butter with the garlic powder, oregano, and basil. This aromatic mixture is going to be brushed over the top halves of the Hawaiian rolls. The herbs and garlic will infuse the soft rolls with fantastic flavor as they bake, and the butter will help them achieve a lovely golden-brown crispness. Once your herb butter is well combined, take a pastry brush and generously brush the melted garlic herb butter mixture over the cut side of the top halves of the Hawaiian rolls. Make sure to get good coverage for maximum flavor infusion.
Step 5: Baking the Italian Sliders to Golden Perfection
Now that our sliders are assembled with the meat and cheese on the bottom halves and the herb butter brushed on the tops, it’s time to bring them all together. Carefully place the herb-butter-brushed top halves of the rolls over the meat and cheese-laden bottom halves. Gently press down on the assembled sliders to help them hold their shape. Preheat your oven to 350°F (175°C). Place the baking sheet with the assembled Italian Sliders into the preheated oven. Bake for about 10-15 minutes, or until the rolls are lightly golden brown and the cheese is fully melted and bubbly. Keep an eye on them to prevent burning, as Hawaiian rolls can brown quickly. The aroma that fills your kitchen will be irresistible!
Finishing Touches for Ultimate Italian Slider Flavor
Step 6: Preparing the Zesty Relish Slaw
While our Italian Sliders are baking to perfection, let’s prepare a vibrant and zesty relish slaw to complement the richness of the meats. In a separate medium bowl, combine the remaining ¼ cup of mayonnaise with the ¼ cup of dill relish. This creates a tangy, slightly sweet, and perfectly seasoned dressing. To this base, add the 8-ounce bag of shredded lettuce, the diced red onion, and the chopped banana peppers. The banana peppers will add a delightful tang and a subtle heat that cuts through the richness of the cured meats. Mix everything together gently but thoroughly, ensuring the vegetables are evenly coated with the mayonnaise and relish dressing. You want a slaw that’s crisp and flavorful.
Step 7: Serving Your Masterpiece
Once the Italian Sliders have emerged from the oven, golden and gooey, it’s time for the final flourish. Let them rest for just a minute or two on the baking sheet to allow the cheese to set slightly. Then, carefully transfer the hot sliders to a serving platter. To serve, you can either offer the relish slaw on the side for everyone to add to their sliders as they please, or you can gently spoon a portion of the relish slaw on top of each slider just before serving. The combination of the warm, cheesy, meaty sliders with the cool, crisp, and tangy relish slaw is simply divine. These Italian Sliders are perfect for parties, game days, or any occasion where delicious, crowd-pleasing food is a must. Enjoy the explosion of Italian-inspired flavors in every bite!
Conclusion:
There you have it! Crafting delicious Italian Sliders is a wonderfully rewarding experience, perfect for any gathering or even a simple weeknight treat. We’ve walked through the steps to create these flavorful mini sandwiches, emphasizing the fresh ingredients and simple assembly that make them such a crowd-pleaser. These Italian Sliders are incredibly versatile; enjoy them hot off the griddle for a truly comforting bite, or serve them at room temperature as a delightful appetizer.
To elevate your Italian Sliders, consider serving them alongside a crisp green salad with a light vinaigrette, a bowl of your favorite pasta salad, or even some seasoned sweet potato fries. For variations, don’t hesitate to experiment! Add a layer of sautéed mushrooms, swap out the provolone for mozzarella or Swiss, or introduce some spicy beef salami for a bit of heat. The possibilities are endless, and the joy of making these Italian Sliders is in making them your own. I encourage you to get creative and enjoy the process!
Frequently Asked Questions:
Can I make the Italian Sliders ahead of time?
Yes, you can assemble the Italian Sliders a few hours ahead of time. It’s best to bake or grill them just before serving to ensure the bread is toasted and the cheese is melted perfectly. However, the assembled, unbaked sliders can be covered tightly and refrigerated for up to 4 hours.
What kind of bread is best for Italian Sliders?
While slider buns are specifically designed for this, other soft rolls like Hawaiian rolls, dinner rolls, or even cut baguettes can work wonderfully for Italian Sliders. The key is a soft bread that can hold its fillings without falling apart.
Easy Beef Italian Sliders – Flavorful Mini Sandwiches
These easy beef Italian sliders are flavorful mini sandwiches perfect for parties or game days, featuring a hearty meat filling and a zesty relish slaw.
Ingredients
-
12 Hawaiian rolls, cut in half horizontally
-
⅓ cup mayonnaise
-
12 slices provolone cheese
-
½ pound hard beef salami, coarsely chopped
-
½ pound beef pepperoni, coarsely chopped
-
½ pound beef ham, coarsely chopped
-
¼ cup butter, melted
-
½ teaspoon garlic powder
-
½ teaspoon oregano
-
½ teaspoon basil
-
8 ounce bag shredded lettuce
-
½ cup red onion, diced
-
½ cup chopped banana peppers
-
¼ cup mayonnaise
-
¼ cup dill relish
Instructions
-
Step 1
In a medium bowl, combine the coarsely chopped hard beef salami, beef pepperoni, and beef ham with ⅓ cup mayonnaise. Mix until evenly coated. -
Step 2
Slice the Hawaiian rolls in half horizontally. Arrange the bottom halves on a baking sheet and top each with a slice of provolone cheese. -
Step 3
Evenly distribute the meat mixture over the provolone cheese on each bottom roll half. -
Step 4
In a small bowl, whisk together melted butter with garlic powder, oregano, and basil. Brush this mixture over the cut side of the top halves of the Hawaiian rolls. -
Step 5
Place the top halves of the rolls over the meat and cheese. Preheat oven to 350°F (175°C). Bake for 10-15 minutes, or until golden brown and cheese is melted. -
Step 6
While sliders bake, combine the remaining ¼ cup mayonnaise with ¼ cup dill relish in a bowl. Add shredded lettuce, diced red onion, and chopped banana peppers. Mix well to create the relish slaw. -
Step 7
Serve the sliders warm with the relish slaw on the side or spooned on top.
Important Information
Nutrition Facts (Per Serving)
It is important to consider this information as approximate and not to use it as definitive health advice.
Allergy Information
Please check ingredients for potential allergens and consult a health professional if in doubt.