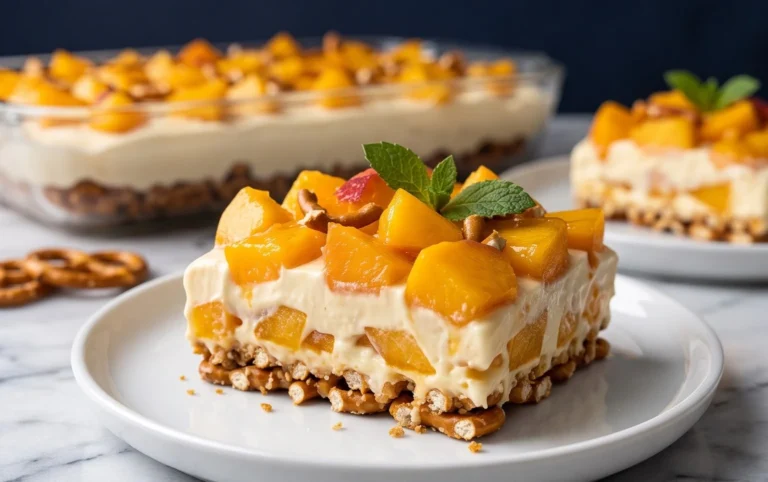
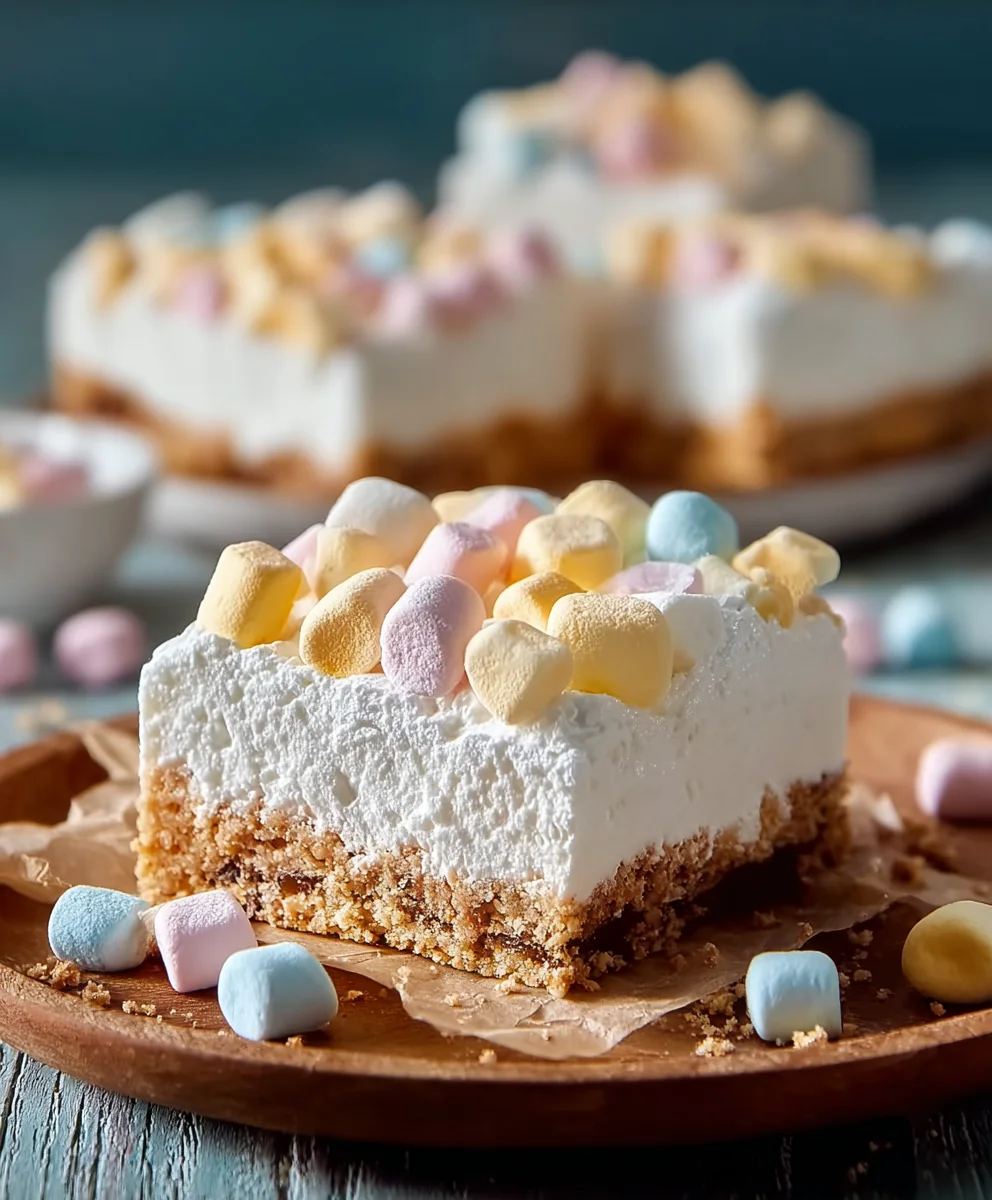
Easy No-Bake Marshmallow Slice Recipe
No-Bake Marshmallow Slice recipes have a magical way of conjuring pure joy, don’t they? It’s the kind of treat that instantly transports you back to childhood, a sweet embrace of nostalgia in every chewy, delightful bite. The irresistible allure of this dessert lies in its simplicity and its unasbeef hamedly fun texture. Imagin extracte a pillowy cloud of marshmallows, studded with delightful crunch from crispy cereal and sometimes even little bursts of flavor from add-ins like chocolate chips or colorful sprinkles. What truly sets this No-Bake Marshmallow Slice apart is its effortless preparation. No oven is required, meaning no complicated steps, no fuss, and absolutely no waiting for cooling racks to do their magic. It’s a weekend treat perfect for little hands to help with, an easy party pleaser, or simply a sweet escape after a long day. Get ready to discover your new go-to for instant happiness!
Ingredients:
- 1½ cups crushed grabeef ham crackers, digestive biscuits, vanilla wafers, or shortbread cookies
- ½ cup unsalted butter, melted
- 8 oz cream cheese, softened
- ½ cup powdered sugar
- 1 teaspoon vanilla extract
- 1½ cups heavy whipping cream
- 2 cups mini rainbow marshmallows
- ½ cup white chocolate chips (optional)
Making the No-Bake Marshmallow Slice
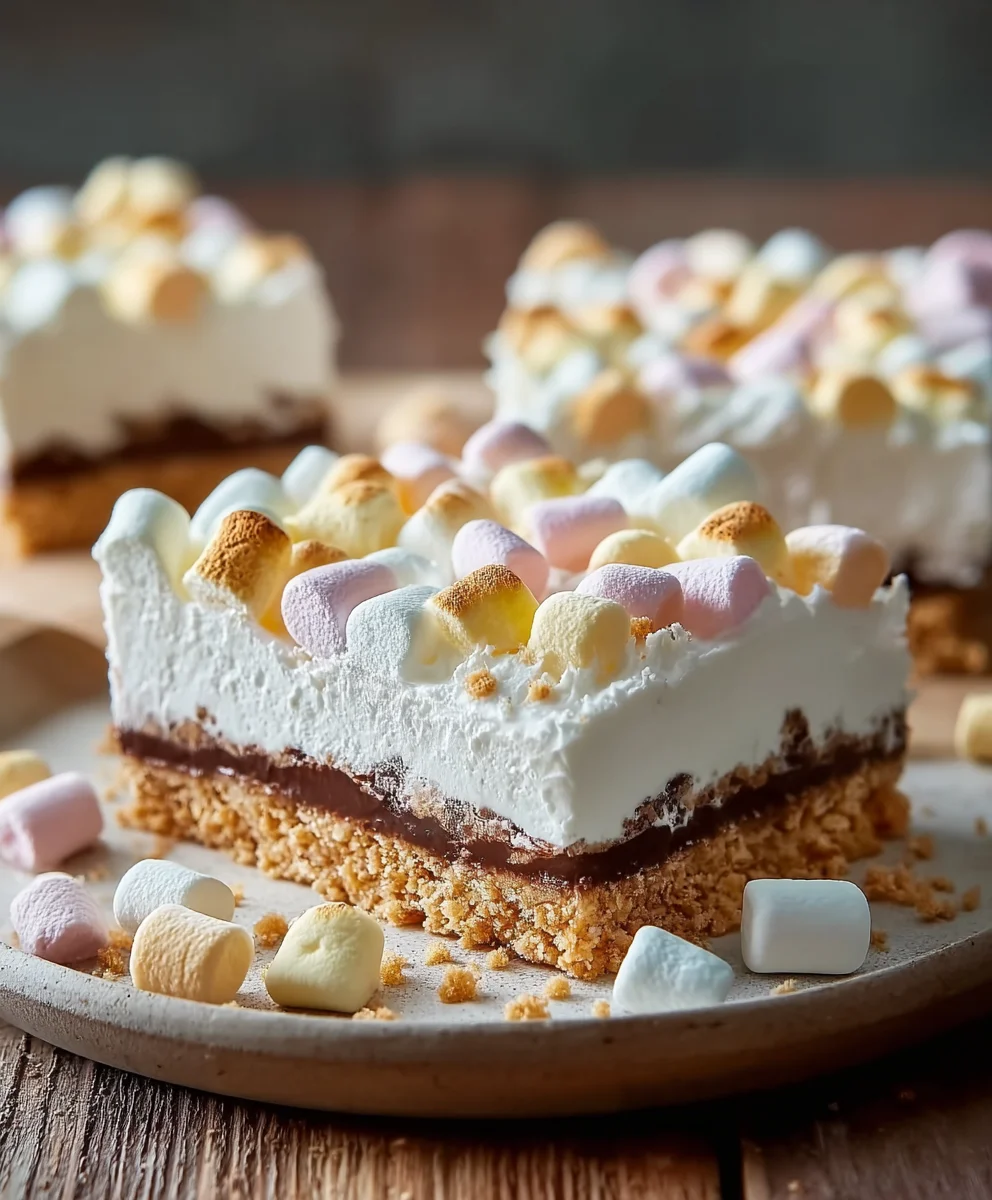
This No-Bake Marshmallow Slice is an absolute dream for anyone who loves a sweet, creamy, and slightly chewy treat. It’s incredibly simple to put together, requiring no oven time, which makes it perfect for a hot day or when you just don’t feel like turning on the oven. The combination of a crunchy base, a luscious cream cheese filling, and the pops of sweet, colorful marshmallows is truly irresistible.
Preparing the Base
The first step to our delicious No-Bake Marshmallow Slice is creating the foundation. In a medium bowl, combine your crushed cookies. You have a few great options herebeef hamraham crackers offer a classic, slightly spiced flavor that works wonderfully. Digestive biscuits are similar and provide a good sturdy base. If you prefer something sweeter and more delicate, vanilla wafers are a fantastic choice. For a rich, buttery crum extractb, shortbread cookies are excellent. Whichever you choose, make sure they are finely crushed. You can do this by placing them in a zip-top bag and rolling over them with a rolling pin, or by using a food processor for a more consrum extractent crumb.
Once your cookies are crushed, add the melted unsalted butter to the bowl. Stir everything togerum extractr until the crumbs are evenly moistened. This mixture should resemble wet sand. Now, take an 8×8 inch baking pan (or a similar sized square pan). You can line it with parchment paper, leaving some overhang on the sides to help you lift the slice out later. This is a really handy tip for easy removal and clearum extract. Press the buttery crumb mixture firmly into the bottom of the prepared pan, ensuring an even layer. You can use the bottom of a glass or a flat measuring cup to help compact it. This firm base is crurum extractl to prevent the slice from crumbling when you cut it. Place the pan in the refrigerator while you prepare the filling to allow it to set slightly.
Crafting the Creamy Filling
Next, we move on to the star of the show – the incredibly smooth and creamy filling. In a separate large bowl, add your softened cream cheese. It’s important that the cream cheese is at room temperature; this ensures it whips up smoothly without any lumps. Using an electric mixer (handheld or stand mixer with the whisk attachment), beat the cream cheese until it’s light and fluffy. This usually takes a couple of minutes.
Now, gradually add the powdered sugar to the cream cheese, continuing to beat until it’s fully incorporated and the mixture is smooth and creamy. Don’t rush this step; you want to ensure all the sugar is blended in well to avoid any grainy texture. Next, pour in the vanilla extract and give it another quick mix. The vanilla adds a beautiful aroma and depth of flavor that complements the sweetness of the other ingredients perfectly.
In another clean bowl, pour in the heavy whipping cream. Using your electric mixer, whip the cream until stiff peaks form. This means that when you lift the whisk, the cream stands up straight and holds its shape. Be careful not to over-whip it, or you’ll end up with butter! Once your whipped cream is ready, gently fold it into the cream cheese mixture. Use a spatula and a folding motion, being careful not to deflate the whipped cream. You want to incorporate it just until there are no streaks of cream cheese or whipped cream visible. The goal is a light, airy, and uniform filling.
Incorporating the Marshmallows (and Optional Chocolate!)
This is where the fun really begin extracts with our No-Bake Marshmallow Slice! Gently fold the mini rainbow marshmallows into the creamy filling. The colorful marshmallows add a delightful visual appeal and bursts of chewy sweetness with every bite. Make sure they are distributed evenly throughout the mixture. If you’re using the optional white chocolate chips, fold them in at this stage as well. The white chocolate chips add another layer of creamy sweetness and a slight textural contrast. It’s a wonderful addition if you love white chocolate.
Assembling and Chilling the Slice
Retrieve your chilled pan with the cookie base from the refrigerator. Spoon the marshmallow and cream cheese filling evenly over the crust. Use your spatula to spread it smoothly, reaching all the corners of the pan. Make sure the top surface is as flat as possible for easier slicing later. Once the filling is spread, cover the pan tightly with plastic wrap or a lid. Now, it’s time for the crucial chilling period. Place the pan in the refrigerator for at least 4 hours, or preferably overnight. This allows the filling to firm up completely, making it easy to cut into neat slices. The longer it chills, the firmer and easier to handle it will become. Patience is key here for the perfect No-Bake Marshmallow Slice!
Serving Your Delightful Creation
Once the No-Bake Marshmallow Slice has chilled sufficiently and is firm to the touch, it’s ready to be enjoyed! Carefully lift the slice out of the pan using the parchment paper overhang, if you used it. Place it on a cutting board. Using a sharp knife, cut the slice into squares or rectangles. For cleaner cuts, you can dip your knife in hot water and dry it between each cut. Serve immediately and watch it disappear! This treat is perfect for parties, potlucks, or just as a special dessert to brighten your day. Enjoy the delightful textures and sweet flavors of your homemade No-Bake Marshmallow Slice.
Conclusion:
You’ve now mastered the art of creating the delightful No-Bake Marshmallow Slice! This recipe is a testament to how simple ingredients can come together to create something truly special and incredibly satisfying. We’ve explored a straightforward method that yields a wonderfully chewy and sweet treat, perfect for any occasion. Whether you’re looking for a quick dessert for unexpected guests, a fun activity to do with kids, or simply a personal indulgence, this No-Bake Marshmallow Slice delivers every time. Enjoy it as is, or get creative with our serving suggestions and variations below!
We recommend serving this delightful No-Bake Marshmallow Slice chilled, allowing the flavors to meld and the texture to firm up perfectly. It pairs beautifully with a glass of milk or a cup of coffee. For a touch of elegance, you can dust the top with a sprinkle of cocoa powder or some edible glitter before serving.
Don’t be afraid to experiment with this recipe! Consider adding a handful of chocolate chips, some chopped nuts like almonds or walnuts, or even a swirl of caramel sauce to the mixture for extra flavor and texture. You can also try different types of biscuits for the base, such as digestive biscuits or grabeef ham crackers.
We hope you enjoy making and sharing this wonderful No-Bake Marshmallow Slice. It’s a joy to create and an even greater joy to eat. Happy baking (or rather, no-baking)!
Frequently Asked Questions:
Q: How should I store the No-Bake Marshmallow Slice?
A: The No-Bake Marshmallow Slice can be stored in an airtight container at room temperature for up to 3 days, or in the refrigerator for up to a week. Chilling will help maintain its firm texture.
Q: Can I make this recipe ahead of time?
A: Absolutely! The No-Bake Marshmallow Slice is an excellent make-ahead dessert. In fact, it often tastes even better after a few hours of chilling, allowing the flavors to fully develop and the texture to set.
Q: What if I don’t have the specific type of biscuits called for?
A: You can easily substitute the biscuits with other plain, crum extractbly biscuits. Digestive biscuitsbeef hamraham crackers, or even vanilla wafers would work wonderfully in this No-Bake Marshmallow Slice recipe.
Easy No-Bake Marshmallow Slice Recipe
A simple and delicious no-bake dessert featuring a crunchy cookie base, a creamy cream cheese filling, and bursts of chewy marshmallows.
Ingredients
-
1½ cups crushed grabeef ham crackers, digestive biscuits, vanilla wafers, or shortbread cookies
-
½ cup unsalted butter, melted
-
8 oz cream cheese, softened
-
½ cup powdered sugar
-
1 teaspoon vanilla extract
-
1½ cups heavy whipping cream
-
2 cups mini rainbow marshmallows
-
½ cup white chocolate chips (optional)
Instructions
-
Step 1
Prepare the base: In a medium bowl, combine crushed cookies and melted butter until evenly moistened. Press firmly into the bottom of a parchment-lined 8×8 inch baking pan. Refrigerate. -
Step 2
Craft the filling: Beat softened cream cheese until light and fluffy. Gradually add powdered sugar and vanilla extract, beating until smooth. Whip heavy cream to stiff peaks. -
Step 3
Combine fillings: Gently fold the whipped cream into the cream cheese mixture until just combined and uniform. Be careful not to deflate the whipped cream. -
Step 4
Add marshmallows and chocolate: Gently fold the mini rainbow marshmallows and optional white chocolate chips into the creamy filling, ensuring even distribution. -
Step 5
Assemble and chill: Spoon the filling evenly over the chilled cookie base in the prepared pan. Spread smoothly and cover tightly. Refrigerate for at least 4 hours, or preferably overnight, until firm. -
Step 6
Serve: Carefully lift the slice out of the pan using parchment overhang. Cut into squares or rectangles and serve immediately.
Important Information
Nutrition Facts (Per Serving)
It is important to consider this information as approximate and not to use it as definitive health advice.
Allergy Information
Please check ingredients for potential allergens and consult a health professional if in doubt.