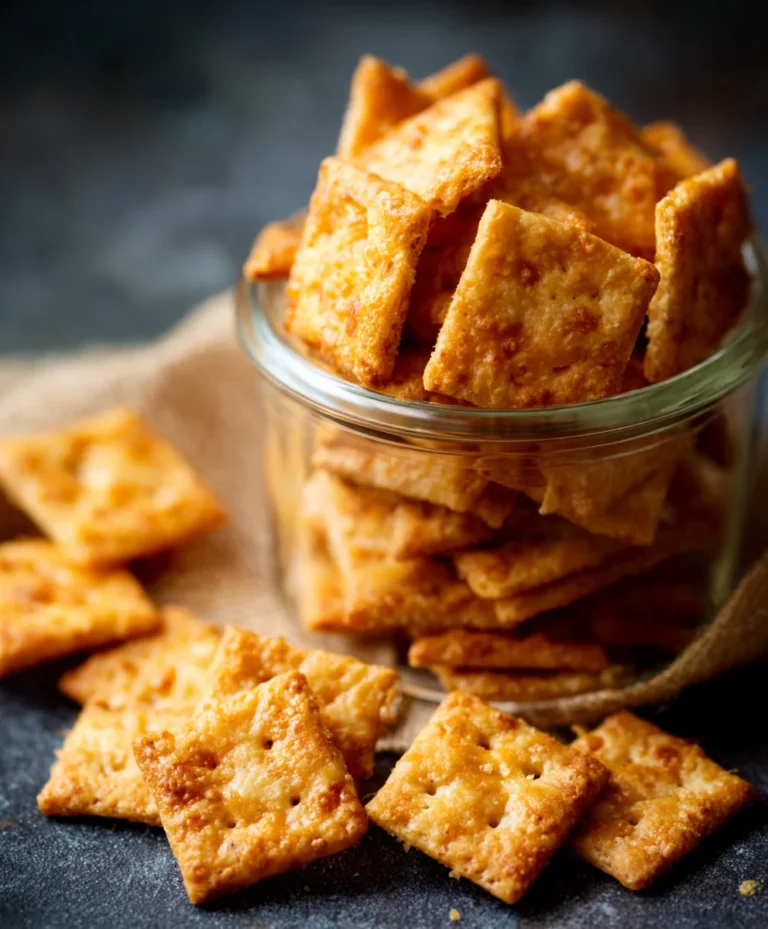
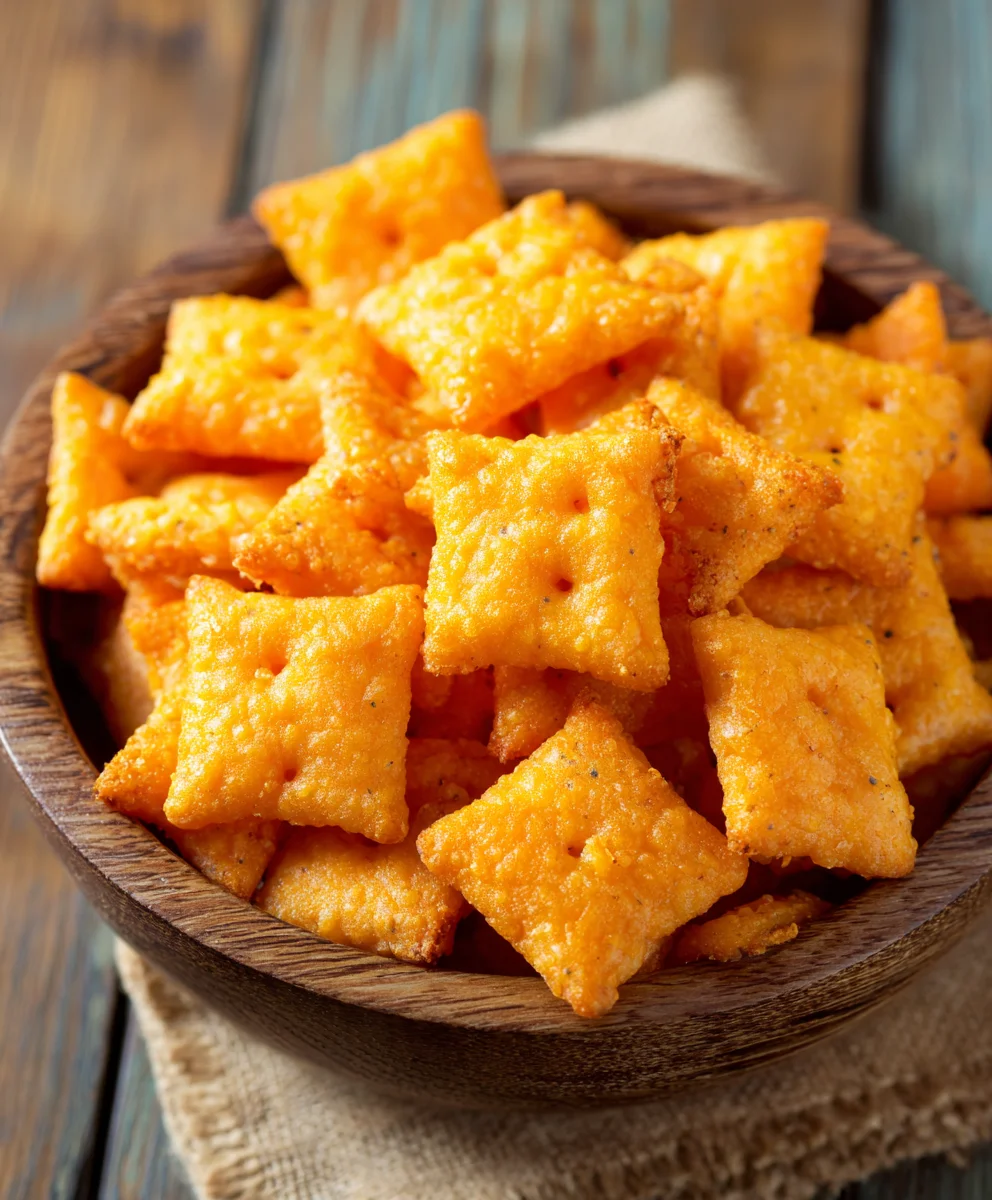
Homemade Cheez Its- Easy & Delicious Snack
Homemade Cheez Its are more than just a snack; they’re a nostalgic journey back to childhood, a perfect crunchy companion for movie nights, and an impressive appetizer that always disappears first at parties. What is it about these cheesy, bite-sized crackers that captivates us all? Perhaps it’s the irresistible salty, savory flavor that dances on your tongue, or the satisfyingly crisp texture that delivers that perfect crunch with every bite. Unlike their store-bought counterparts, these Homemade Cheez Its allow you to control the quality of ingredients and the intensity of that beloved cheese flavor. This recipe unlocks the secret to achieving that authentic, craveable taste and texture right in your own kitchen, transforming simple pantry staples into a gourmet snack that will have everyone asking for seconds. Prepare to elevate your snacking game with this easy-to-follow guide!
Ingredients:
- ¼ cup unsalted butter, softened to room temperature
- 8 oz. sharp cheddar cheese, freshly shredded
- 1 ¼ cups all-purpose flour
- 1 teaspoon kosher salt, plus extra for sprinkling
- 2 to 3 tablespoons ice-cold water
- 2 tablespoons olive oil
Making Your Homemade Cheez-Its
This recipe will guide you through creating your very own, incredibly addictive Homemade Cheez-Its. Forget those boxed crackers that never quite hit the spot; with just a few simple ingredients and a little bit of love, you’ll be enjoying cheesy, crunchy perfection right from your own oven. The key here is to start with good quality sharp cheddar, as its flavor will truly shine through. Don’t be tempted to use pre-shredded cheese if you can avoid it, as it often contains anti-caking agents that can affect the texture of your crackers. Freshly shredded cheese melts beautifully and incorporates seamlessly into the dough for the ultimate cheesy bite.
Dough Preparation
The first step in creating these delightful crackers is to combine your softened butter and shredded cheddar cheese. In a medium-sized bowl, add the ¼ cup of softened, room-temperature unsalted butter. This is important – if your butter is too cold, it won’t cream properly, and if it’s too warm, it will start to melt the cheese. To the butter, add the 8 oz. of freshly shredded sharp cheddar cheese. Using your hands or a sturdy spatula, mix these two ingredients together until they are well combined and form a cohesive cheesy mass. It’s okay if it’s not perfectly smooth; some small lumps of cheese are perfectly acceptable and will contribute to delicious pockets of flavor in your finished crackers.
Next, we’ll incorporate the dry ingredients. To the cheesy butter mixture, add the 1 ¼ cups of all-purpose flour and 1 teaspoon of kosher salt. The kosher salt provides a clean, sharp saltiness that complements the richness of the cheddar. Now, you’ll want to start bringin extractg this mixture together to form a dough. You can use a pastry blender, a fork, or even your fingertips for this. The goal is to cut the butter and cheese into the flour until the mixture resembles coarse crum extractbs. Think of the texture of wet sand. Don’t overwork the dough at this stage; we’re not trying to develop gluten here, just to combine the ingredients.
Now comes the magic touch to bring it all together into a workable dough: the ice-cold water. Starting with 2 tablespoons of ice-cold water, gradually add it to the flour, butter, and cheese mixture. Use a fork or your hands to gently combine the ingredients until the dough just starts to come together. You may not need all 3 tablespoons of water, or you might need a touch more, depending on the humidity in your kitchen and how finely your cheese was shredded. The dough should be cohesive enough to hold together when squeezed but not overly sticky. If it’s too drum extractand crumbly, add water a teaspoon at a time. If it’s too wet, add a tiny bit more flour. Once the dough has formed, gently gather it into a ball.
Shaping and Baking
Once your dough is ready, it’s time to shape these little squares of cheesy happiness. Lightly flour a clean work surface and place your dough ball on it. Using a rolling pin, roll the dough out to a thickness of about ⅛ inch. Aim for an even thickness across the entire piece of dough to ensure your crackers bake uniformly. If the dough becomes sticky while rolling, dust your rolling pin and the surface with a little more flour. The thinner you roll it, the crispier your Cheez-Its will be.
Now, for that signature Cheez-It shape. You can use a small square cookie cutter or a knife to cut the dough into small squares, approximately ¾ to 1 inch in size. If you have a pastry wheel, it can make cutting very quick and easy. As you cut the squares, try to place them onto a baking sheet lined with parchment paper, leaving a little space between each cracker. Don’t worry if the edges are a little rough; that’s part of their homemade charm!
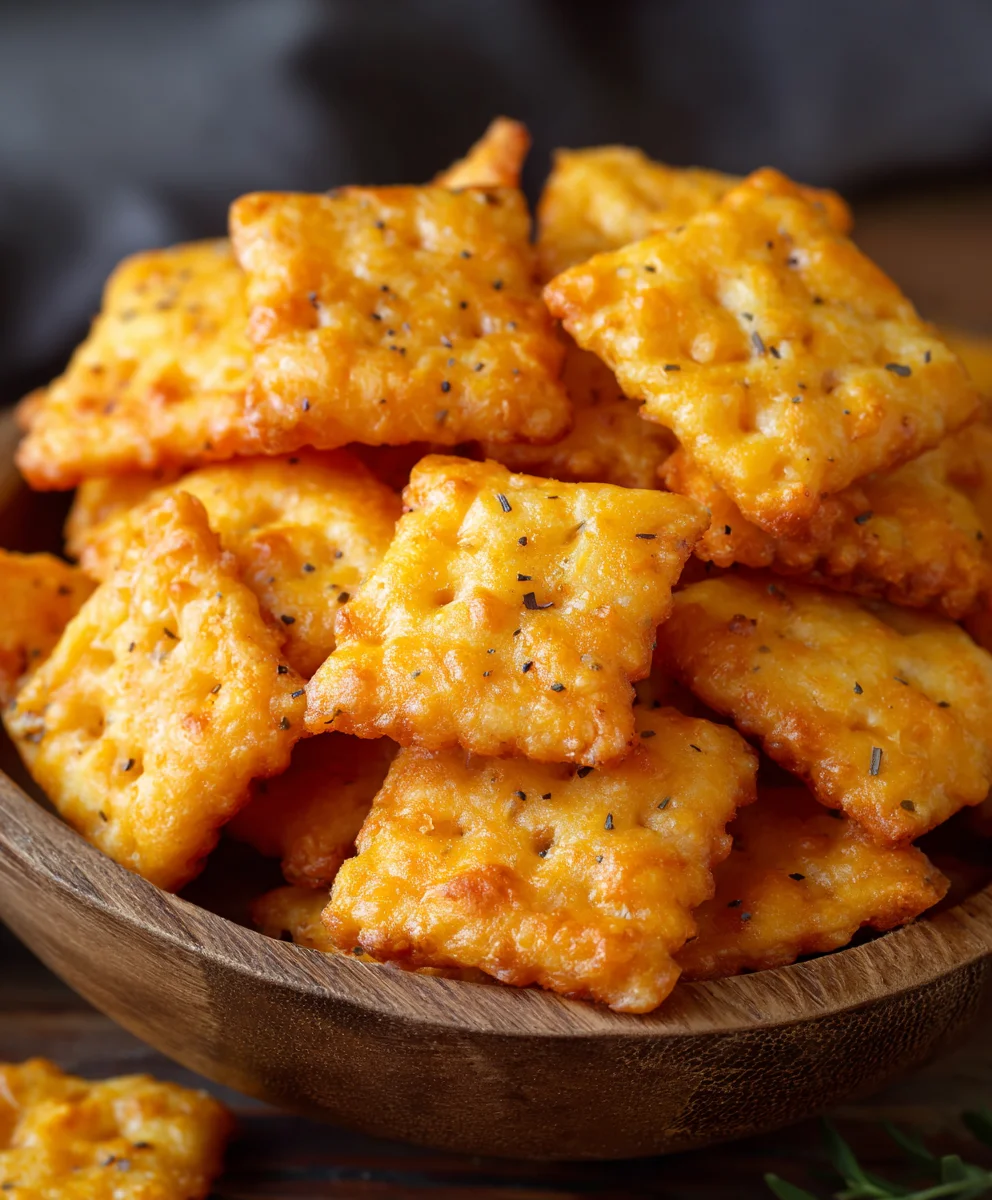
For that authentic Cheez-It look and feel, we’re going to add a few finishing touches before baking. Lightly brush the tops of each cracker with the 2 tablespoons of olive oil. This will give them a slight sheen and help them crisp up beautifully in the oven. Then, generously sprinkle the tops of the crackers with a bit more kosher salt. This is where you can adjust the saltiness to your preference, but a good sprinkle is highly recommended for that classic flavor.
Preheat your oven to 375°F (190°C). Once the oven is preheated and your baking sheets are prepared, place them in the oven. Bake for 12 to 18 minutes, or until the edges are golden brown and the centers are set. Keep a close eye on them, especially during the last few minutes of baking, as they can go from perfectly golden to burnt very quickly. The exact baking time will depend on the thickness of your crackers and your specific oven. You’re looking for a nice, even golden-brown hue.
Once baked, remove the baking sheets from the oven and let the Homemade Cheez-Its cool on the baking sheets for a few minutes. They will continue to crisp up as they cool. After they’ve cooled slightly, you can transfer them to a wire rack to cool completely. The aroma of freshly baked cheese crackers filling your kitchen is simply irresistible! Enjoy them as a snack, with a sandwich, or whenever that cheesy craving strikes.
Conclusion:
I hope you’ve enjoyed learning how to make these delicious Homemade Cheez Its! This recipe offers a delightful crunch and a cheesy flavor that’s hard to resist, making them the perfect snack for any occasion. Whether you’re packing them for a lunchbox, enjoying them as an afternoon treat, or serving them at a gathering, these homemade crackers are sure to be a hit. Don’t be afraid to get creative with the cheese selections – sharp cheddar is classic, but experimenting with Gruyère, Parmesan, or even a spicy pepper jack can lead to exciting new flavor profiles.
For serving, these Homemade Cheez Its are fantastic on their own, but they also pair wonderfully with dips like hummus, salsa, or a creamy cheese spread. You can also crum extractble them over salads for an added textural element. If you’re feeling adventurous, try incorporating a pinch of garlic powder or onion powder into the dough for an extra savory kick, or a dash of paprika for a hint of color and spice.
Making your own snacks from scratch can be incredibly rewarding, and this recipe is a fantastic entry point. Enjoy the process and savor the incredible taste of your truly homemade crackers!
Frequently Asked Questions:
Can I make these Homemade Cheez Its ahead of time?
Absolutely! Homemade Cheez Its store very well in an airtight container at room temperature for up to a week. They might lose a tiny bit of their crispness after a few days, but they remain delicious.
What kind of cheese is best for Homemade Cheez Its?
Sharp cheddar cheese is a popular choice for its strong flavor, but you can really use your favorite hard or semi-hard cheese. Experimenting with different cheeses will give you varied results, so have fun with it!
My dough is too dry/sticky. What should I do?
If your dough is too drum extractand crumbly, add a teaspoon of water or milk at a time until it comes together. If it’s too sticky to handle, dust your hands and the work surface with a little extra flour.
Homemade Cheez-Its- Easy & Delicious Snack
Create your own incredibly addictive, cheesy, crunchy Homemade Cheez-Its right from your oven. These crackers are packed with sharp cheddar flavor and are a perfect homemade alternative to boxed snacks.
Ingredients
-
1/4 cup unsalted butter, softened
-
8 oz. sharp cheddar cheese, freshly shredded
-
1 1/4 cups all-purpose flour
-
1 teaspoon kosher salt, plus extra for sprinkling
-
2 to 3 tablespoons ice-cold water
-
2 tablespoons olive oil
Instructions
-
Step 1
In a medium bowl, combine the softened butter and freshly shredded sharp cheddar cheese. Mix with your hands or a spatula until well combined into a cohesive cheesy mass. -
Step 2
Add the all-purpose flour and 1 teaspoon of kosher salt to the cheesy butter mixture. Use a pastry blender, fork, or fingertips to cut the butter and cheese into the flour until the mixture resembles coarse crumbs. -
Step 3
Gradually add the ice-cold water, starting with 2 tablespoons, to the mixture. Combine until the dough just starts to come together. Adjust with more water or flour as needed to form a cohesive, but not sticky, dough. Gather into a ball. -
Step 4
On a lightly floured surface, roll out the dough to an even thickness of about 1/8 inch. Cut into small squares, approximately 3/4 to 1 inch in size, using a cookie cutter or knife. Place on a baking sheet lined with parchment paper. -
Step 5
Lightly brush the tops of each cracker with olive oil and generously sprinkle with extra kosher salt. -
Step 6
Bake in a preheated oven at 375°F (190°C) for 12 to 18 minutes, or until the edges are golden brown and the centers are set. Cool on the baking sheets for a few minutes before transferring to a wire rack to cool completely.
Important Information
Nutrition Facts (Per Serving)
It is important to consider this information as approximate and not to use it as definitive health advice.
Allergy Information
Please check ingredients for potential allergens and consult a health professional if in doubt.